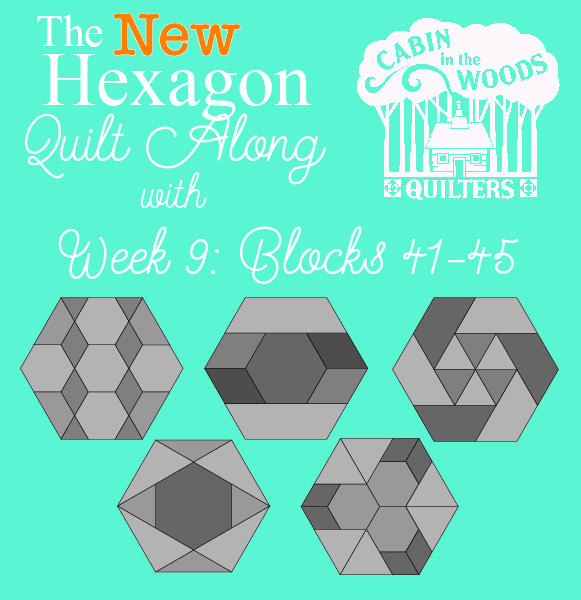
Welcome to Week 9 of the New Hexagon Quilt Along featuring the NEW English Paper Piecing Templates by Cabin in the Woods Quilters and fabrics by ADORNit. I can’t believe it’s been 9 weeks since we started this journey. Where are you on the completion of your blocks? Have you begun your New Hexagon Quilt yet? Have you started any paper piecing project yet? Not sure whether you would like English Paper Piecing?
Well… I like to say that if you enjoy the process of stitching your quilt bindings down by hand, you will probably really love EPP. The portability of it is very appealing. Just a couple of needles, some thread and some pieces are really all you need on the go to quilt. No expensive sewing machine needed. I love the sociability of EPP. I don’t have to spend hours in my studio working on a piece. I can be in the living room watching a movie with the family or some friends and still be making progress on my project. Let me show you another little bonus of working with EPP.
FUSSY CUTTING WITH PRINTED FABRICS
We talked about fussy cutting fabrics briefly in an earlier Week’s post.
While we do lots of fussy cutting in this quilt including in some upcoming posts, I have not shown you any blocks that were fussy cut in such a way that they kaleidoscope a new design within the blocks. So this week I thought I would show you some fussy cutting from another quilt so you can see the theory in practice.
I am currently working on rosettes from the La Passacaglia Quilt from the Millefiori Quilts book. If you haven’t seen these quilts… you are really missing out. Millefiori Quilts are mosaic designs based on Millefiori glass work. A simple “google” of the term yields amazing results (check it out here) or do a search on Pinterest and be prepared to have your socks knocked off. I have been wanting to make this quilt ever since I saw the book and started creating the custom templates for a customer of mine. Oh… and in case you didn’t know it… I have drafted every quilt in both books and sell the templates for each quilt on my WEBSTORE and Etsy shop.
The hardest part of beginning one of these gorgeous quilts is choosing the starting fabrics. I will admit… choosing the fabrics and deciding to cut them took me about a month. It was crazy but I assumed I would only ever make ONE quilt like this my entire life so no pressure. Once I chose a line and starting pulling fabrics from stash everything seemed to fall into place.
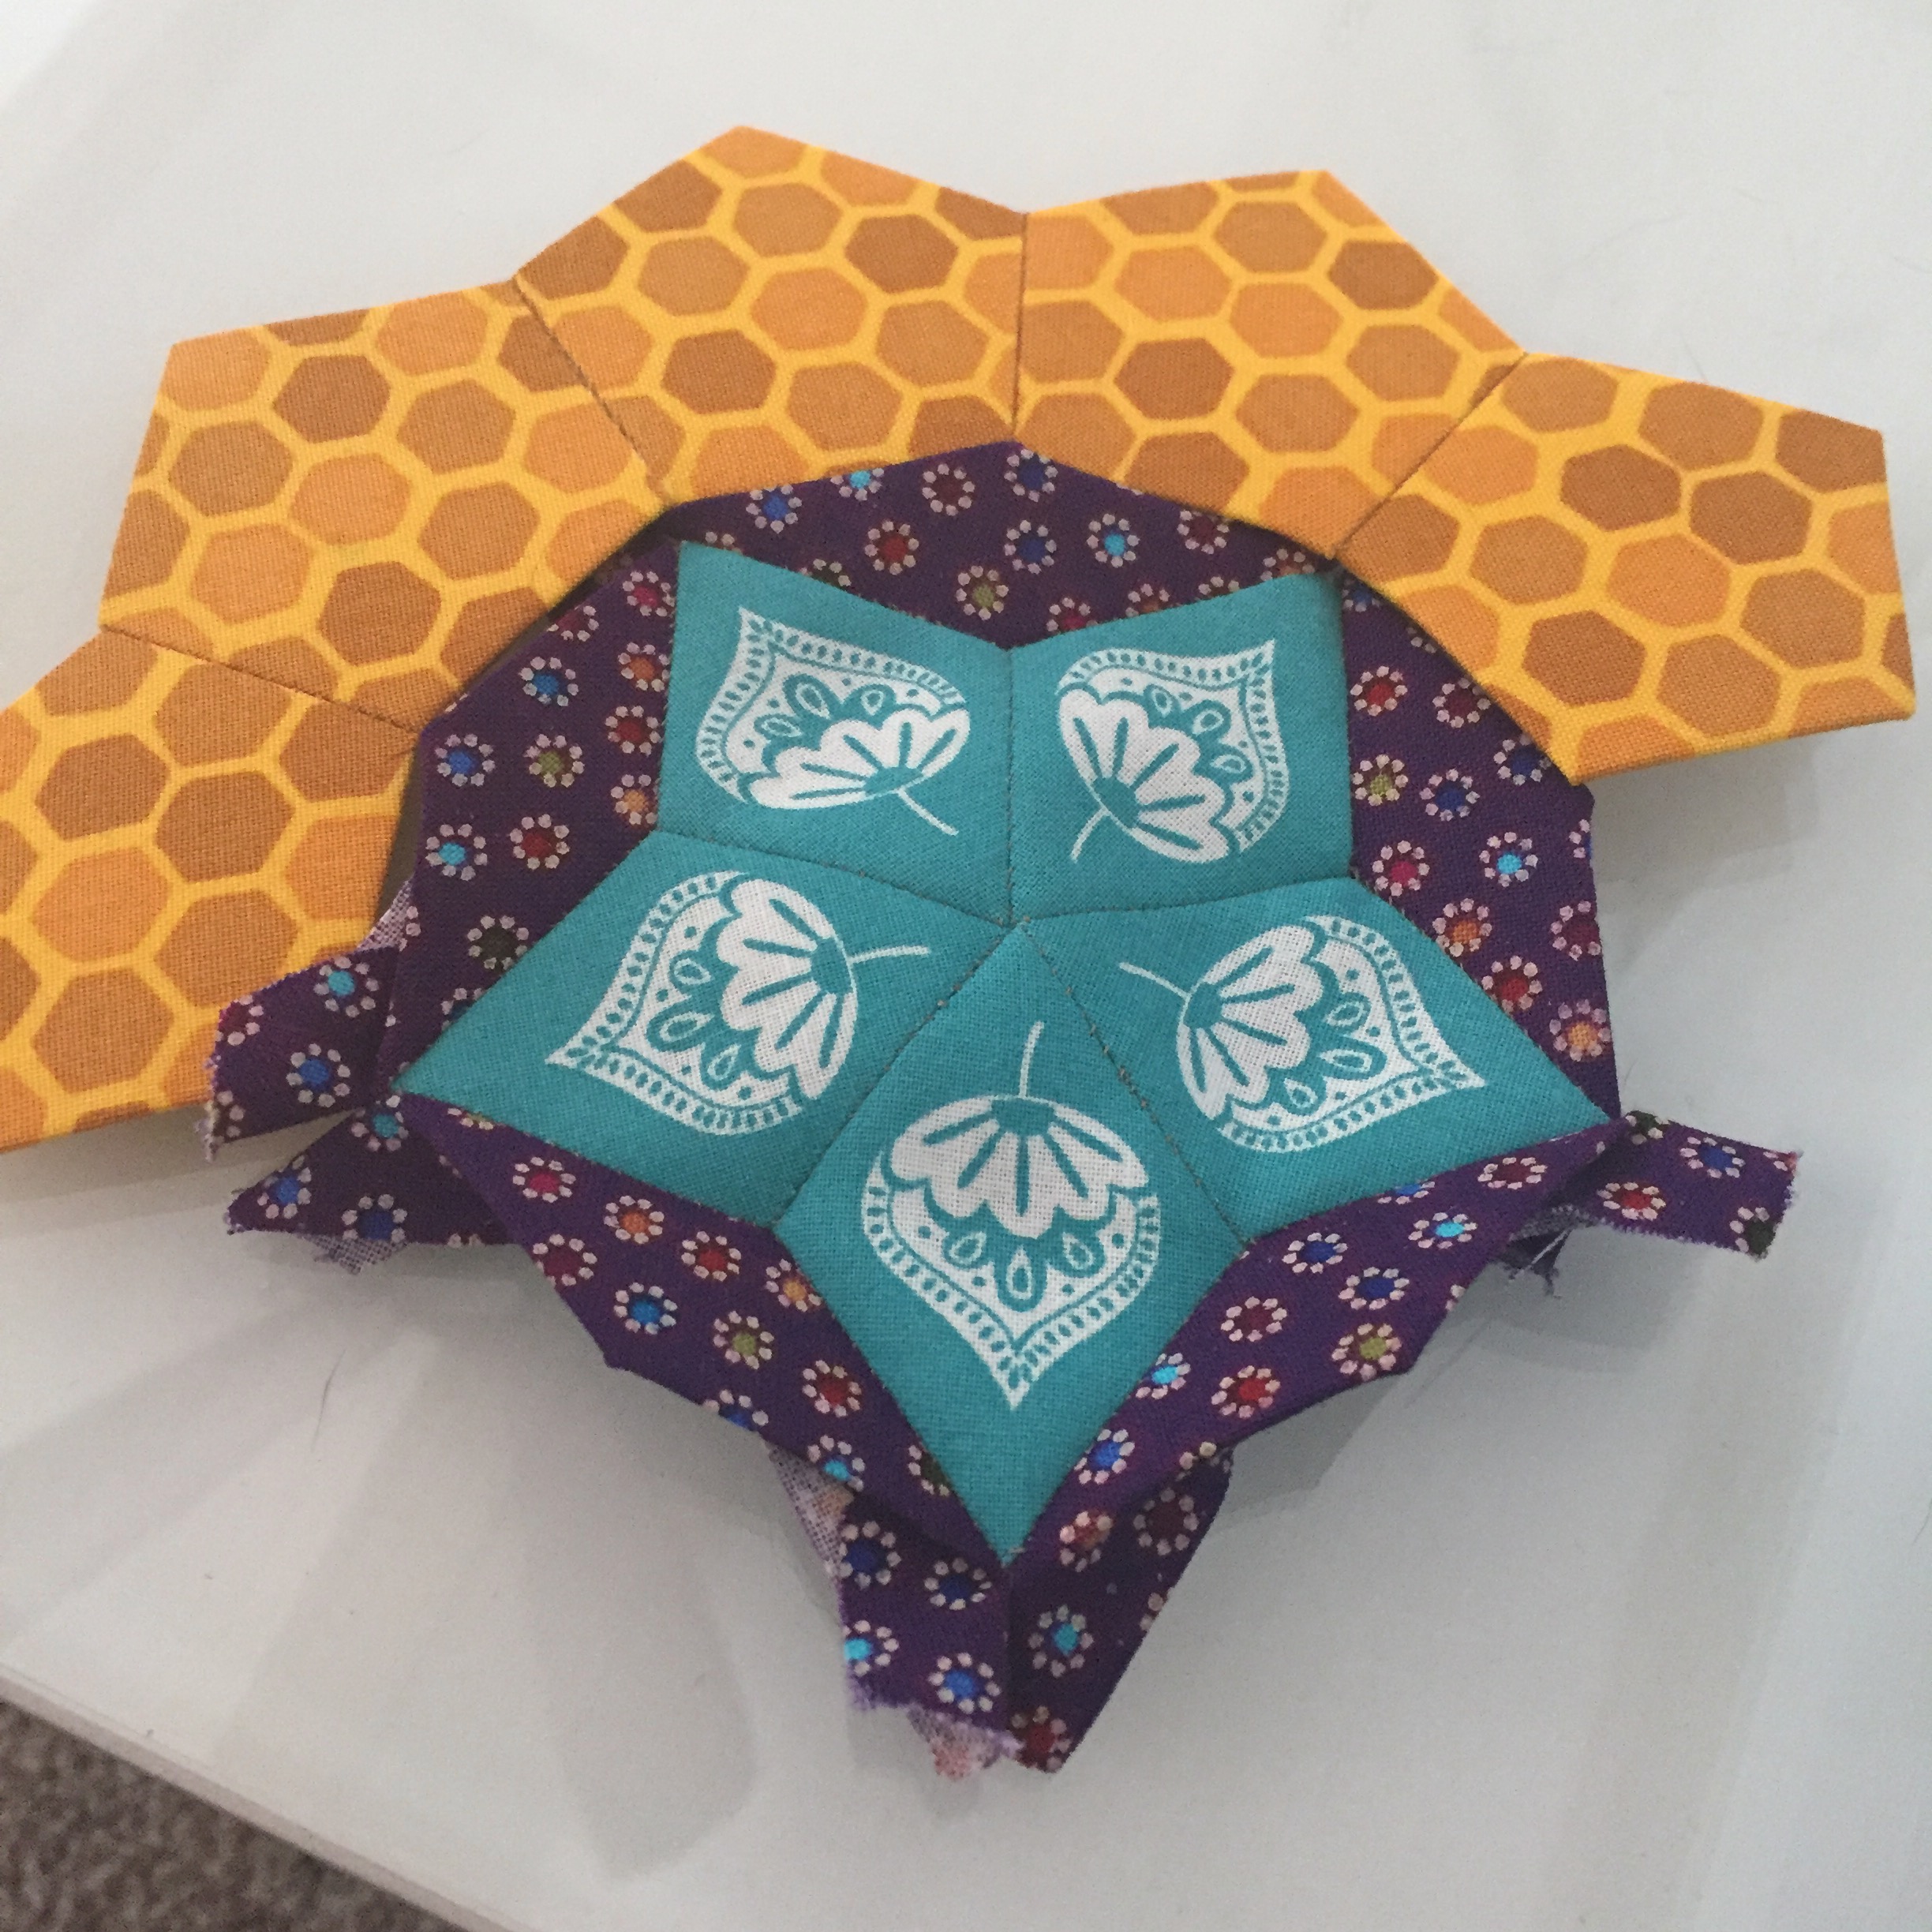
To start the center of the block I used a teal fabric with leaves. This fabric was directional and very symmetrical with lots of leaves. I cut one leaf for each of the 5 center star points and sewed them together. Then I chose a complimentary fabric for the 10 pointed star pieces around the outside. As you can see, I chose a purple fabric with colored dots to tie in all the colors I planned to use in the quilt. The next step was to choose a color for the first halo to sew around the outside. I chose to pull some gold into the rosette and make the center ring really stand out. Also this fabric was much lighter than the rest I planned so I knew that it would add light to the piece. When you are working with art, whether it is paint or photography, etc. the most important part is to bring in the light. Since I chose very dark jewel tone fabrics for this quilt I will be careful to add the light wherever I can.
After adding the first halo it was time to add the star point halo to the outside of my first rosette. The outer halo consists of ten stars with small pentagon centers and ten 5 pointed stars. I chose to fussy cut a flower from one of my print fabrics and add it to the diamond pieces between the stars. I had about a 1/2 yard of this fabric so after choosing a flower I counted them on the fabric to make sure that I had enough of that flower to cut out 10 pieces. Then I began creating the outer halo. Notice how the outer green star points are flecked with more light. This helps to add shimmer and depth to those darker fabrics and really brings out the gold center.
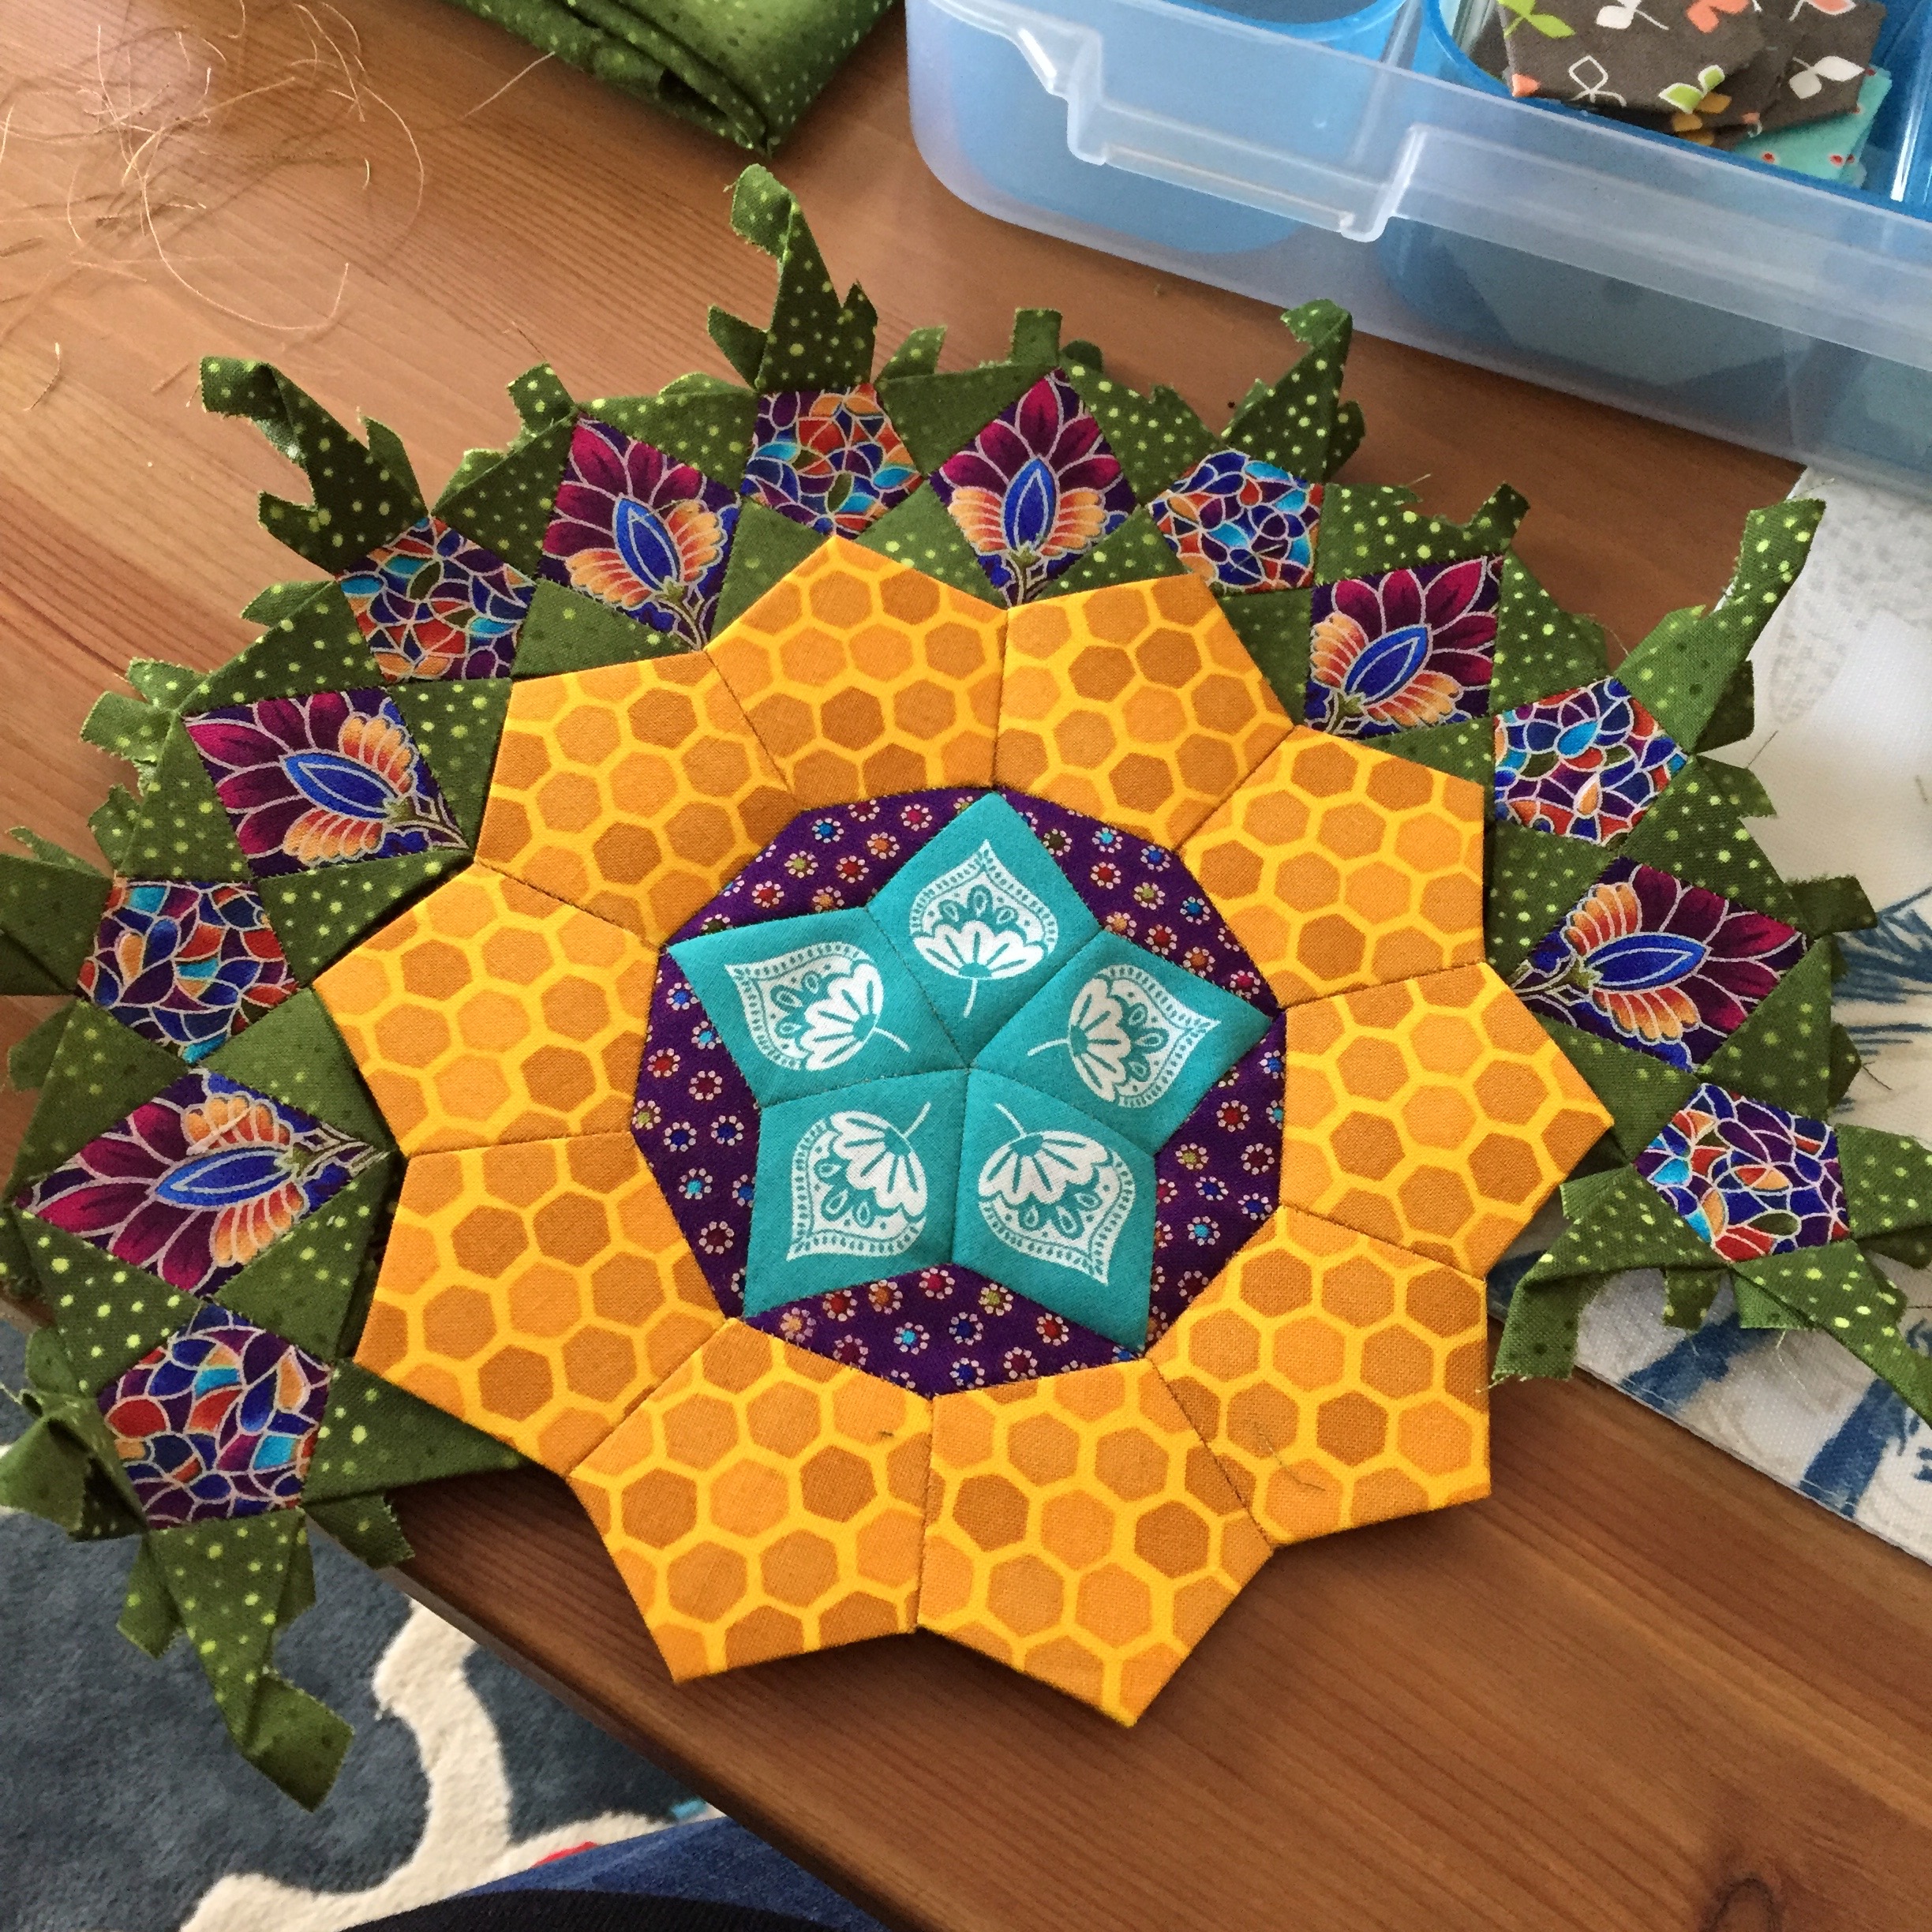
Once the outer halo is connected, the rosette is complete. I took the block out on the back deck so you can see what happens to the colors and check out all that gorgeous light. Those little dots in the green fabric look like shimmering sparkles of that center gold fabric and the gold fabric really brings out the gold in the flower. The center teal shines nicely in the center and ties all the colors together and the dark purple sets the gold and teal shapes nicely.

I am very pleased with how the first block emerged and it now sets the tones for the rest of the quilt to build from. Those flower and leaf repeats add a secondary pattern to the shapes in the block. Fussy cutting can really take your quilt to the next level. The new hexagon quilt would have been lovely out of these fabrics also but I think the owls have the cuteness factor going for them.
Speaking of the owls… let’s get to this week’s blocks.

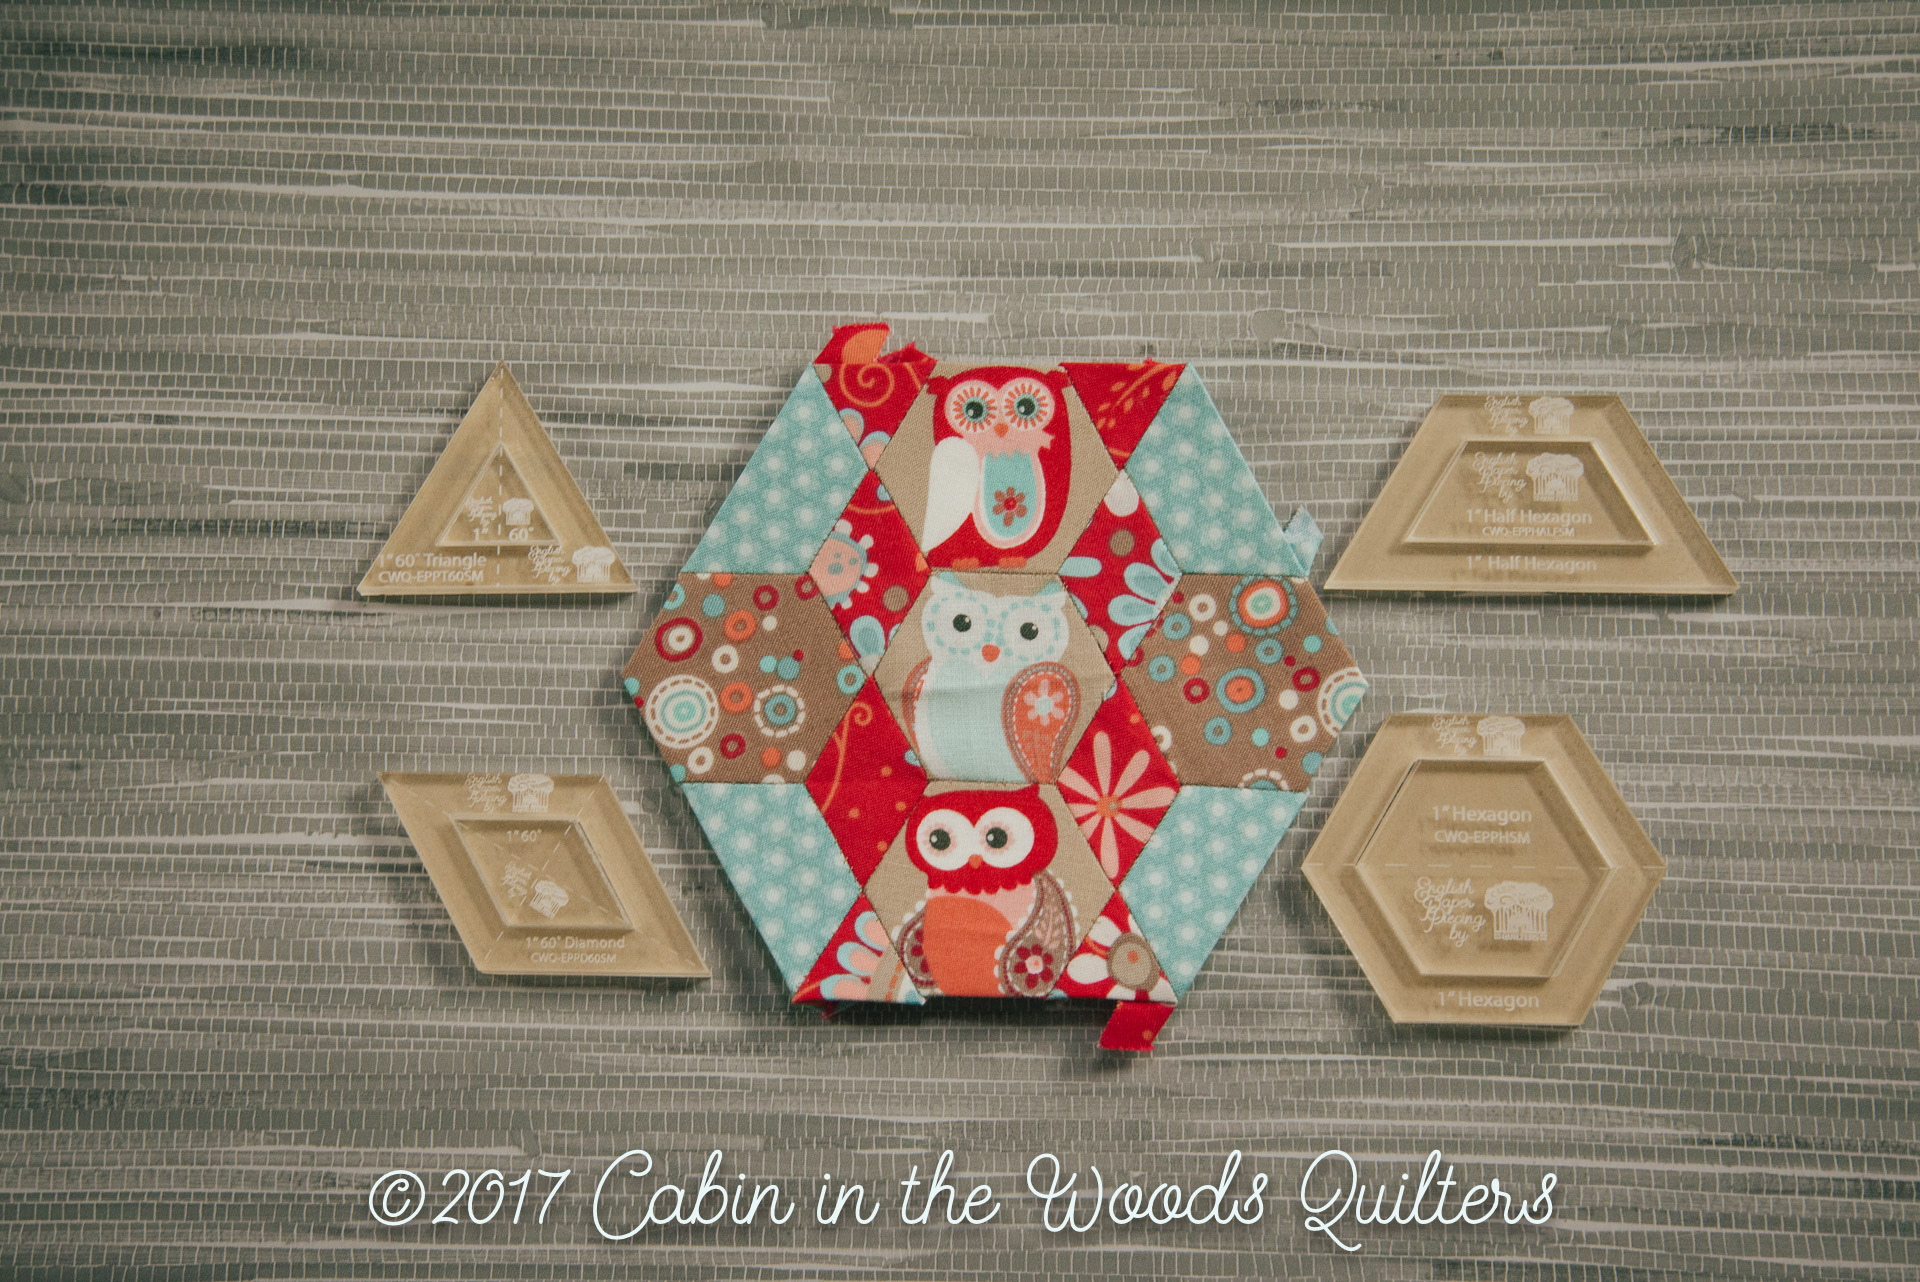
Block 41: Betty…
was created using the 1″ 60˚triangle, half hexagon, hexagon and 6 pointed star templates from the small sets. Notice how we fussy cut our little owl friends in three of the hexagons. Aren’t they cute as a button.
Block 42: Sandra…
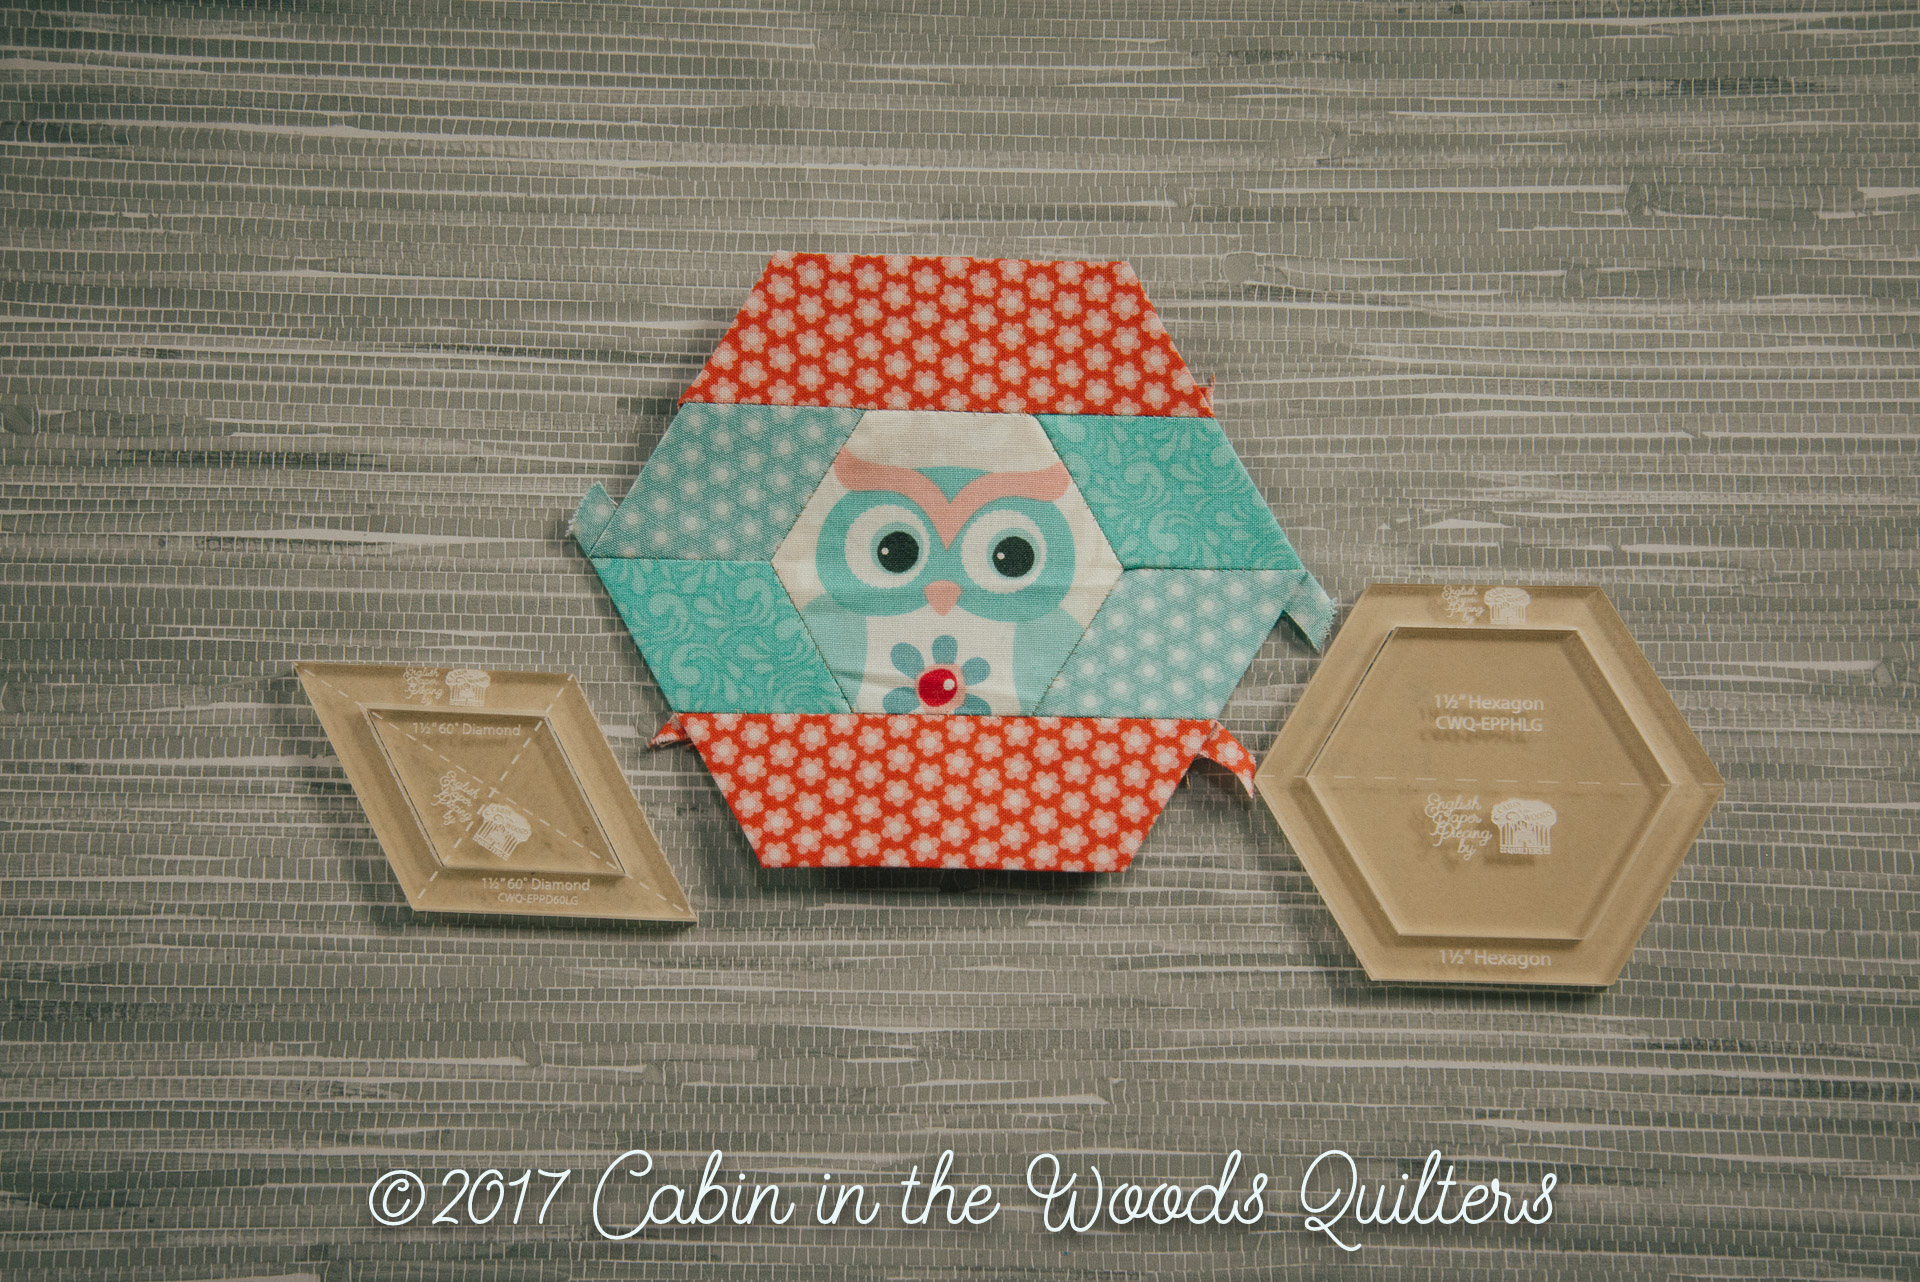
was created using the 1 1/2″ hexagon and 6 pointed star template from the Small Sets and a couple of elongated half hexagon odd shapes you can cut out from our CWQ Printable which you can DOWNLOAD HERE. We fussy cut another owl friend for the center hexagon.
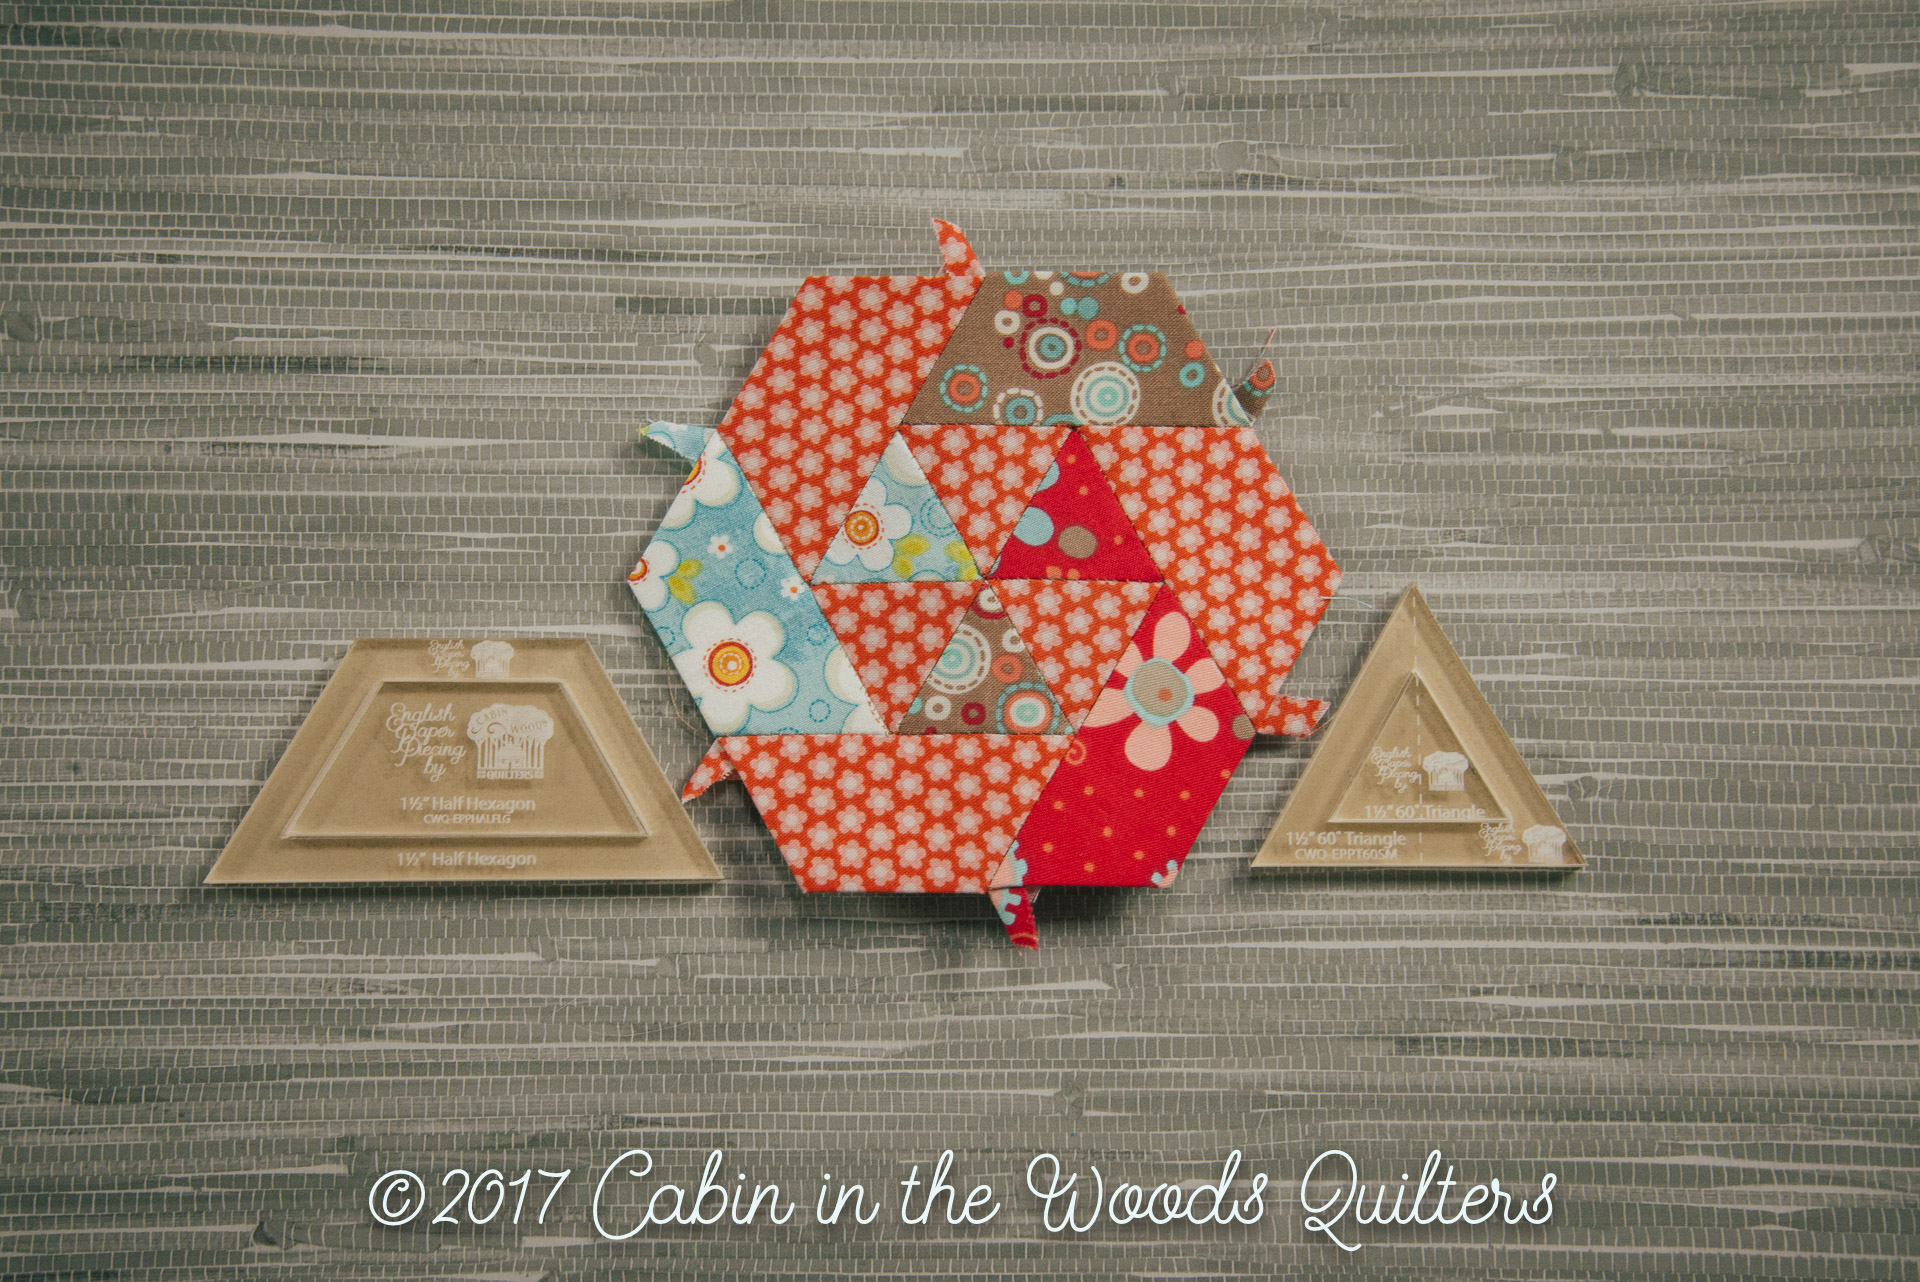
Block 43: Noreen…
was created using the 1 1/2″ 60˚triangle and half hexagon templates in the Small Sets.
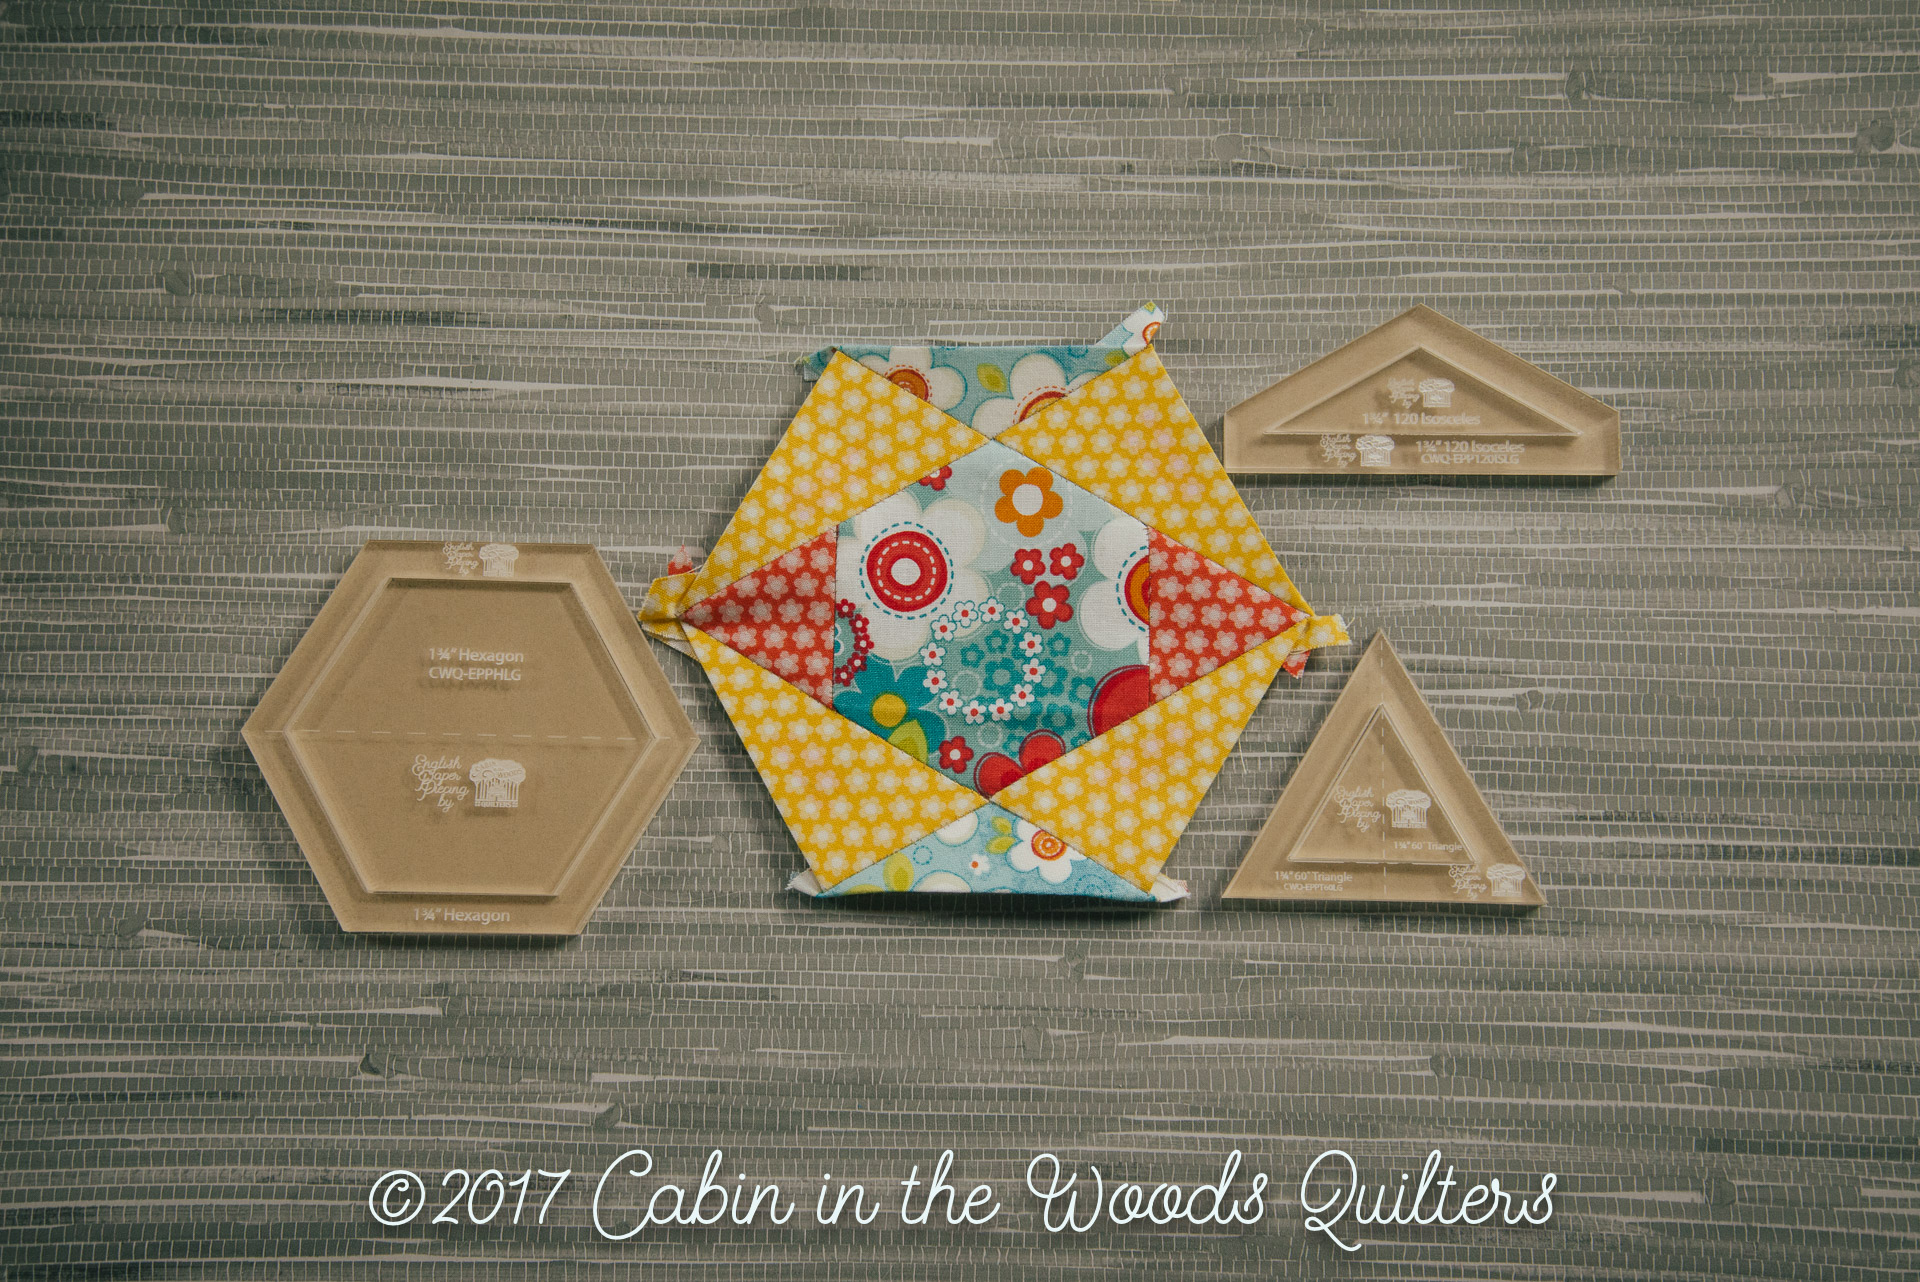
Block 44: Margaret…
was created using the 1 3/4″ hexagon, 60˚triangle and 120˚isosceles triangle from Large Sets and a couple of oddly slanted rectangles half triangles which you can cut out from our CWQ Printable which you can DOWNLOAD HERE. Be sure to watch how you place the papers on the fabric. Two pieces slant in one direction and the other two pieces slant in the other direction.
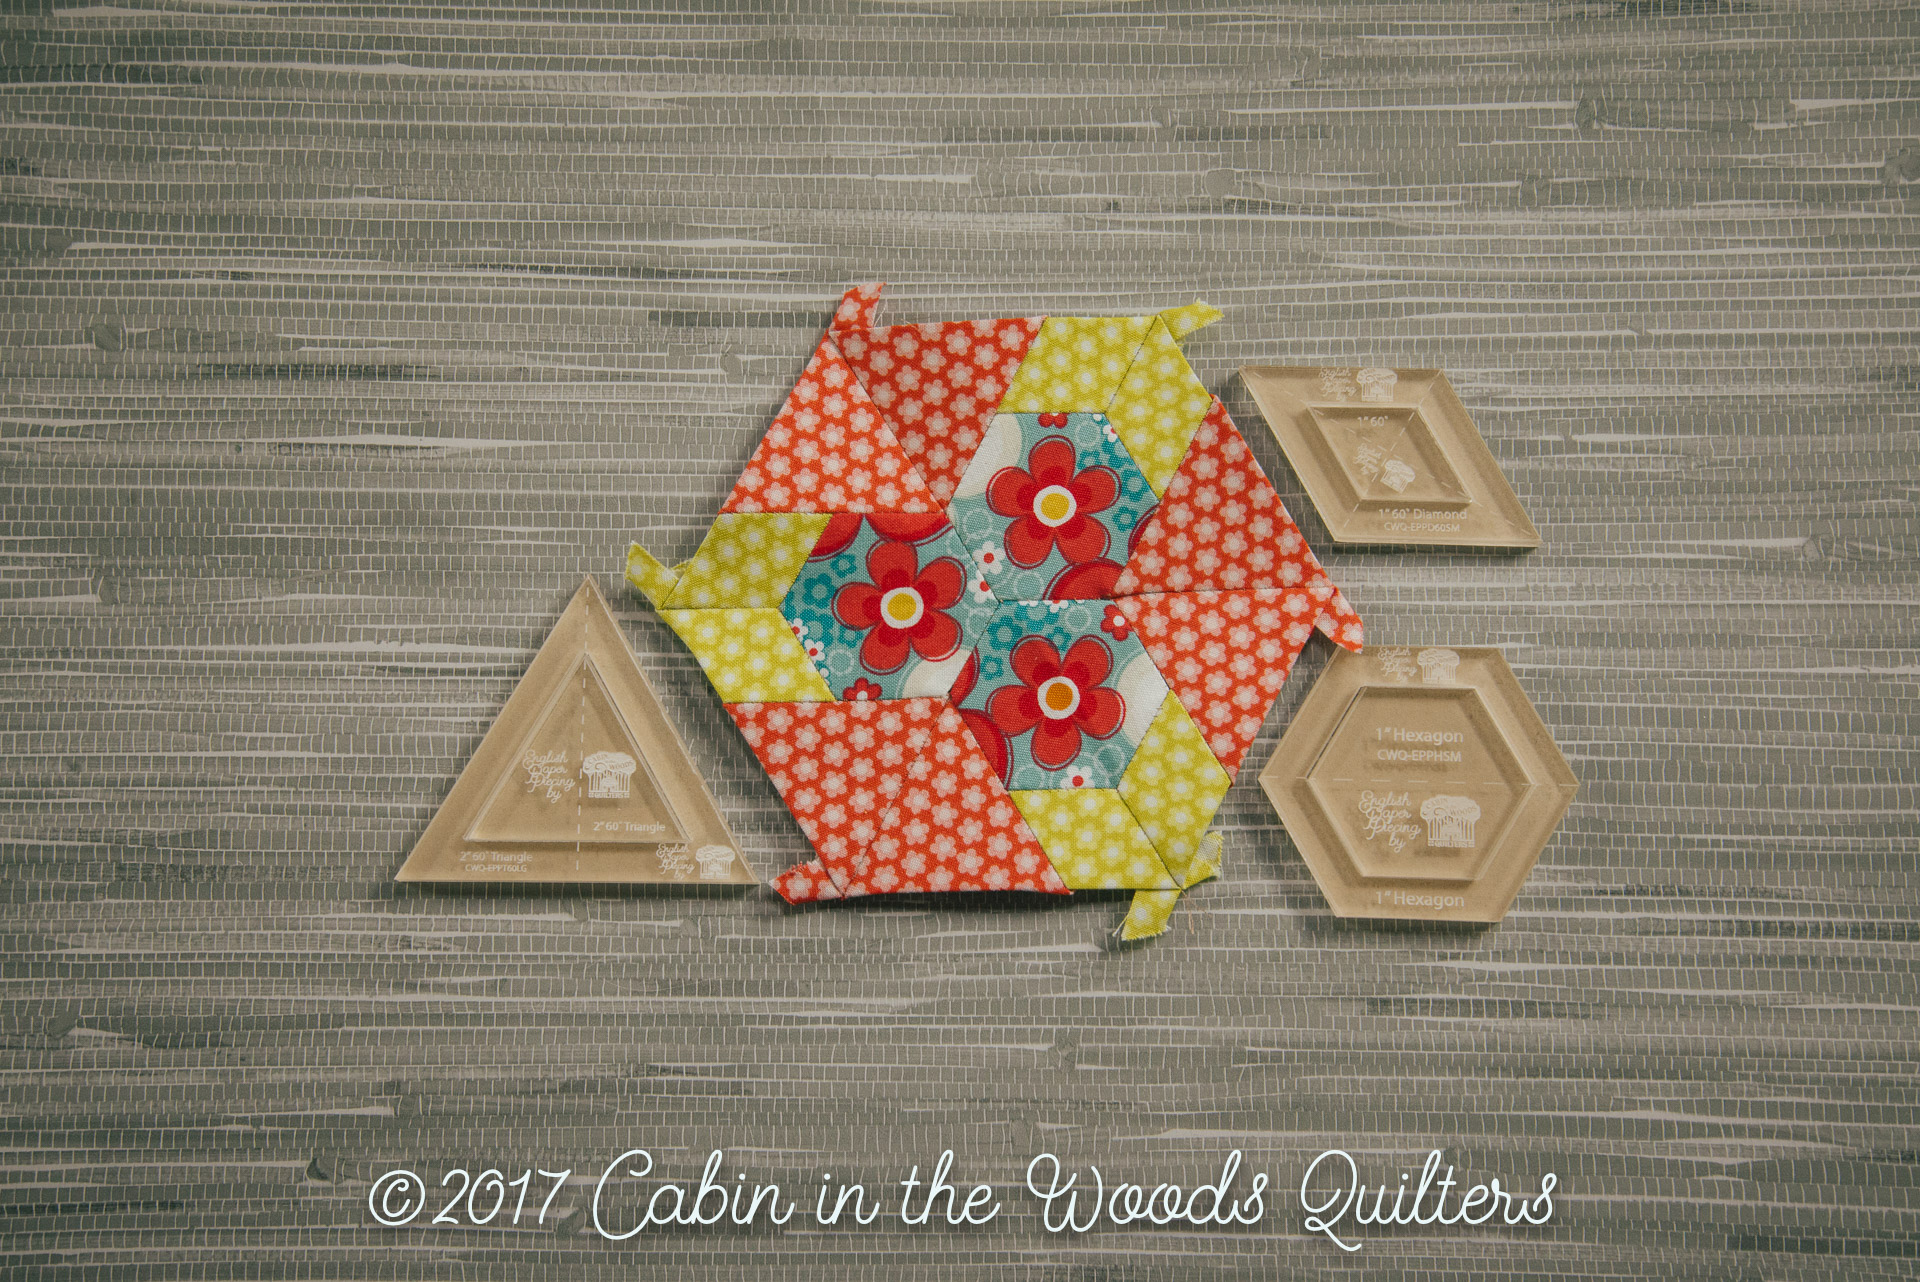
Block 45: Shelley…
was created using the 1″ 6 pointed star and hexagon templates from the Small Sets and the 2″ 60˚triangle from the Large Set. In this block we were able to fussy cut the flowers in the center of the hexagons.
So far in this Quilt Along we have used templates from the following CWQ sets:
Hexagon Small Set 6 Pointed Star Small Set 6 Pointed Star Large Set
60˚ Triangle Small Set 60˚ Triangle Large Set Jewel Small Set
Half Hexagon Small Set Half Hexagon Large Set Kite Small Set
120˚Isosceles Triangle Large Set Hex Peak Small Set Hexagon Large Set
We list them here so you can find them easily on our online store. Remember that several sets are used multiple times throughout the book/calendar and you will use multiple sizes from each set throughout the book/calendar as well. Of course you will use them again and again throughout your EPP lifespan as the same shapes appear in many designs. All of the shapes in the New Hexagon will have some relationship to 60˚ because they are hexagon based.
If you missed the other blocks in the Quilt Along you can find them all on our blog page or by clicking here.
Week Seven: Blocks 31-35
~Happy Stitching