
Welcome to Week 4 of the New Hexagon Quilt Along by CWQ featuring our new English Paper Piecing templates sets.
This week poses one particular challenge: we make our first block that we cannot make entirely from CWQ English Paper Piecing templates. I know that I said you can make anything from our templates and you most likely can make any shape block that you like. But as it happens, all the blocks in this book must be made to finish at exactly the same size and there are 52 blocks in the book. That means that at some point we will run into a shape that is an odd size or an odd shape. This week we have one of those blocks: Block 18.
For those designs that cannot be made with our template sets we have a little tip for you. Now, if you already use a drawing program and can draft your own patterns and/or scan and cut your own papers… then you won’t need this method. You can always copy the book on your home scanner and attempt to print on 65 lb. card stock from your office supply store… but some scanner/copiers can reduce the size of the pattern and cause the pieces to skew. I like to draft my own with a ruler from the book so that can ensure that they are perfectly sized. Don’t worry… if this method doesn’t work for you… we have a little surprise for you later on in this blog post. Also, we would love to hear your tips and tricks for this method.

Drafting from the book:
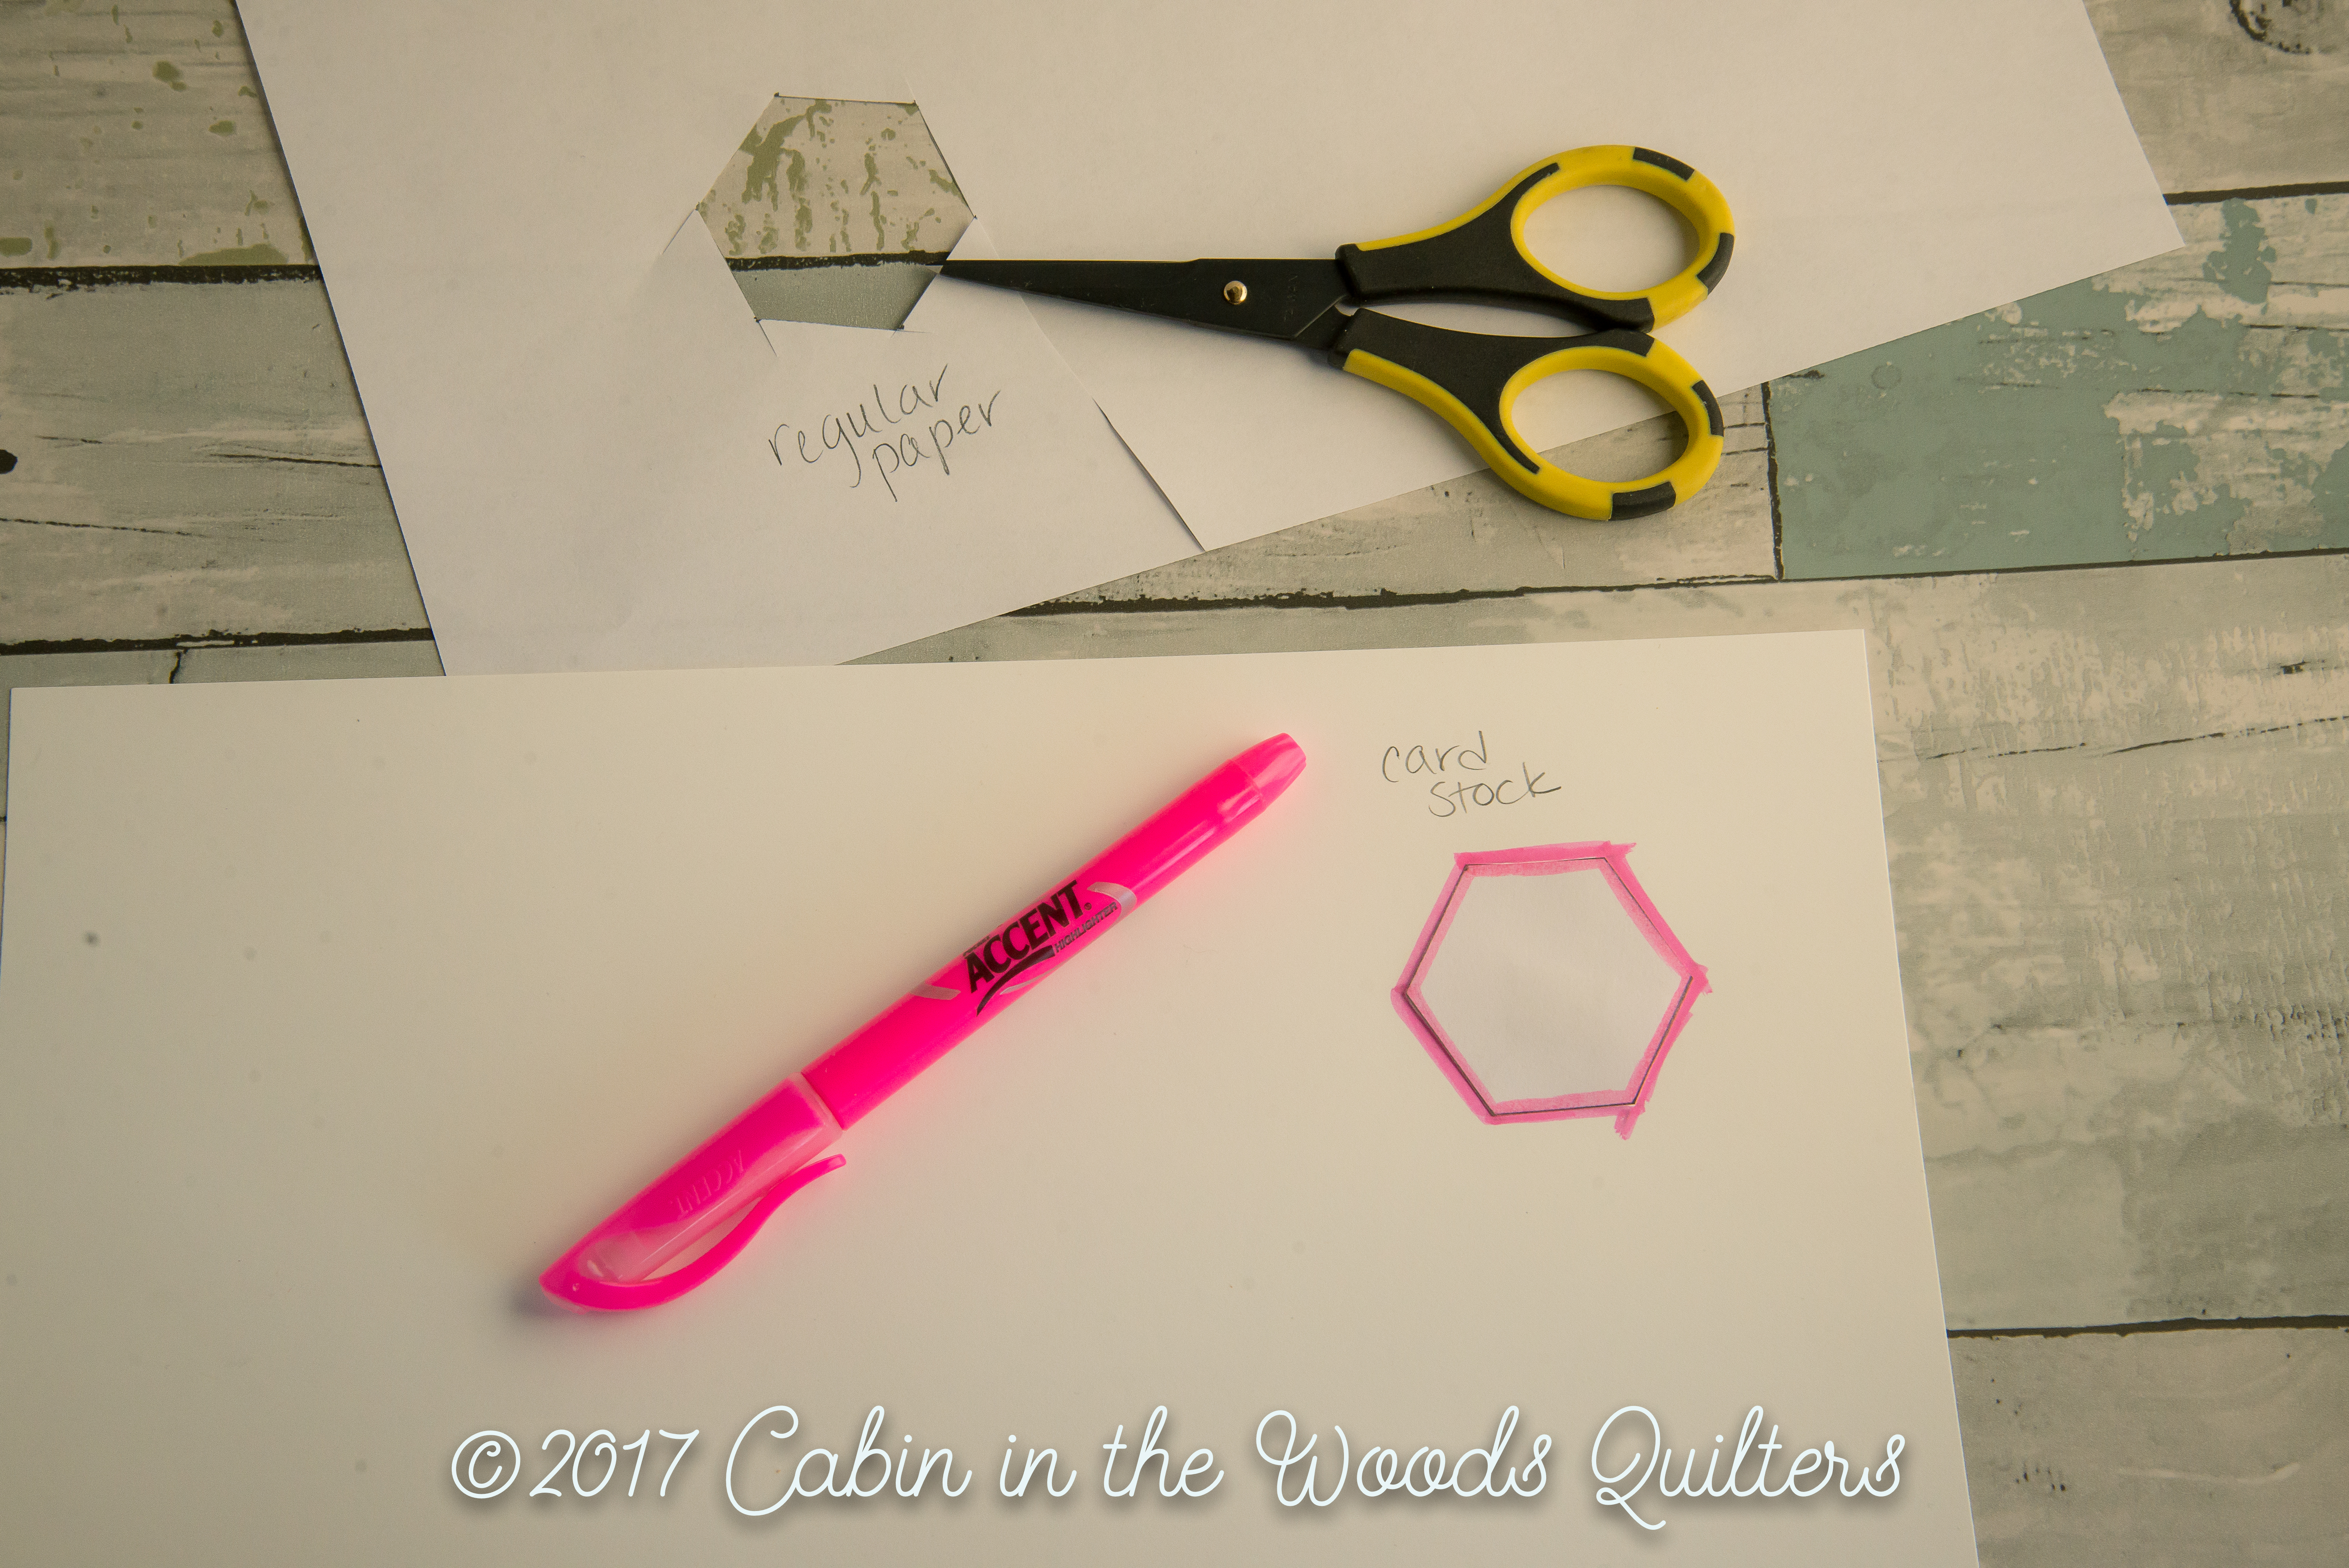
Using a plain piece of paper from my printer and a clearly lit room I can place the paper over the design in the book and pencil mark the corners of the template. Then I use a ruler to draw the line in between the corners for cutting. (I can’t trace directly onto yardstick because it isn’t bright enough to see through and I cannot use a light box or bright window as with other methods.) After the design is traced… cut it out of the paper.

Next place a little piece of tape on the back of the paper template and stick it to a piece of 65 lb. card stock. Using a highlighter, gently mark all the way around the template. The highlighter is best used by placing the tip half on the piece and half on the paper so that you can create a reference line along the edge.
After the reference line is drawn, remove the paper template from the card stock and use your paper scissors to cut out the card stock template along the inside edge of the highlighter mark.
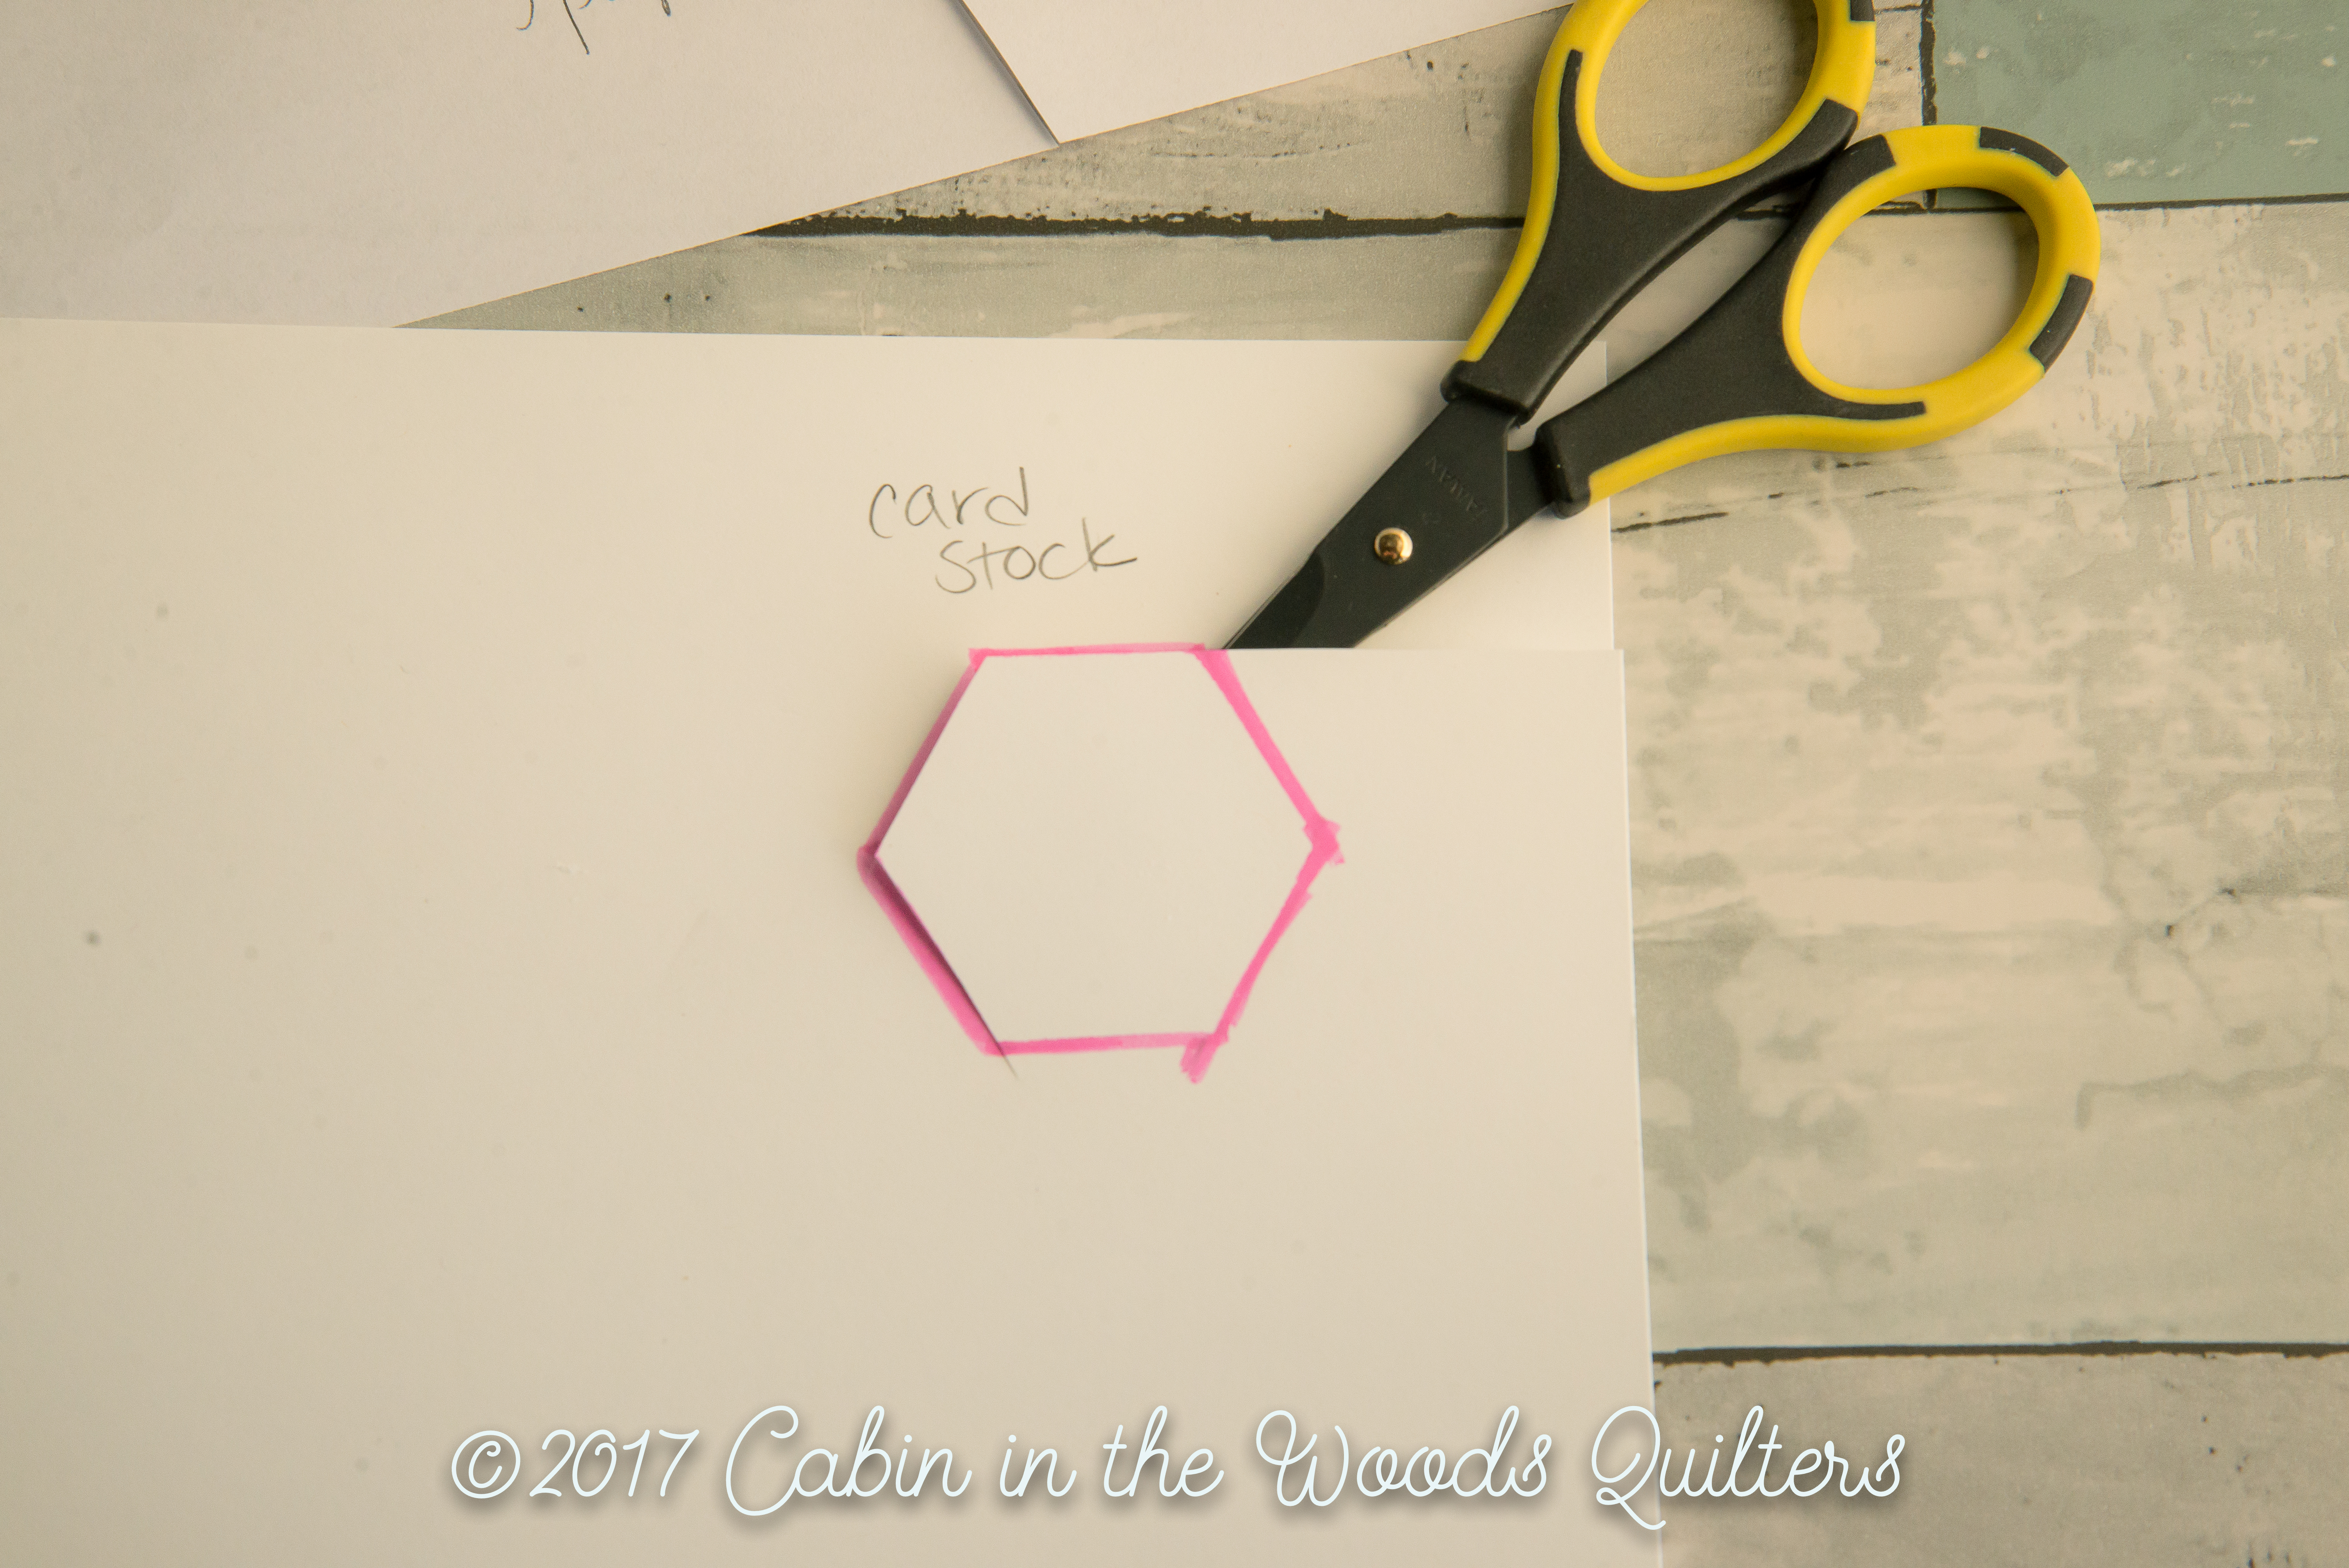
This may seem like a lot of work or a basic “Old School” method and you are right… it’s pretty old school. It is also very simple, very inexpensive and you have those tools lying around your house. So use this method if you are ever in a bind and don’t have a template for an odd shape. Obviously, if you have to make 2000 of them… well… you will have to figure out something a little easier but for the purpose of this book… this method is simple and affordable and very easy to make 7 template papers for one block. But… check and see what we have for you a little further down in the post.
So let’s get to this week’s blocks.
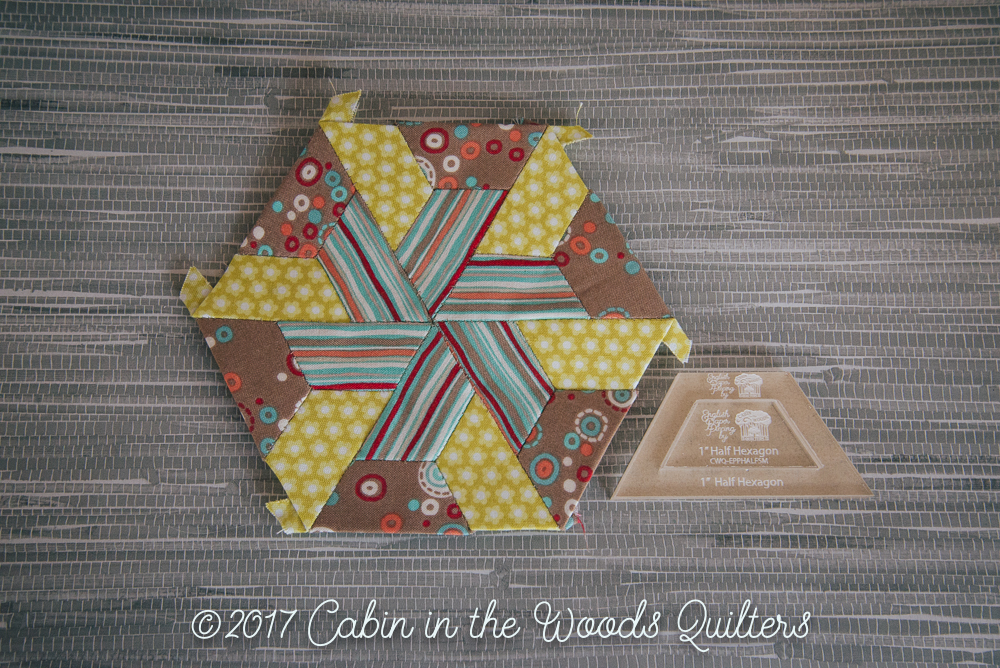
Block 16: Louise…
was created using the 1″ Half Hexagon template from the small set. This is a great block to use the kaleidoscope technique from the previous blog post or a fantastic directional fabric shown here.
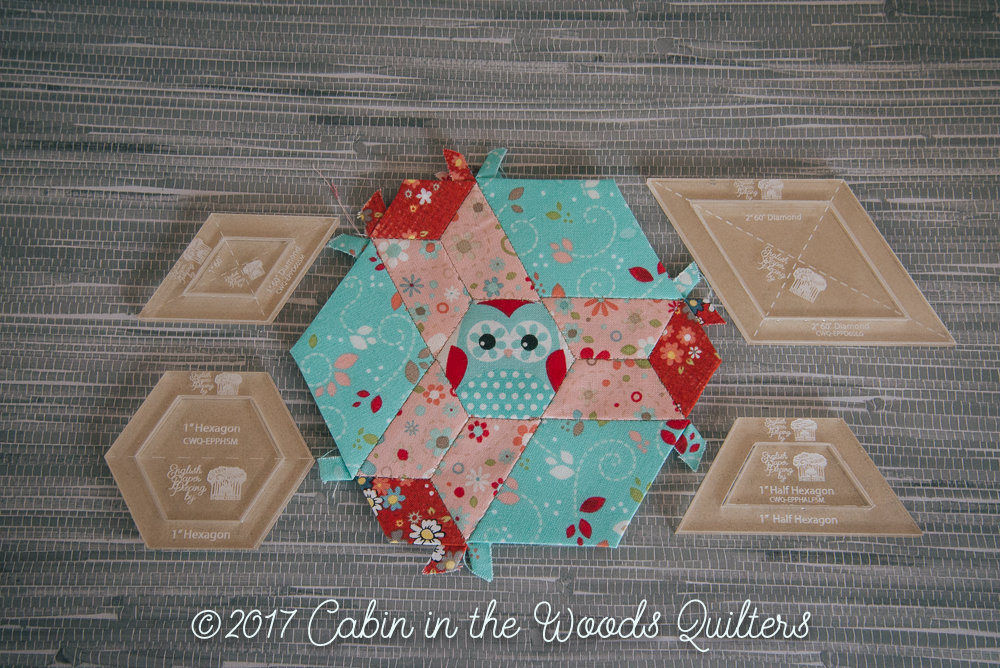
Block 17: Brenda…
was created using our 1″ Hexagon, Half Hexagon and 6 Pointed Star templates from our Small Sets and the 2″ 6 Pointed Star template from our Large Set. This little block has a tiny owl peeking out to see you. It is so much fun to play with the prints this way even if you are working with scraps.
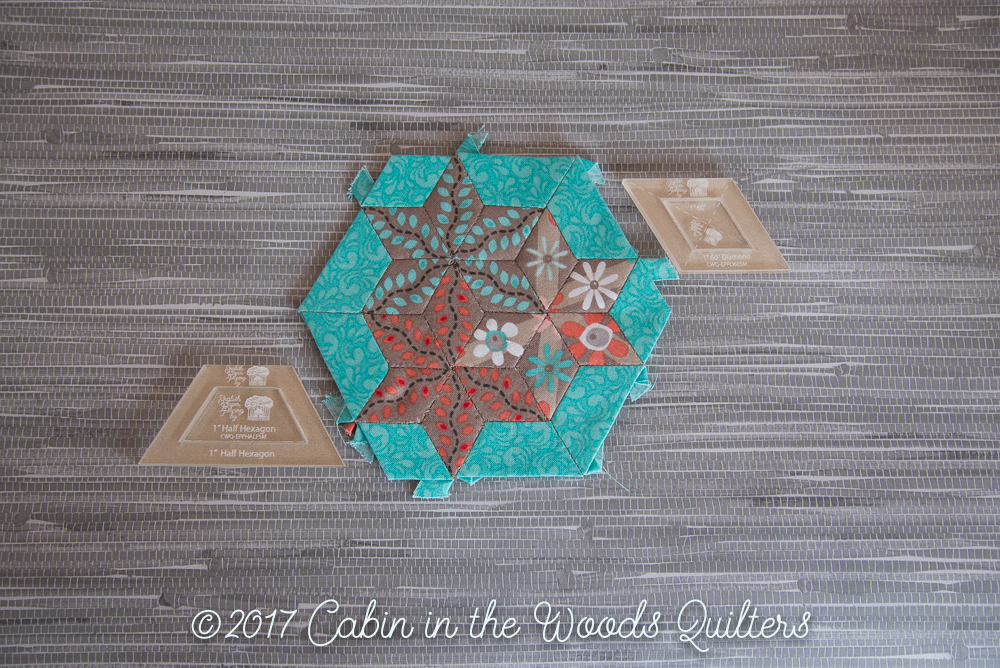
Block 18: Carla…
was the tough nut to crack in this group. The outer parts of the block were created using our 1 3/4″ 60˚ Triangle and our 1 3/4″ 120˚ Isosceles templates from our Large Sets. (The 120˚ Isosceles Large set will be used again in this book.) The centers of the blocks were the issue. Since they are 1/2 the size of the measured blocks on the outside of the block… the hexagon and half hexagon shapes on the inside of the block would have to measure 7/8″. This is a very odd size. The hard part is creating those template pieces so… I have done that part for you (DOWNLOAD HERE) in this printable sheet. You can run your card stock through the printer and cut them out. But do keep in mind that you can use the instructions in the above post to get yourself out of a jam if you ever run into this small problem in the future.

Block 19: Nicole…
was created using our 1″ 6 Pointed Star and Half Hexagon templates in the small sets. In the book, the author uses three shades of the same color for the blocks but this time I fussy cut some border prints in the same shade to make a cut little vine and flower number. I really love the way this one turned out.
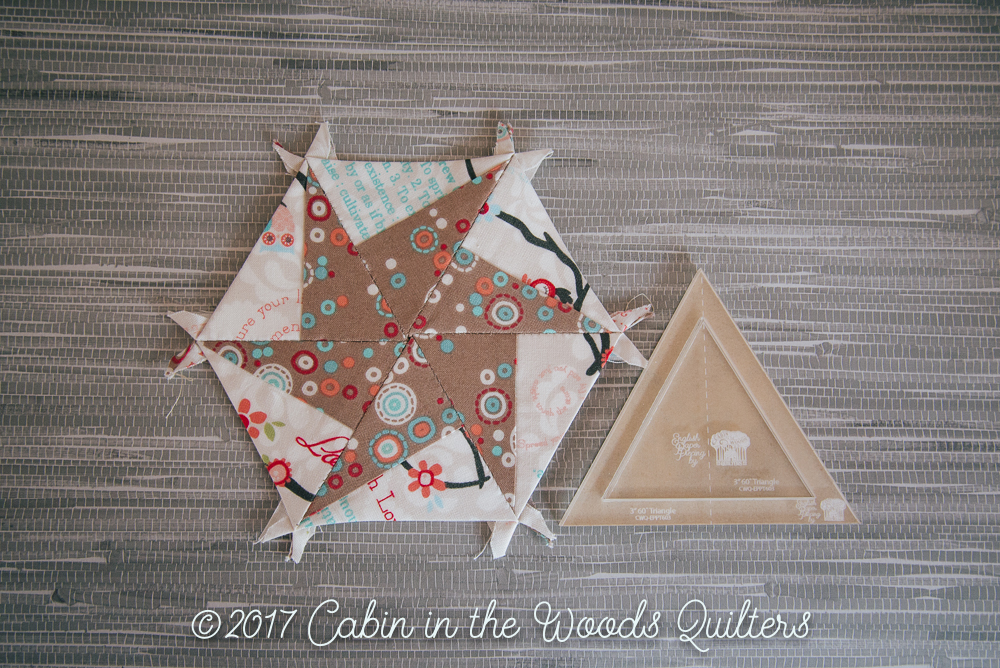
Block 20: Barb…
was created using the 3″ 60˚ Triangle template from the Large Set. Instead of making another hard to find template for this block, I decided to strip piece the block before cutting with the template. One brown strip and one cream strip sewn together and then use the center line on the template to line up the seam for cutting. Instruction diagram below. This made my life easy and worked like a charm.
Thank you for joining me this week. We are furiously working on creating stock for sale this month at the Lancaster Quilt Show in PA. This will be the first retail show for the templates and I hope some of you can make it to the show to pick up all the sets you need as well as the individual quilt sets for the Millefiori Quilts like the trending La Passacaglia quilt. We will have a few of those too. We are uploading to the website as fast as we can but all of the templates are currently available at our partner Etsy shop: CabinCraftworks. If you can’t wait and can’t find them on the website, make sure you check the Etsy shop.
If you missed the other blocks in the Quilt Along you can find them all on our blog page or by clicking here.
Happy Hand Piecing
~Penni