Hello Quilt Gang:
Welcome to Week 2 of the The Hexagon Quilt Along by CWQ featuring our new English Paper Piecing template sets.
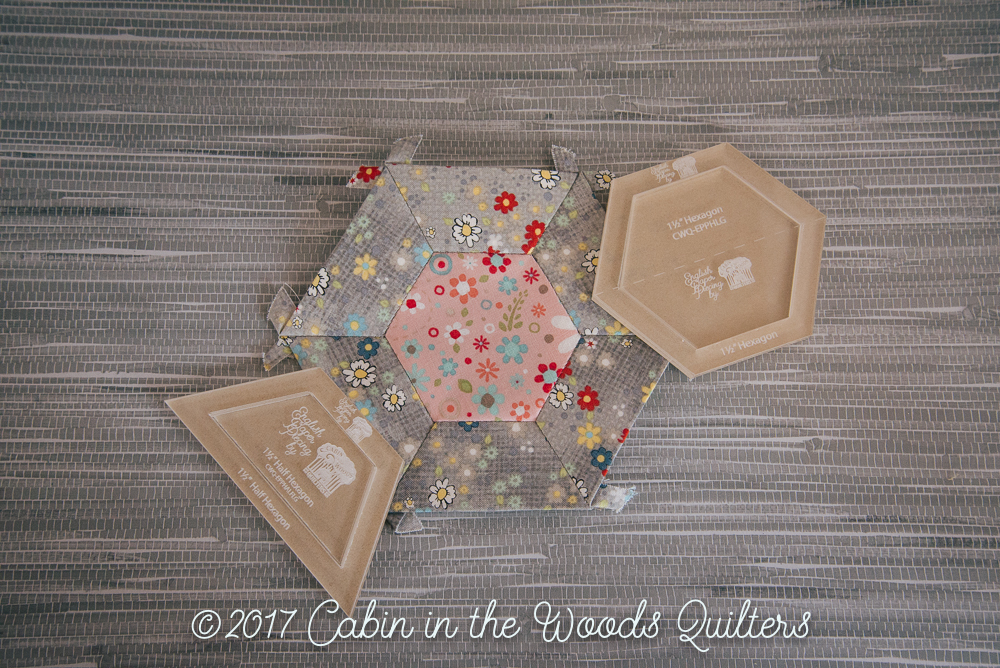
Last week we talked about the new English Paper Piecing templates from CWQ. This week let’s look at how to use them. After measuring the blocks and deciding which size and shape templates to use, I trace the inside template by the number of pieces needed on 65 lb. card stock from any office supply store. I cut the paper pieces out using my paper scissors. Then using the halo template of the same size, I cut the fabric pieces which now include the seam allowance.


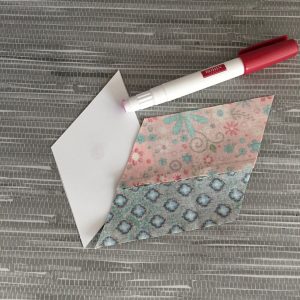
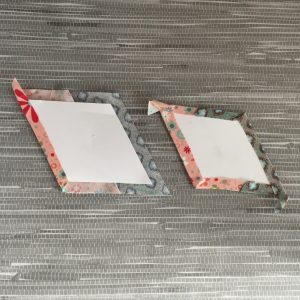
The next step is basting. The quickest and simplest method I have found is the glue baste method. With the invention of the water-soluble glue pen, working with paper templates is simple and easy. A little dab of glue on one side of the template helps to keep the paper template in place. Then swipe the glue on each side of the template and fold the seam allowance over the template. The glue works well and stays attached until you are ready to remove the paper. Once the edges of the template are sewn into a seam you may remove the paper. Most of the paper in these blocks will remain until the blocks are assembled in the quilt top but the centers may be removed if you feel the need.
Due to the many paper pieces in different sizes required to make this quilt, I recommend creating your own papers from card stock. I know that it is much easier to use papers that are prepackaged and that creating your own takes a little effort. Unfortunately the numerous variations in size and shape to create this quilt make purchasing prepackaged papers cost prohibitive. However, if you are making multiple blocks of the same shape and size, prepackaged papers can come in very handy and can save a lot of time. You will notice that several of the shapes and sizes are reused throughout the 52 blocks in this quilt.
Now on to the Quilt Along…
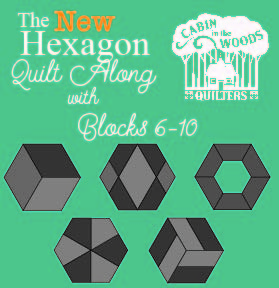
Block 6: Dolores was created using the 3″ 6 pointed star template in the LARGE set.
Block 7: Maureen was created using the 1 1/2″ 6 point star and the 1 1/2″ half hexagon from the SMALL Sets and the 3″ 6 pointed star from the LARGE Set.
Block 8: Marena was created using the 1 1/2″ hexagon and 1 1/2″ half hexagon from the SMALL Sets.
Block 9: Doris was created using the 1 1/2″ kite template from the SMALL Set.
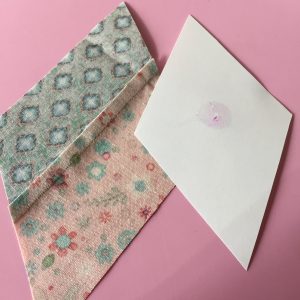
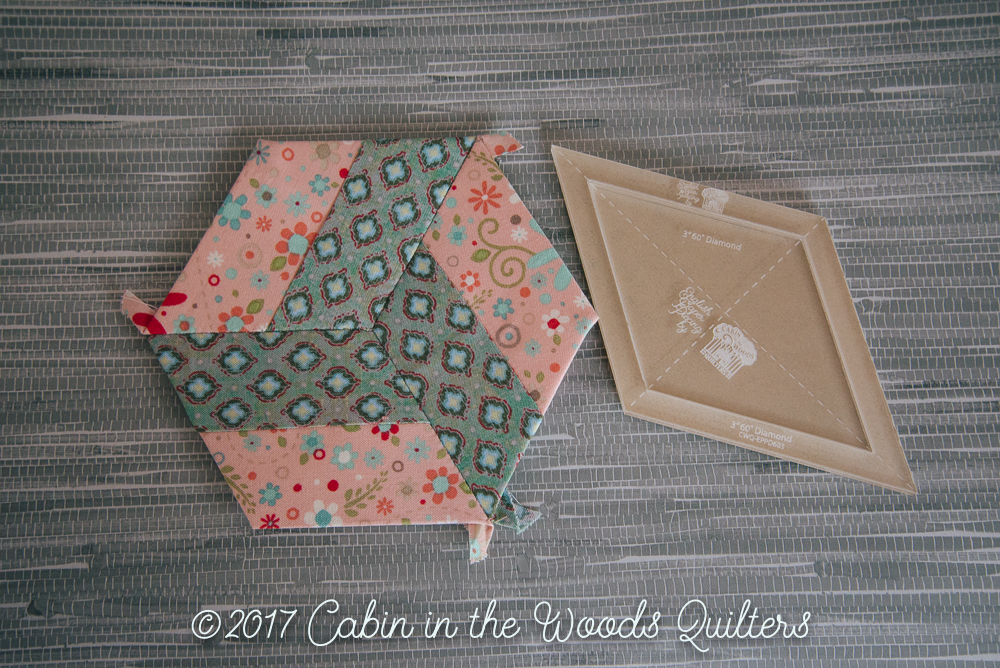
Block 10: Kelly… Now you may be looking at the Kelly block and thinking… I don’t see a template that works for the this block. I could create a template for this block but this isn’t a very common size and shape. This block was easily created by using the 3″ 6 pointed star template. First I took 2 strips of fabric 2″ wide and about 15+” long. I sewed the two strips together and then used the template to cut out the strips with the seam through the center. Perfect and super easy. Photos at the top of this post show how I laid the fabric cutting template on the strip set to cut it, making sure that the seam traveled through the center of the template. Also… lay the paper so that the seam lays through the center. This makes the block super simple and less seams. You can sew a strip set together by hand if you would like but stitching it quickly on the sewing machine made it easy for me.
You may notice something a little strange about my block if you are following in the book. I will give you a hint. It’s a little bit backwards. The block has the same effect… but doesn’t exactly match the direction in the book. Some of the blocks in this book use pieces that are directional. You will see this later in the Quilt Along when I give out printable with the “This side on fabric” markings. I simply cut my block pieces with the points going in one direction instead of the opposite direction (this reversing patterns for fusible web). At times you must reverse your pattern pieces in order to have the direction be correct when places around the fabric. In the case of this block… not doing that caused the block to be reversed… but the pattern outcome is the same. In this block it didn’t really matter but it could in future blocks so just be aware and I will try to remember to mark the blocks on this blog as “reverse” so you remember to do so in your quilting.
See you next week for a look at Blocks 11-15 and a tip on working with pieces that aren’t a common template size. Don’t forget to show me your blocks in the comments below.
If you missed the other blocks in the Quilt Along you can find them all on our blog page or by clicking here.
Happy Hand Piecing
~Penni
