Fun little sewing project and great giftie!!
Greetings gang! I can’t imagine how my fellow designers are fairing after returning from Quilt Market to their pre-market studio mess. I have pre-market studio mess and I didn’t even have a booth at Quilt Market this spring. My tables are littered with last-minute project scraps, Row by Row samples and all the products I want to demo for you for the upcoming posts. I am grateful that today’s post is all about fun… and for me… combatting a little of that mess. I would love to talk all about the Maker Basket Pattern and Kit from Crosscut Sewing Co. There is a video on the making of my Maker Baskets at the bottom of this post. But don’t worry, I took some photos too.
I am always a little uneasy when a company asks me to make something specific using their pattern. As I have stated before, I became a pattern designer because I have the pattern reading ability of a caged chimp but I took on the challenge of creating the Maker Basket to help organize things around here. Perhaps my organizational skills are the same. It depends on the day. But, these Maker Baskets looked super awesome and super easy.
Crosscut Sewing Co.
All the kits were provided by Crosscut Sewing Co. (the designer’s of the kit and pattern) and contain all the basic needs for making the basket without the fabric. Frankly, I am grateful because I love choosing the fabrics for my own project. The owner of the company, Stephanie, is a mom and loves teaching kids how to sew. Be sure to check out her site by clicking on our link. The store is located in Melrose, Massachusetts so you can actually stop by and if you are located in that area… they hold birthday parties in the store. What an awesome idea for kids.
What comes in the kit?
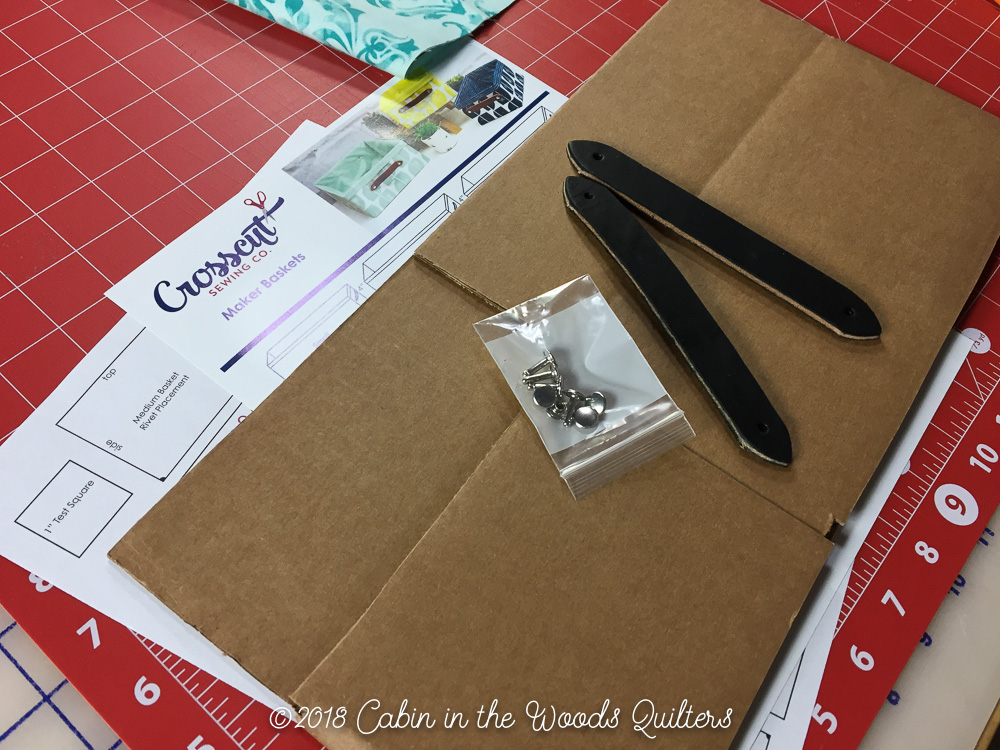
Tthe kit contains the pattern, box base, and hardware so you can complete the maker basket in one day. In my opinion, the instructions are very clear and easy to understand. I would definitely call this a beginner project as the cutting and sewing are simple and easy and require no special skills except a properly measured seam. As instructed, I ironed some stabilizer (Shape Flex Fusible Interfacing by Pellon) to the fabric before I sewed the pieces together to add body to the box. Stephanie recommends this step in the instructions. If you don’t have Shape Flex in your studio you should get some. A good fusible interfacing can change the finished look of a project and take your homemade look to the professional level.
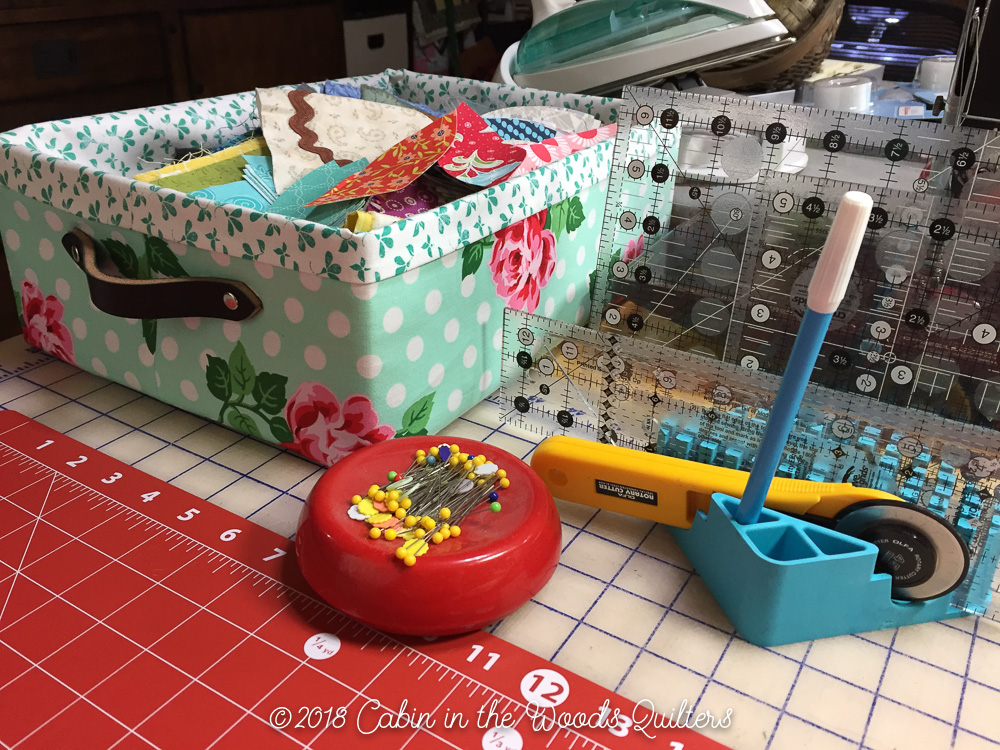
Additional Sewing Tools
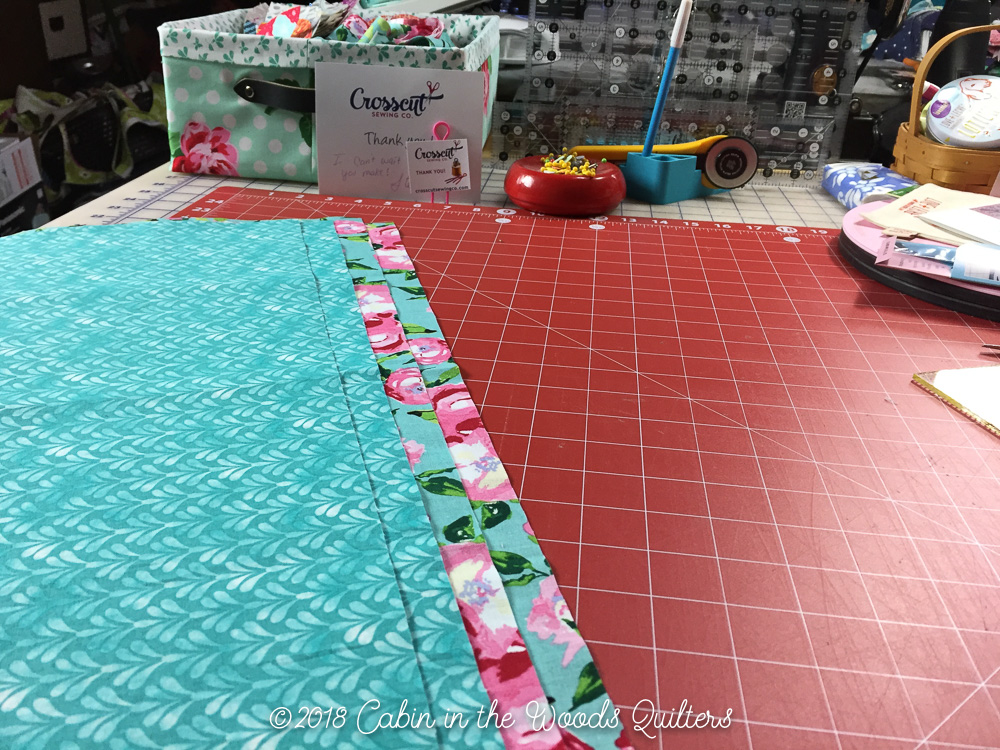
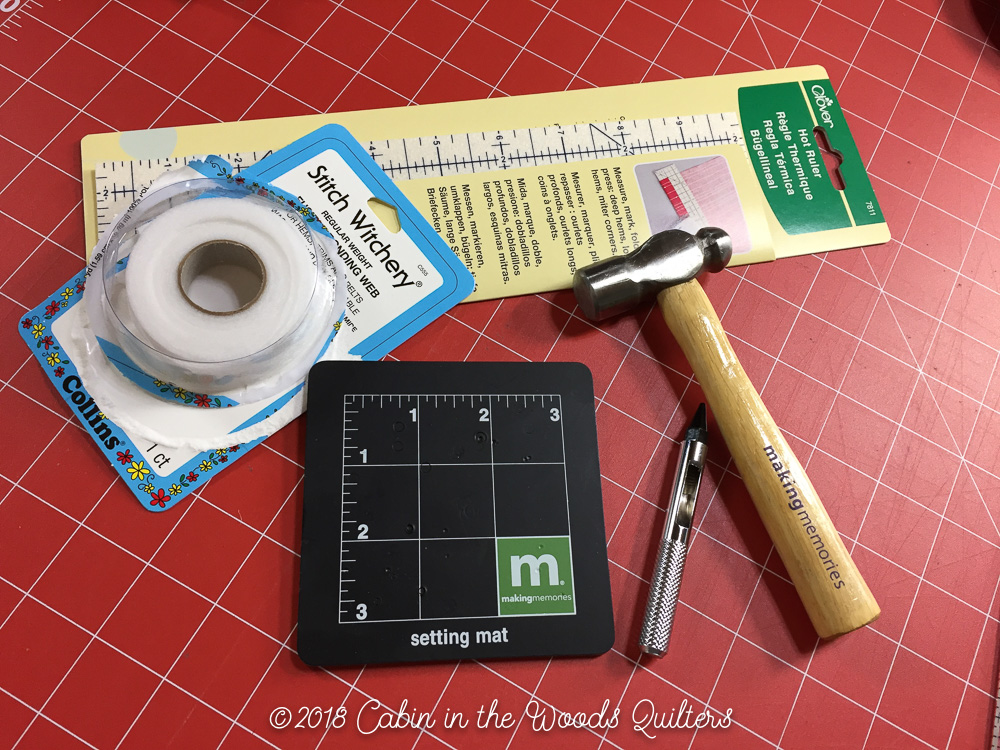
I used a few of my favorite sewing tools for this project as well and I talk about all of them in the video below. But here in the photo… I used Stitch Witchery (double-sided fusible) to adhere the lining of the box to the outside without sewing. This product was recommended by the designer and was sent with the kits. If you don’t have this product you could cut some small strip of your favorite double-sided fusible.
The Hot Hemmer is one of my favorite tools and was recommended in the pattern as well. The Hot Hemmer is used to measure your pressed seam perfectly. You can iron right on the ruler making it simple to measure your pressed fold as per instructions.
The last tool pictured may not be in your sewing room but might be in your craft room. I used an awl and hammer from my Making Memories Scrapbook Toolkit to poke a hole through the layers of the box to add the handles. You could use a stiletto or any other tool but I like using the tool intended for the job so I was glad I had one of these lying around.
The Perfect Storage Solution
Check out how cute my first box turned out. I went straight for the large kit for my first box. Bigger is always better right? Well… it’s easier on my hands should I need to learn for the first time and I can make sure I cut the largest kit out of my fabric first. I love how my box turned out. It’s quite large and would be great for storing fabrics. I set out to put all the scraps from my cutting table in it immediately. I am able to put all the scraps from my current projects in the box until the project is finished before transferring them to all my scraps bins for the next book.
Baby Shower or Wedding Shower Gift
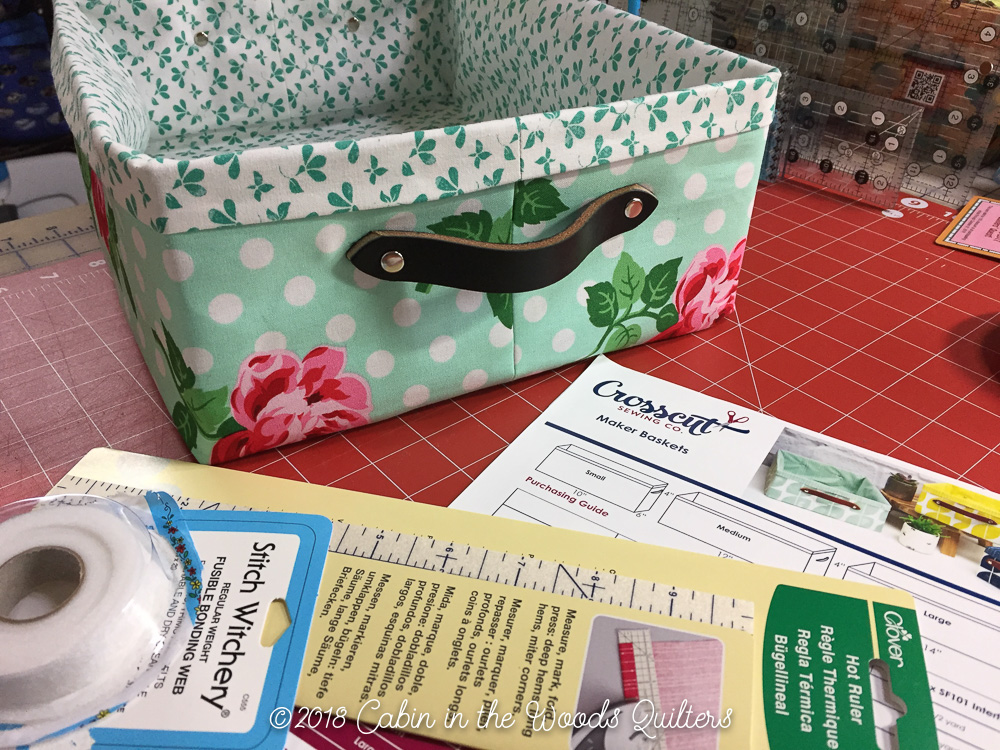
I also think this would make the perfect gift for a baby shower or wedding shower. I love that the kits aren’t very expensive ($6.50 for the box, pattern, handles, and hardware) and would make the perfect gift box for whatever you choose to give. I might make one for my Mom and put her gift inside. You also get to choose from three colors of handles for your box. Mine handles were all black leather but I think they turned out awesome. Did I mention that the handles in the kits are leather? That was a real surprise. Don’t they look awesome on the side of my box?
The medium basket would be perfect for books, patterns, and magazines. I put all the leftover petals from my latest Scrap Petal masterpiece in my medium basket. I’m saving them for the next little project I am excited about.
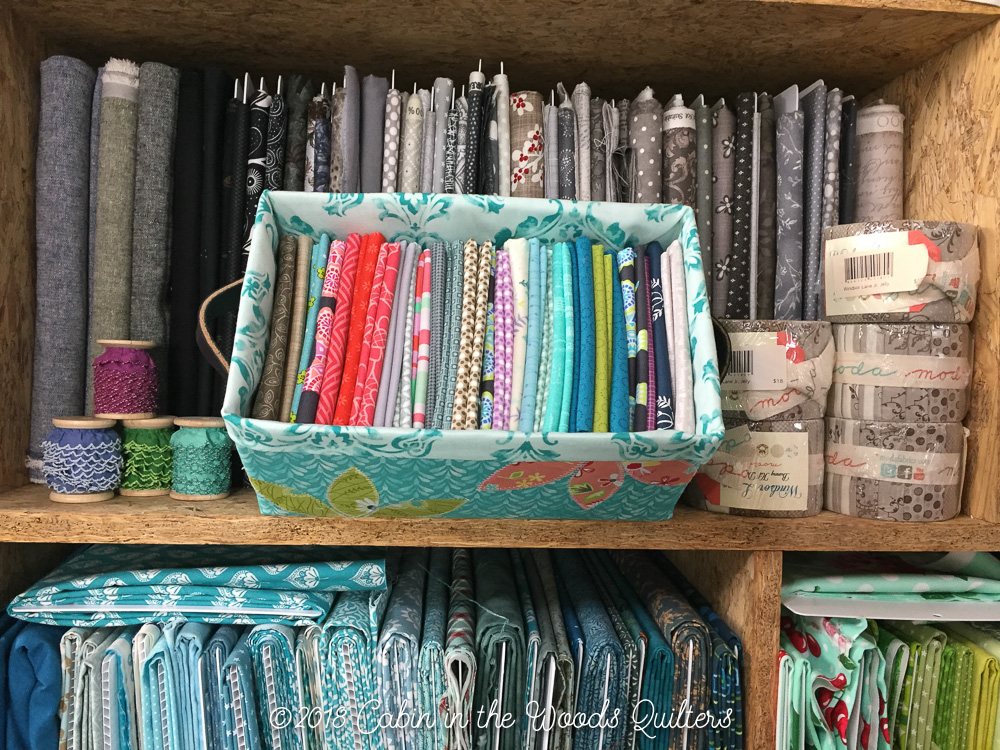
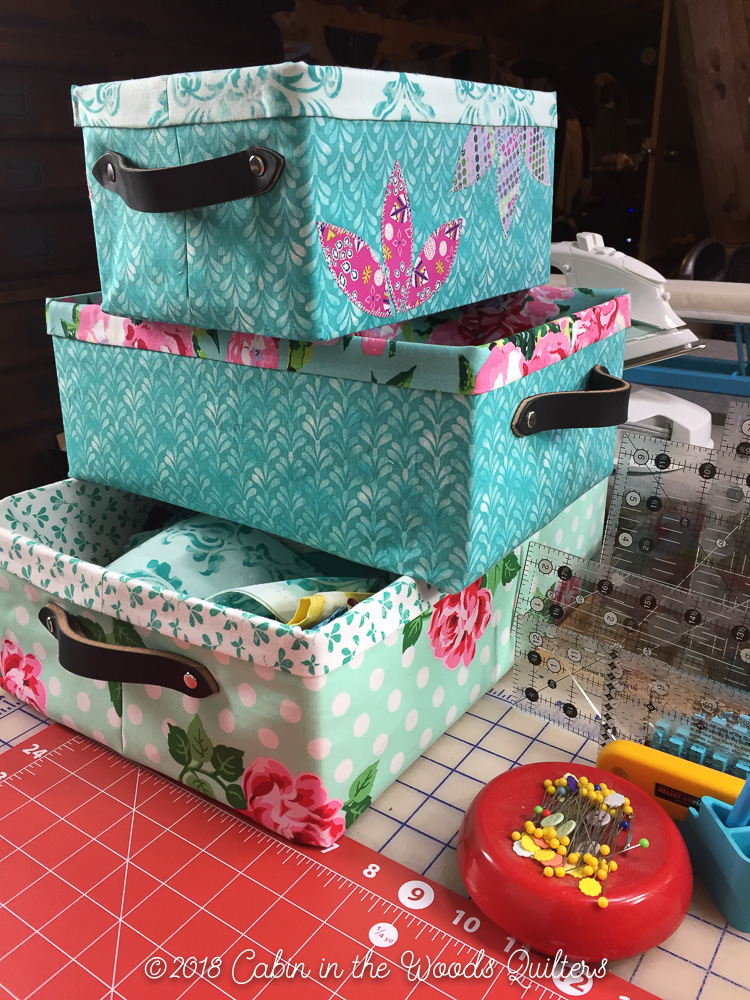
The smallest basket makes the perfect storage box for FQ bundles. I also played with my templates a little and made my small basket unique and special. Don’t overlook adding embellishments to your box to spice up your sewing room or your special baby gift. Check it out. I used my Keychain Petal Template to dress up my basket and bring a little Spring into the studio.
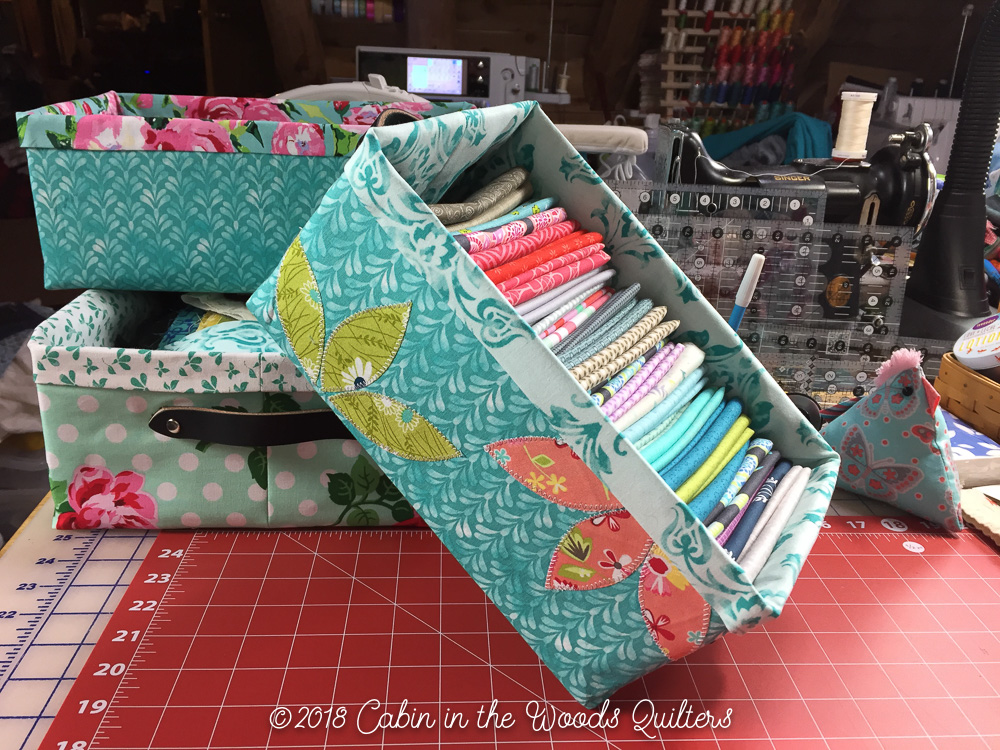
I love how they are all made in my signature color teal. They look great with the latest Scrap Petal Garden quilt.
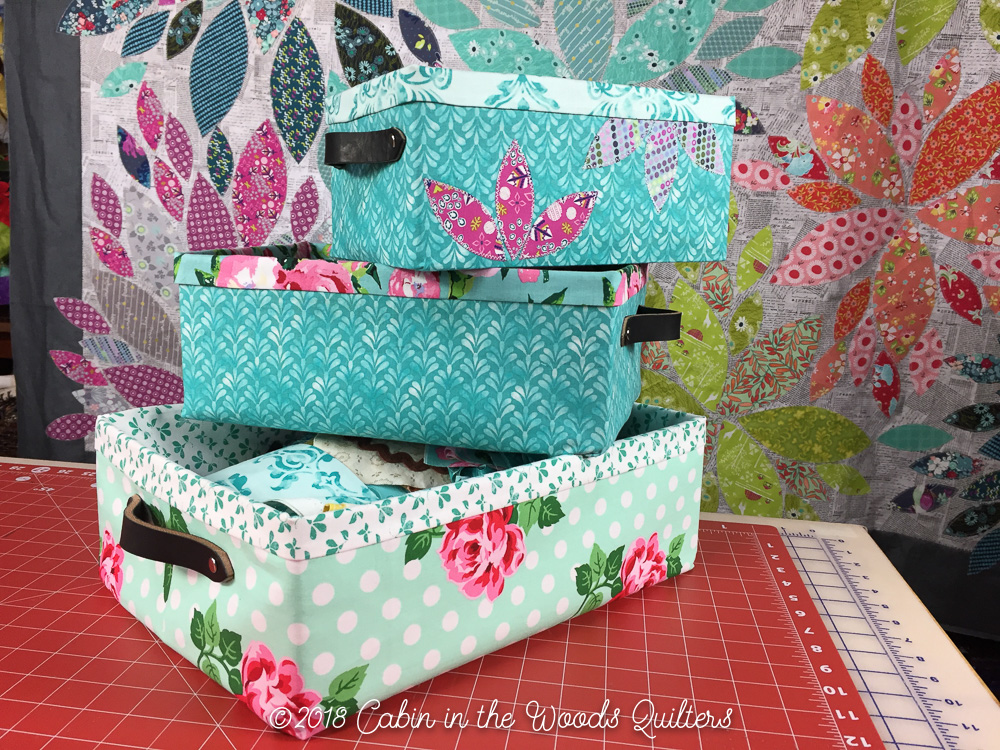
They also stack pretty well on the corner of my cutting table. I would love to give one as a gift but I just can’t part with a single one. I guess I have to go to the website at Crosscut Sewing Co. and purchase a few more kits. You can find all the sizes of kits available HERE when you search for Maker Basket Kit on the website.
YouTube Channel
Check out my full review of the product in the latest video on our YouTube Channel below. Remember all the videos are available on our video page for you to view at any time.
What’s Up Next…
I’m really excited about all the upcoming products I get to talk about in the summer blog series I am planning.
Stay Tuned for a blog about Lazadas Knitting Accessories and how I incorporate the tool in my quilting.
Also, don’t forget to tune in to American Patchwork & Quilting Radio with Pat Sloan on Monday, June 4th to hear my segment on the podcast. 4pm EST. Don’t worry if you miss it live… you can listen to it after the show as well.
Until next time peeps… Happy Quilting!