Well… it’s July here at CabinQuilters at our new Lakeside Retreat. It sure has been a hot one out there. It’s been a pleasure to spend a little time inside sewing and playing in the studio in the cool air. This week I have had the pleasure to do a product review for a super awesome product… Splash Fabric. I became acquainted with Splash Fabric several years ago at quilt market and purchased a piece to play with at home. Today I would like to show you all about the product and what I chose to make.
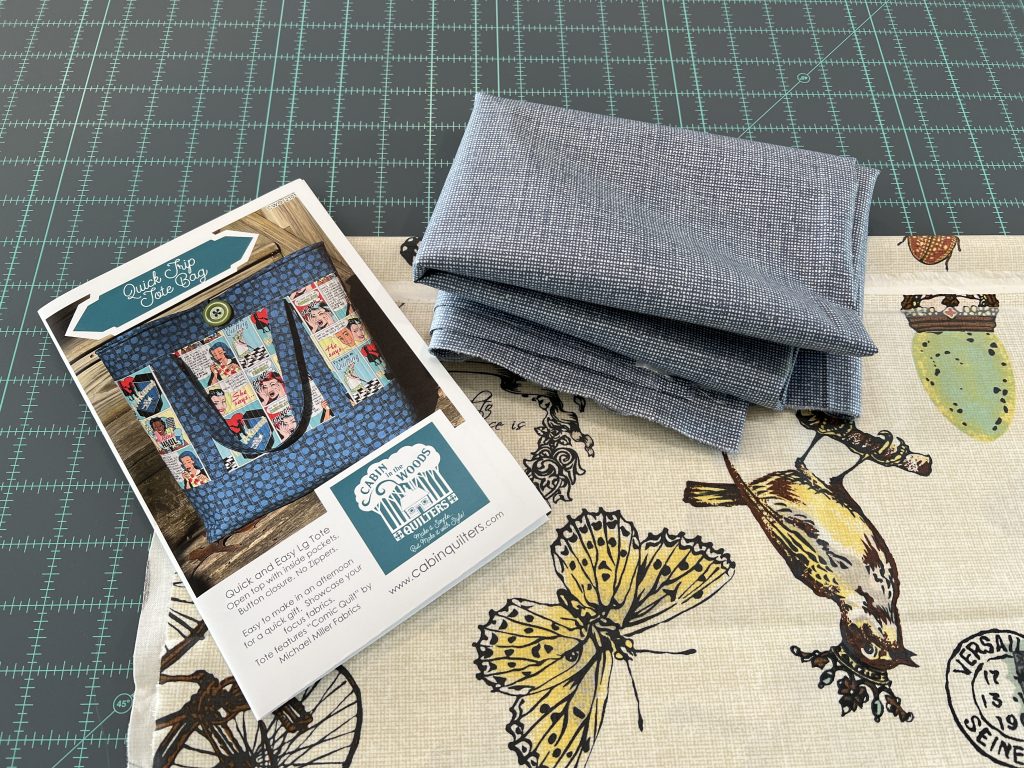
Quick Trip Tote Bag with Splash Fabrics
First let me tell you about Splash Fabric. This product is a buttery smooth and soft, laminated cotton fabric that is easy to sew with on your home machine. This is not your old oilcloth we’re talking about… this product is actual cotton fabric that has been heat and pressure laminated to create a smooth surface that can be wiped clean with a cloth. This fabric can still be ironed and machine washed and would be great for all kinds of interesting craft and sewing projects. Imagine making a cute mug rug and being able to wipe away the coffee stains after that unfortunate spill.
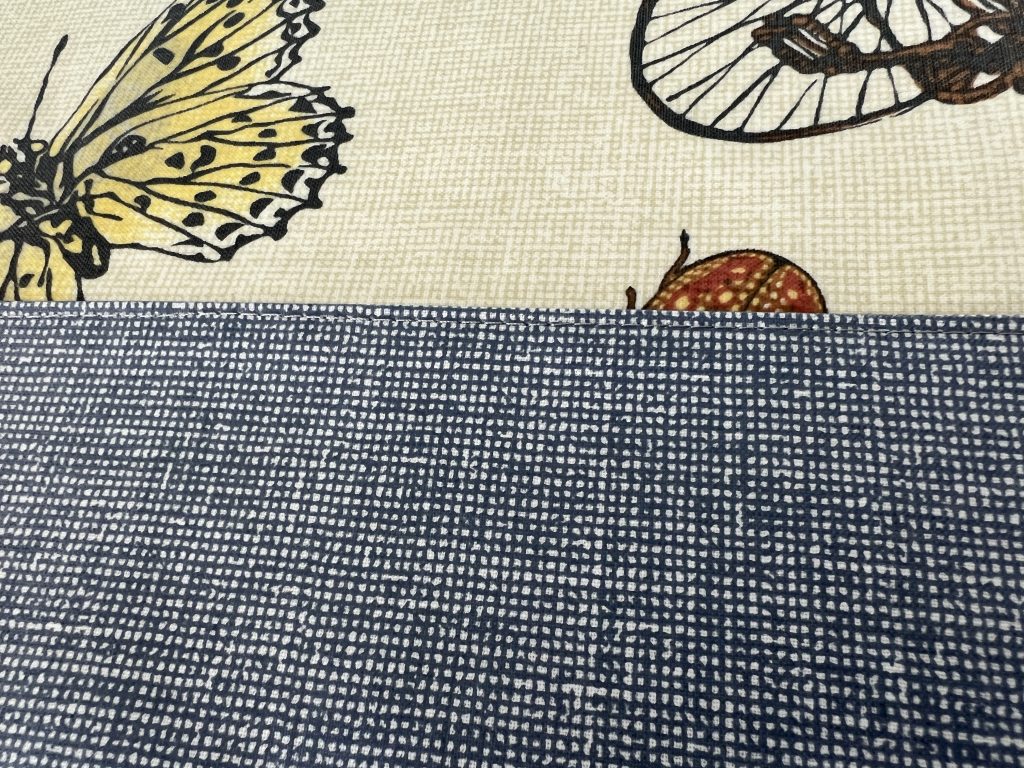
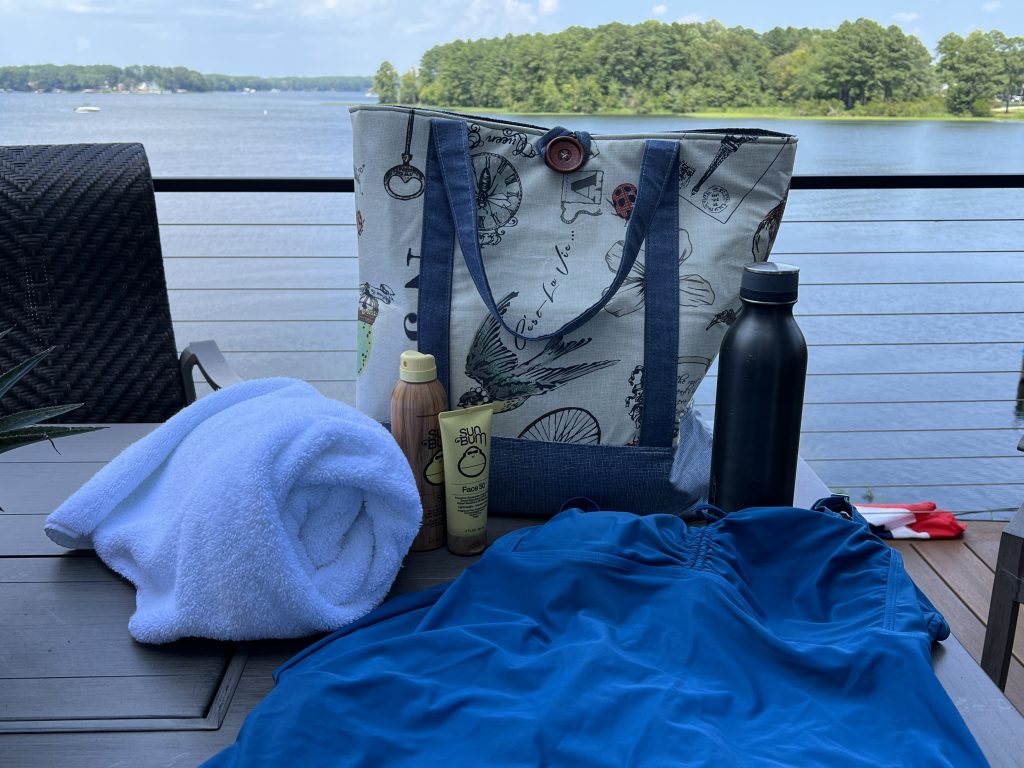
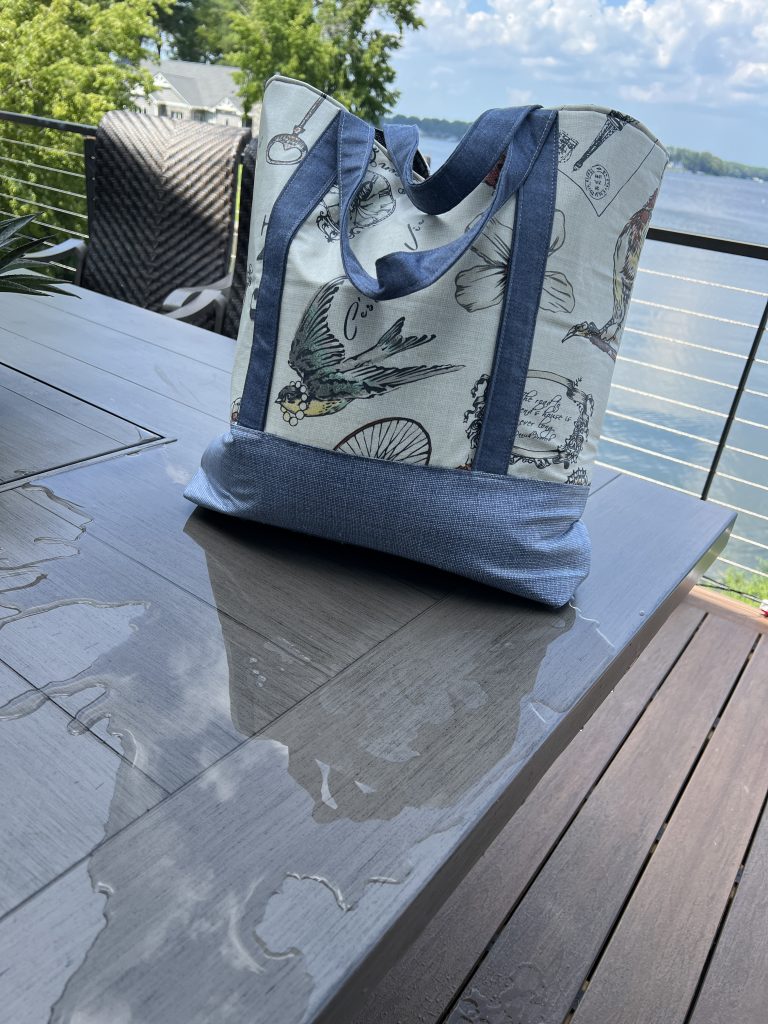
Splash Fabric reached out and asked if I would do a review of their product and show you an interesting project to make. Today I have chosen to create my Quick Trip Tote Bag pattern with Splash. This is a simple tote bag with a button closure and some interior pockets that would be perfect for a lakeside bag to carry your towel, bathing suit, and sunscreen on the boat. I was very excited to try Splash Fabric which I hoped would help combat the wet towel and bathing suit in a cotton bag. Splash sent me a yard of their Vintage fabric and a 1/2 yard of their Denim to try. Also, as I mentioned before, I had previously purchased a piece of their Ink fabric which I thought would be perfect for the inside of the bag.
While Splash Fabric does not claim to be waterproof, they are water-resistant and food safe. Perfect to carry some sunscreen, a water bottle and a bag of chips out for a boat ride. I definitely wanted something that I would wipe out if I spilled something in the bag.
Using the Fabric
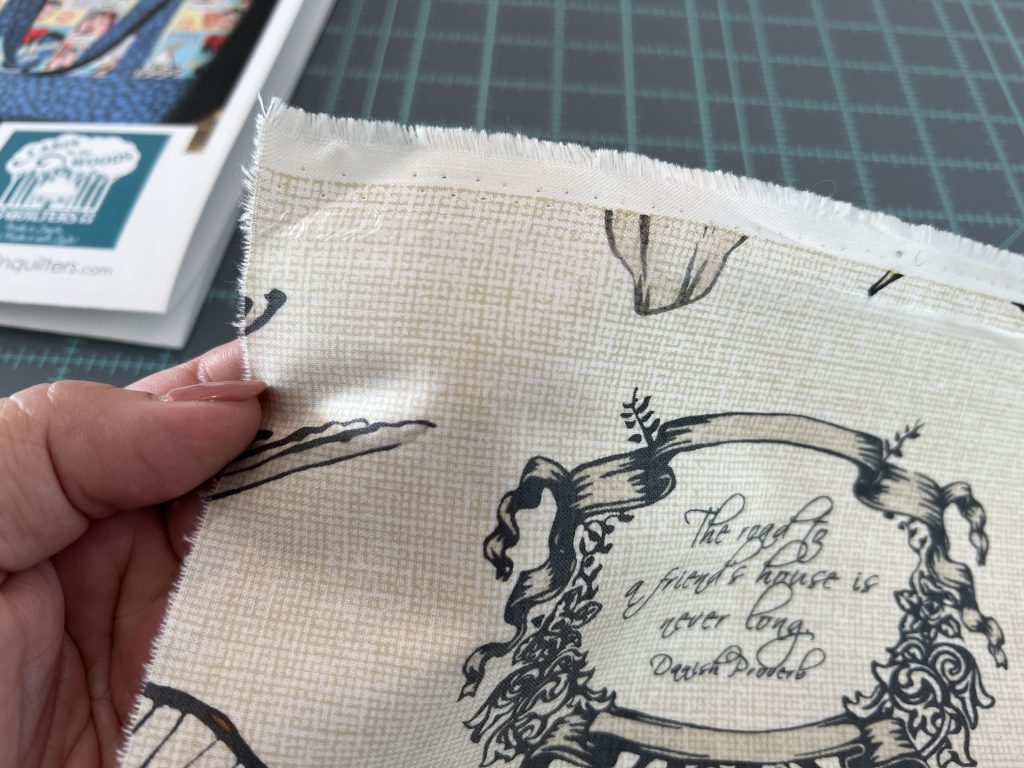
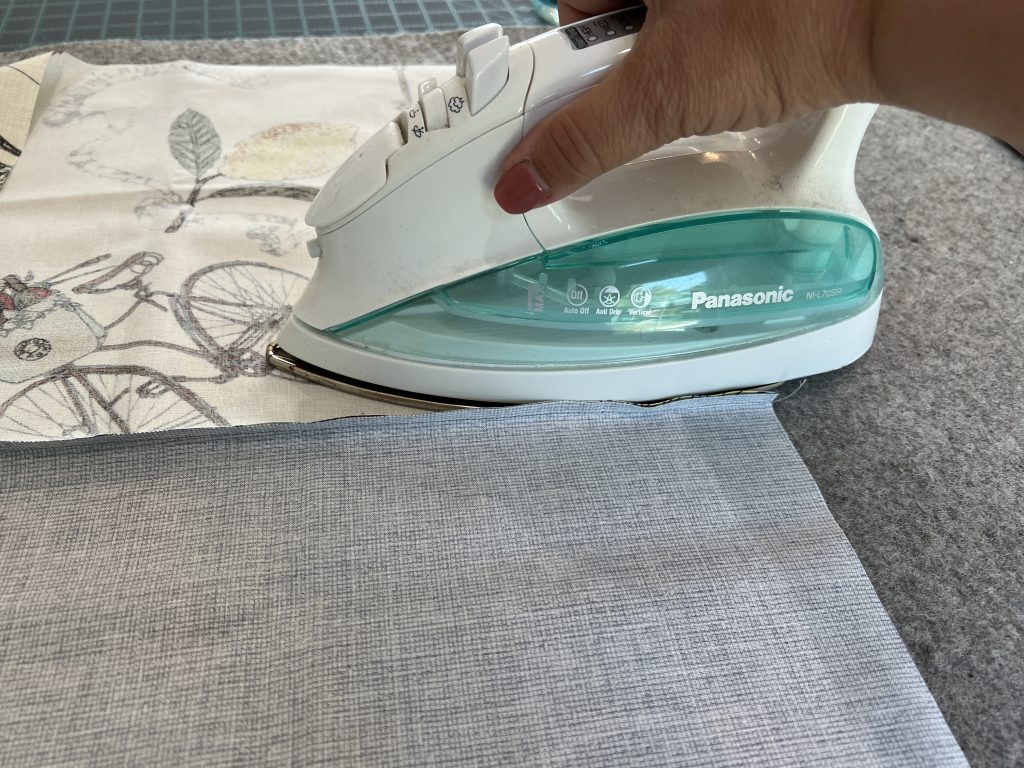
I found the fabric to be very easy to cut. I did iron out a few wrinkles before cutting out my pieces for the bag. You can definitely iron the fabrics from the backside of the cotton and get the wrinkles out. Once my pieces were cut I began to assemble my bag. You can see I am ironing a bag seam from the backside so that I can top stitch that seam.
Sewing the fabrics right sides together was super simple as the backside of the cotton glides through the machine just fine. The real test came when I started the top stitch. I really wanted to see if my machine would have any trouble with the texture of the lamination going under the needle and foot. The Splash Fabric website does recommend that you sew these fabrics with a teflon needle and Teflon foot so that they can glide through the machine without being affected by friction. I sewed this entire bag right up until the last step with a standard foot and a Microtex Sharp needle and didn’t have any trouble at all and I was adding In-R-Form stabilizer to this bag so that it would have more body. The fabrics handles like a dream.
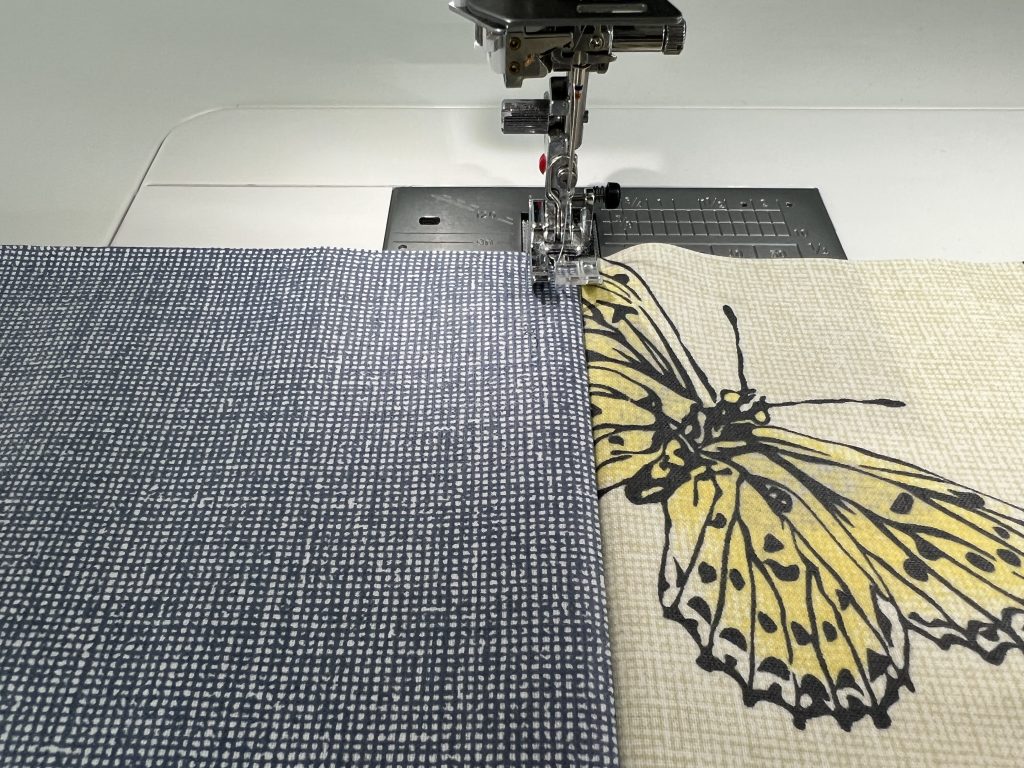
The top stitching turned out great. No puckers or gaps. I did elongate my stitch as suggested by the website (which I would do for top-stitching anyway) and I had no trouble at all.
I did have a little trouble with the fabric at one point but I I don’t think it could have been helped. I did try to create the handles for the bag out of the same Denim fabric provided. In order to do that I needed to press a seam down the center of the handle, fold the two sides into the crease and fold the ends in the center as one would have on a standard strap. I had a terrible time folding the fabric. I was able to use a seam roller to press the edges, but when I tried to sew the four layers of folds together without a teflon foot or walking foot, I really wasn’t happy with the results.
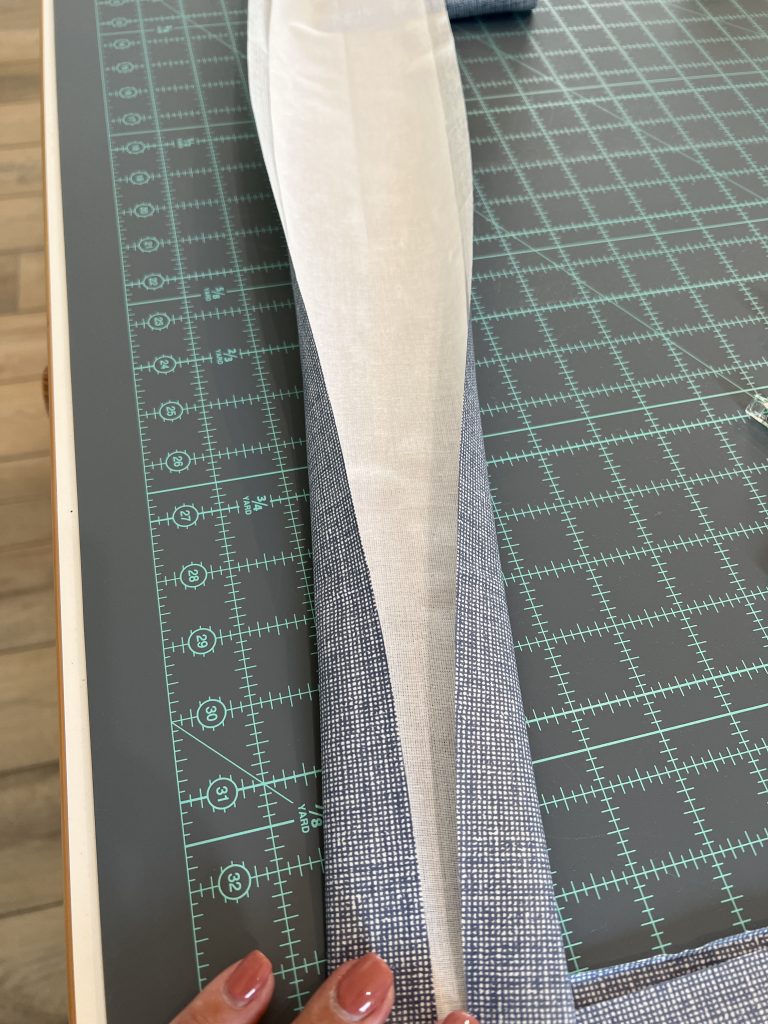
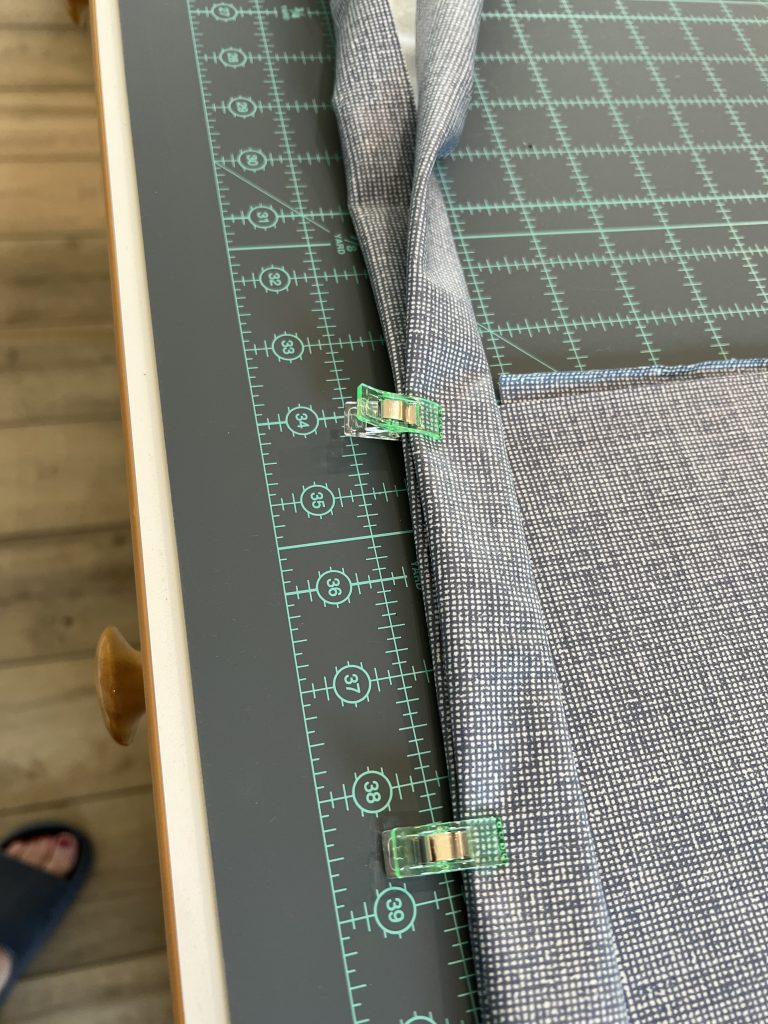
But, to be honest, I really do prefer a cotton handle or strap as I like the way it feels on my skin. I scrapped that idea and elected to use a shot cotton denim for the handle in a coordinating color instead. This strap attached perfectly to the fabric on the sides of the bag. I was very pleased with the result.
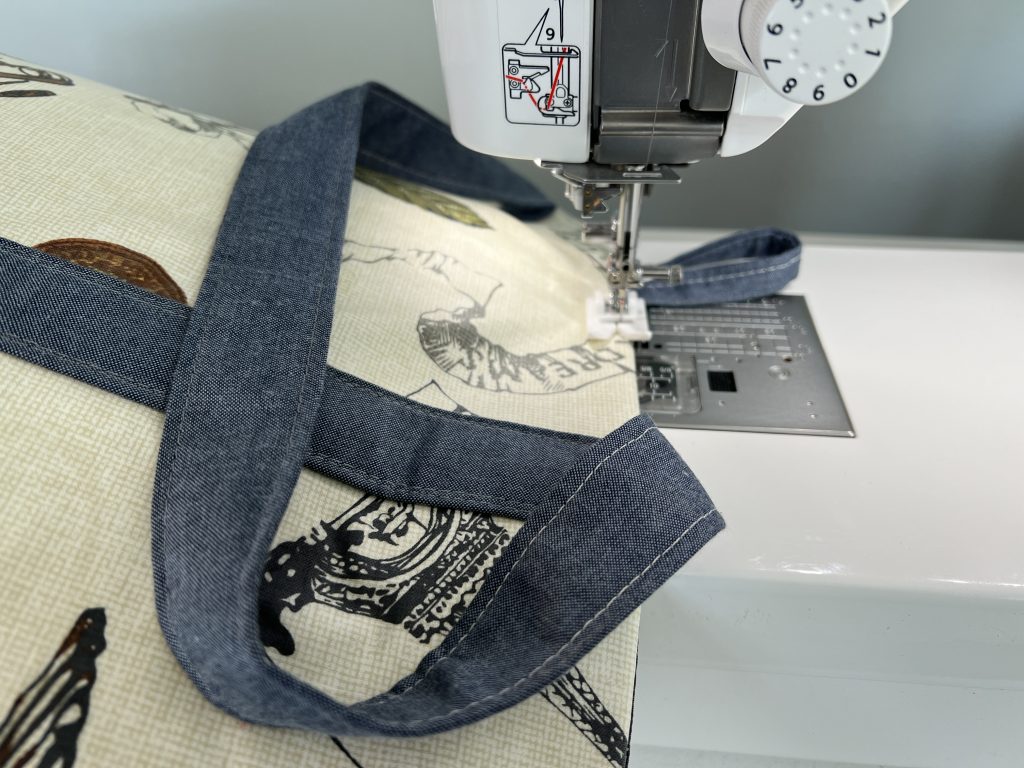
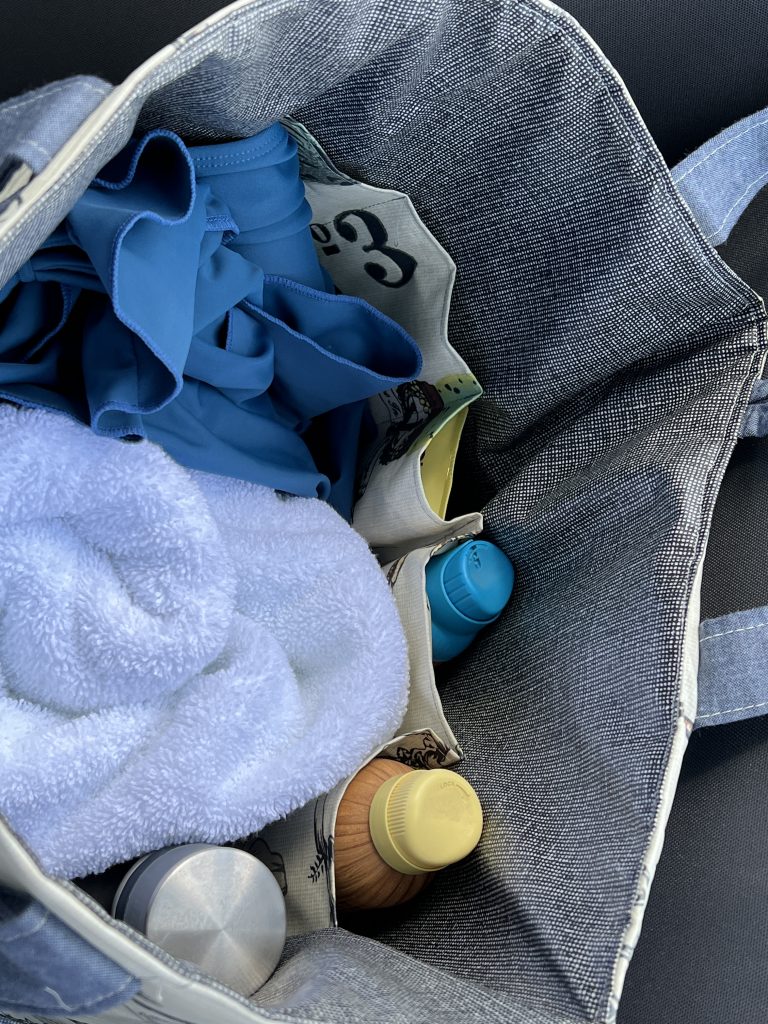
I used the same fabric for the button loop as well. You will notice in the photo above I am using a teflon foot. Top stitching two pieces of Splash Fabric on the sewing machine bed really required this foot to create a smooth seam. I love how they turned out. The interior bag is lined with the same Splash fabric in Ink (black) with the Vintage fabric making up the bottom of the lining and the pockets. I chose to only put pockets on one side of this bag rather than both sides as indicated in the pattern. I was just considering what I planned to carry and left plenty of room for a big towel. Check out a few of the pictures of exactly what fits in the bag.
More about the company – SplashFabric.com
I was very happy to be asked to review Splash Fabrics and have the opportunity to try them out for myself. I was also pleased to learn that this Seattle based small business is owned by a woman and the fabrics are designed by a woman. Their laminated cotton fabrics are environmentally friendly. There is no chemical waste produced during manufacturing (they have their OEKO-TEX certification). I found their fabrics easy to sew with (even more so than I thought they would be).
I would give the product a big thumbs up and look forward to creating something else in the future. You should definitely give them a try.
If you are interested in visiting Splash Fabric and trying them out for yourself you can find them by clicking HERE or head over to SplashFabric.com. You can also find them on Facebook and Instagram using @splashfabric
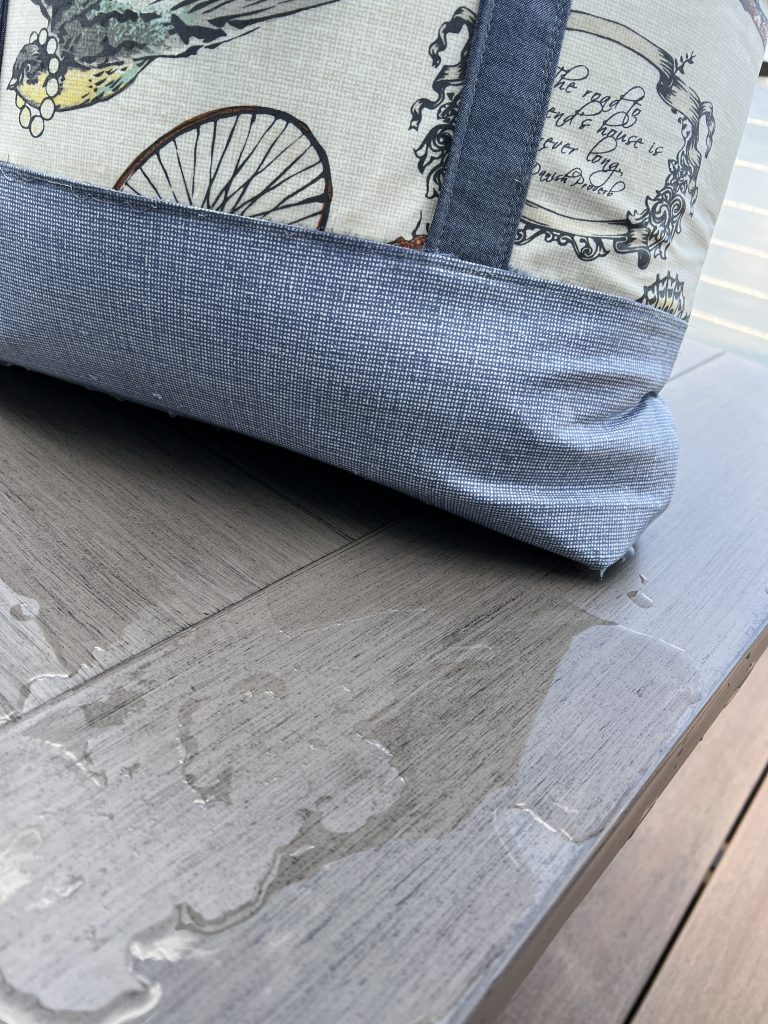
I couldn’t resist making my own SPLASH with Splash Fabric. I’m impressed with the results.
Thanks for taking the time to visit the website and read this review. I hope you will check out Splash Fabrics as well. Stay tuned for our latest video on YouTube and be on the lookout for the Quick Trip Tote Bag tutorial. I will definitely showcase this bag in the video as well so You can see how the fabric behaves up close.
Until next time… Happy Quilting
~Penni