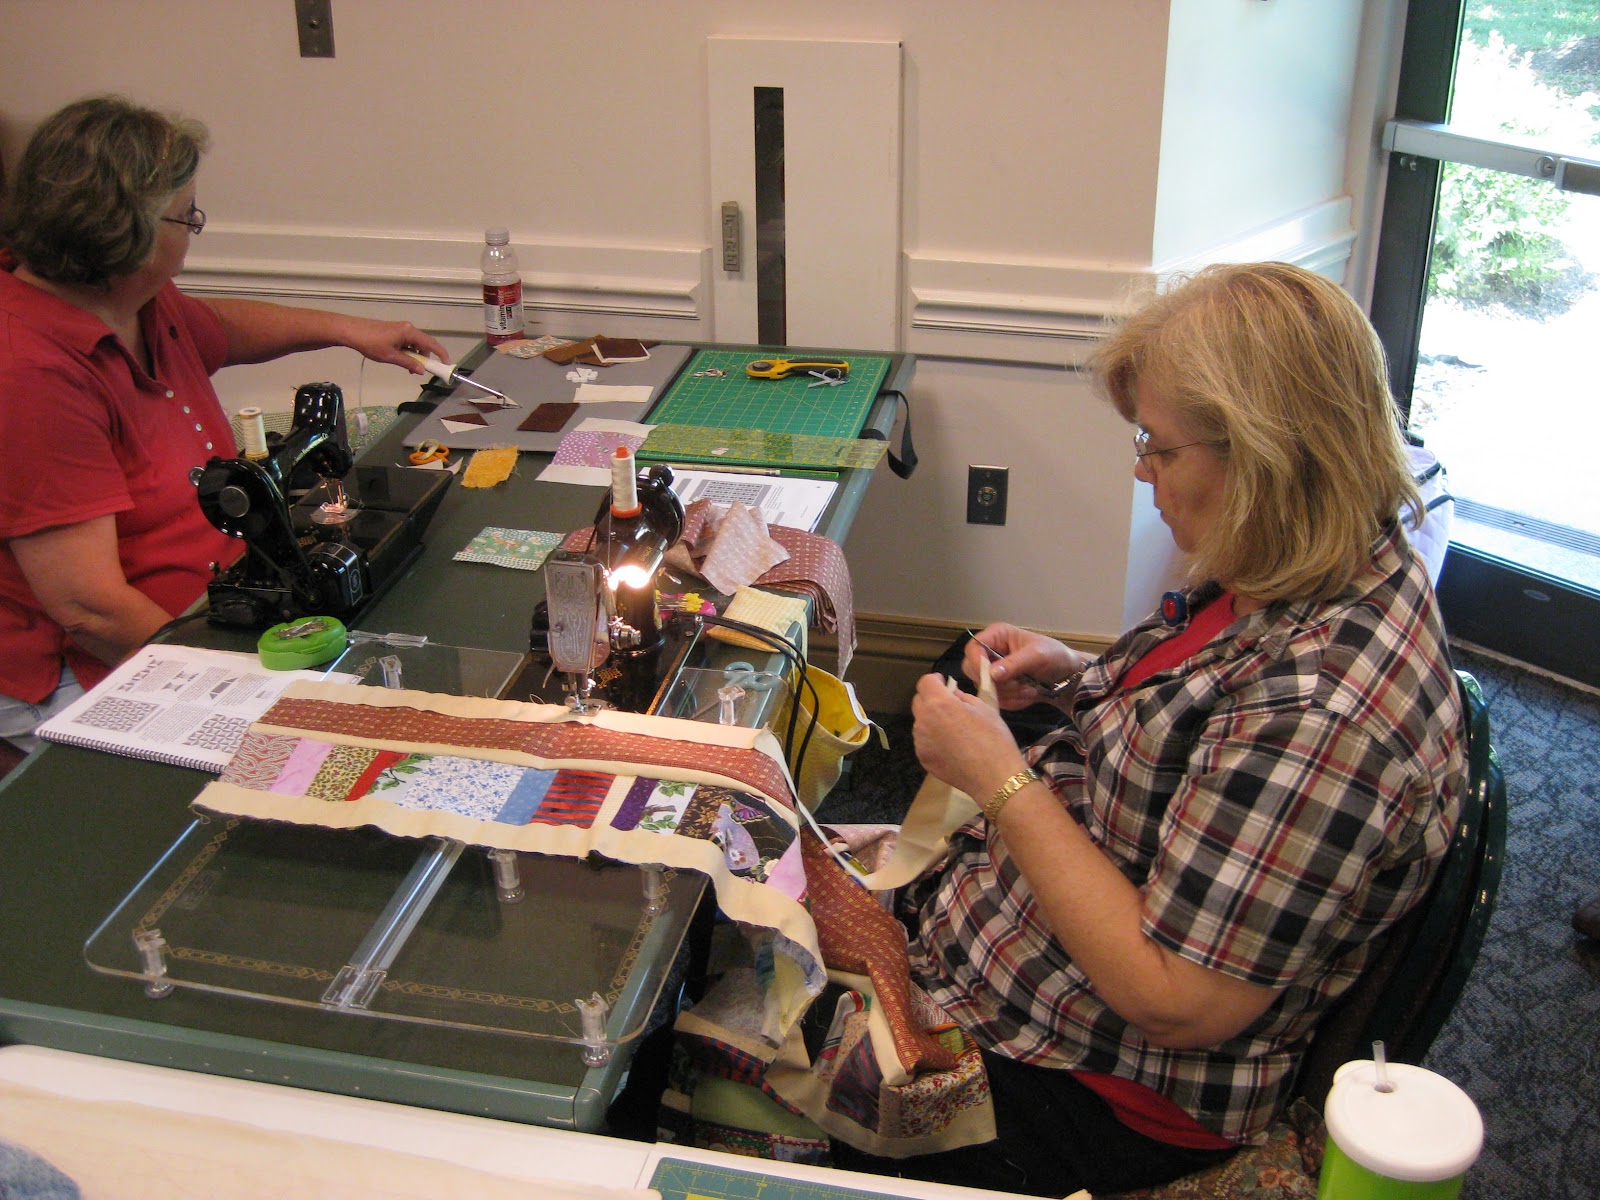
Another great workshop this past year was with the members of my own quilt guild… the Stafford Piecemakers. These ladies all got together with me on a Saturday to get down and dirty with their scraps. I had 20 students that day… and not all decided to do the same quilt. That was the best part. All had different methods to their “madness” and brought what they thought would be best to attain the best result. Have a look and tell me what you think.

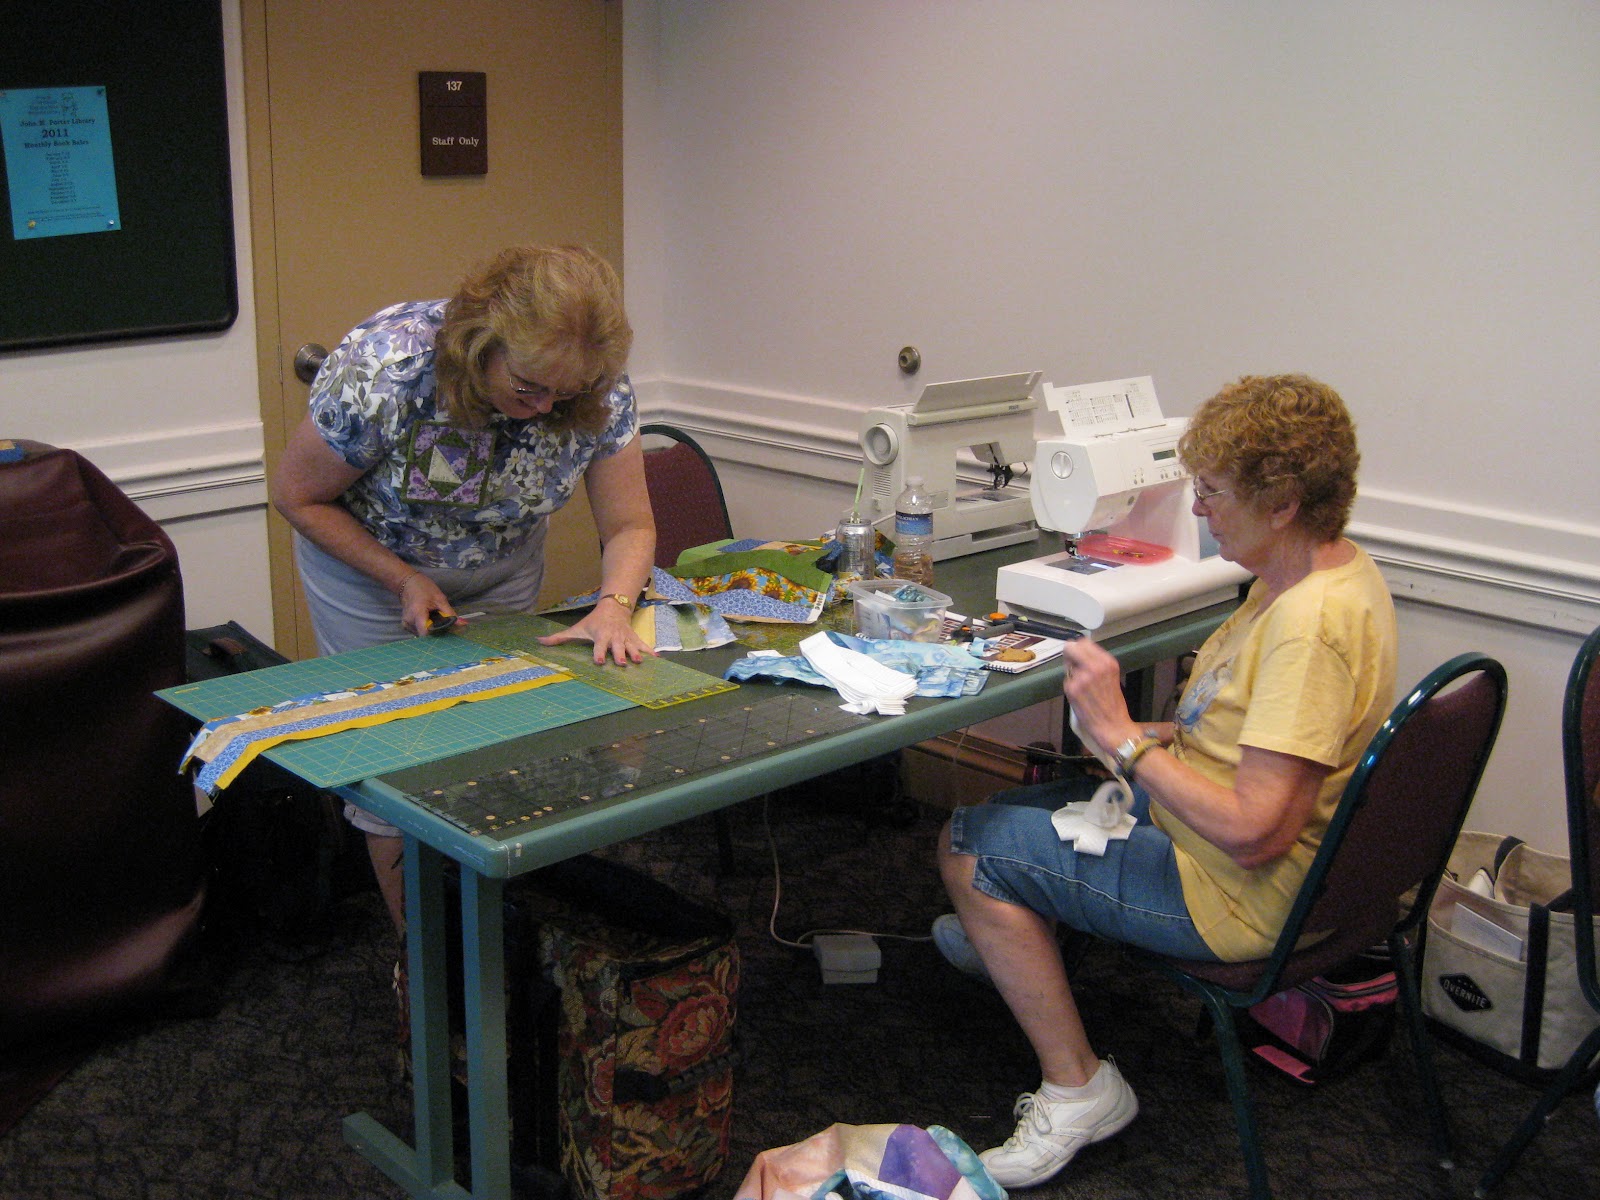
The quilter on the left is using completely random strips … pulling them from the paper bag down below. That’s a great way to do it if you don’t want to be overwhelmed with the color when you pull it out.
The quilter on the right is using the scraps from a line of fabrics that she used for another quilt and mixing it with other fabrics with like colors.
Above and below… working away and making something out of those mounds of strips.
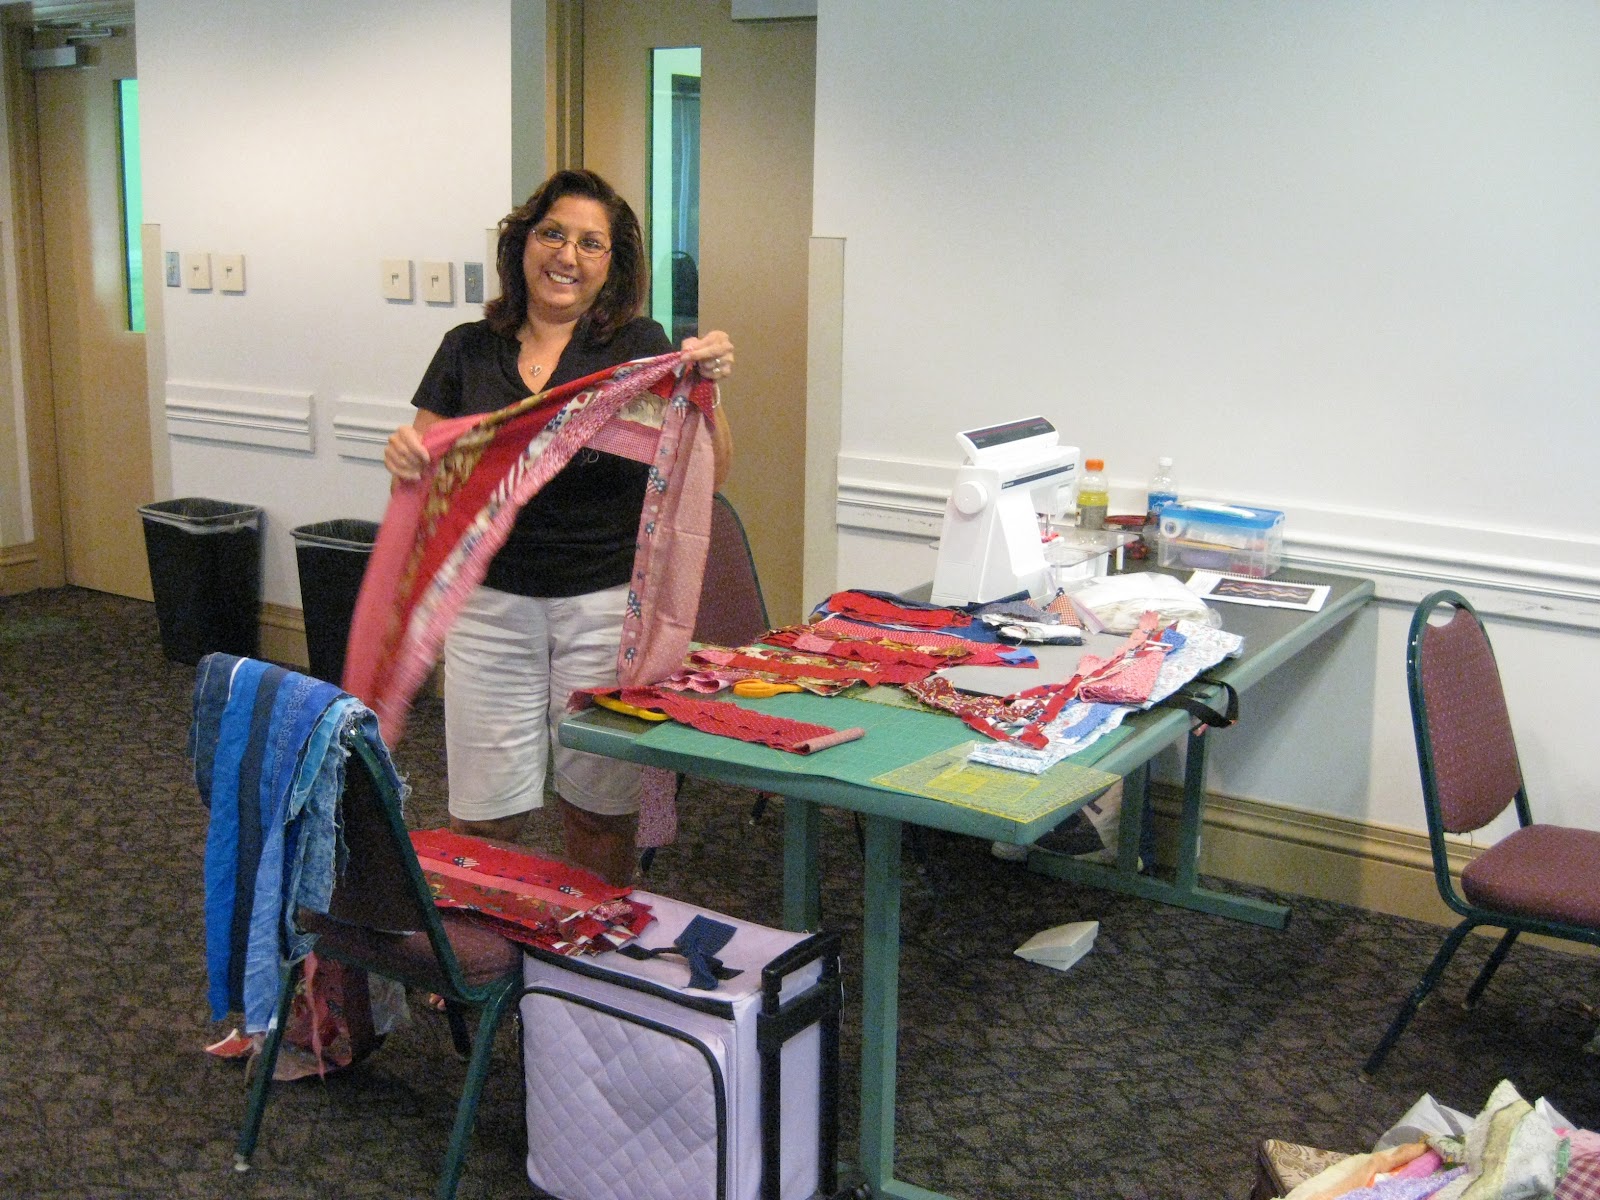
She looks like she’s have a great time working on color strips of red. No stress here.
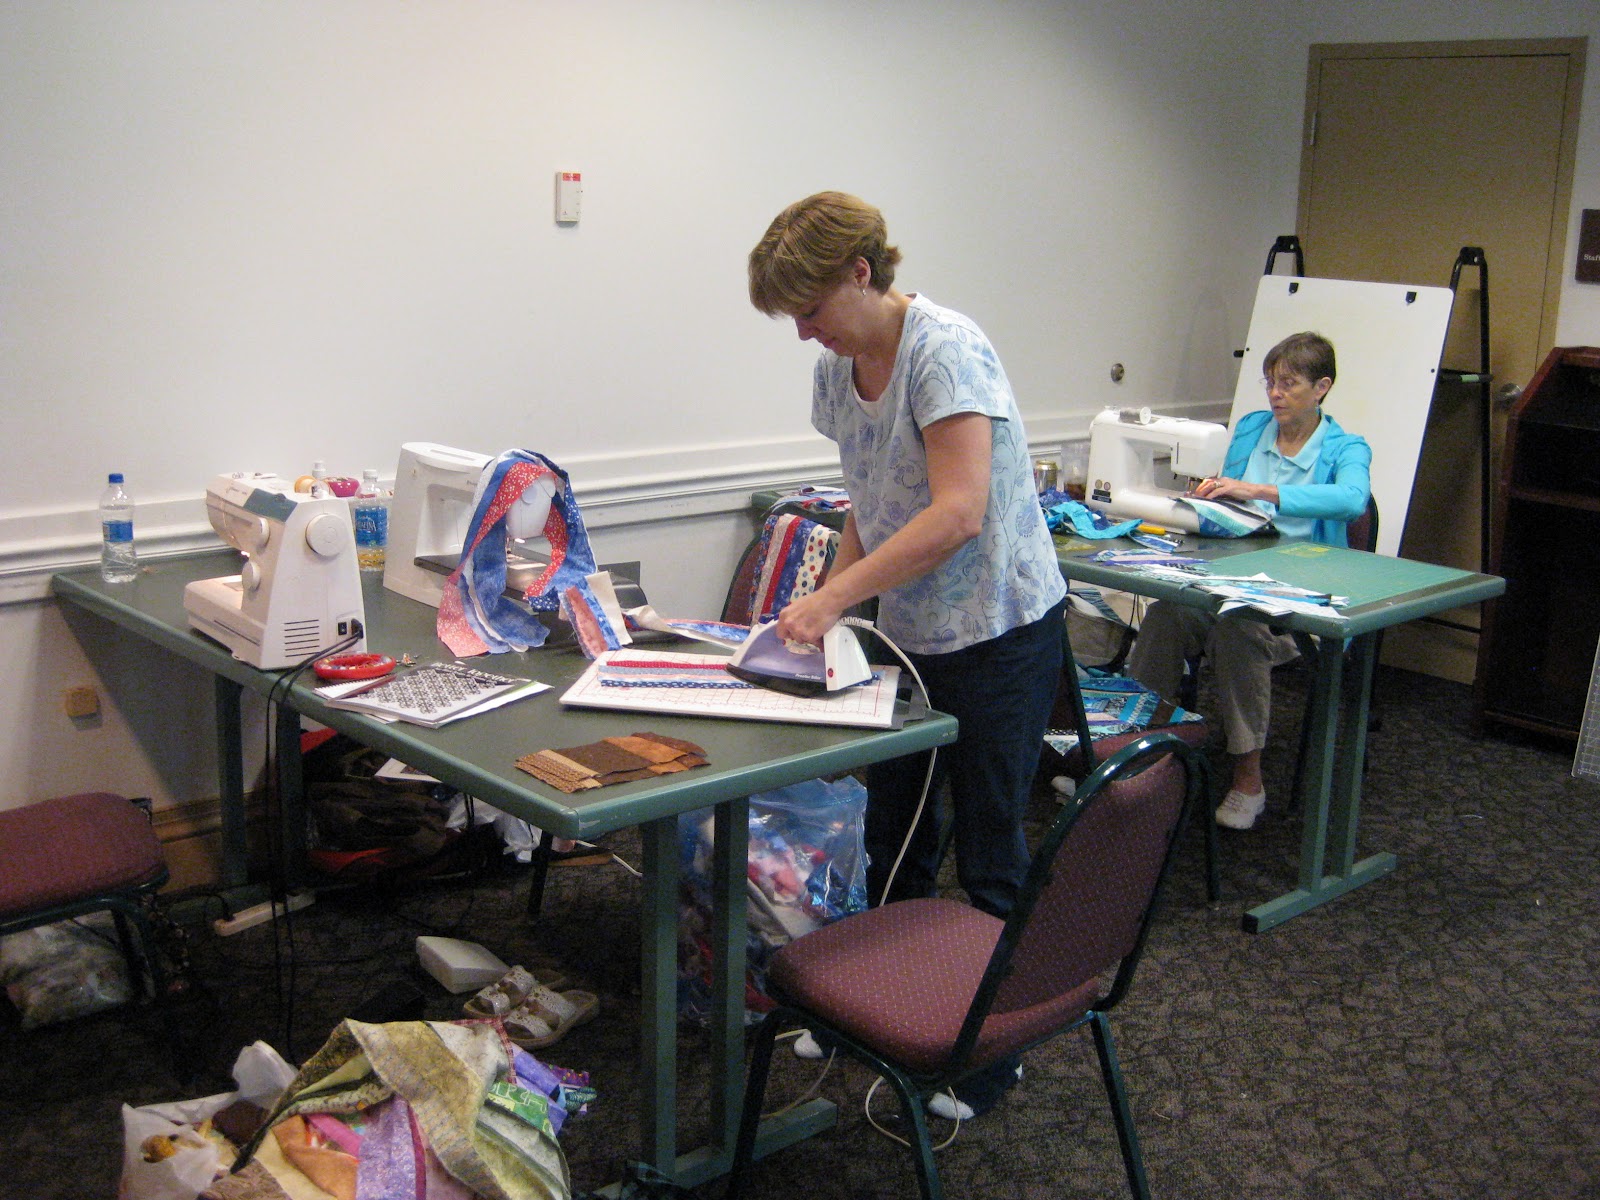
Sewing the scraps and pressing the pieces … it’s as easy as that.
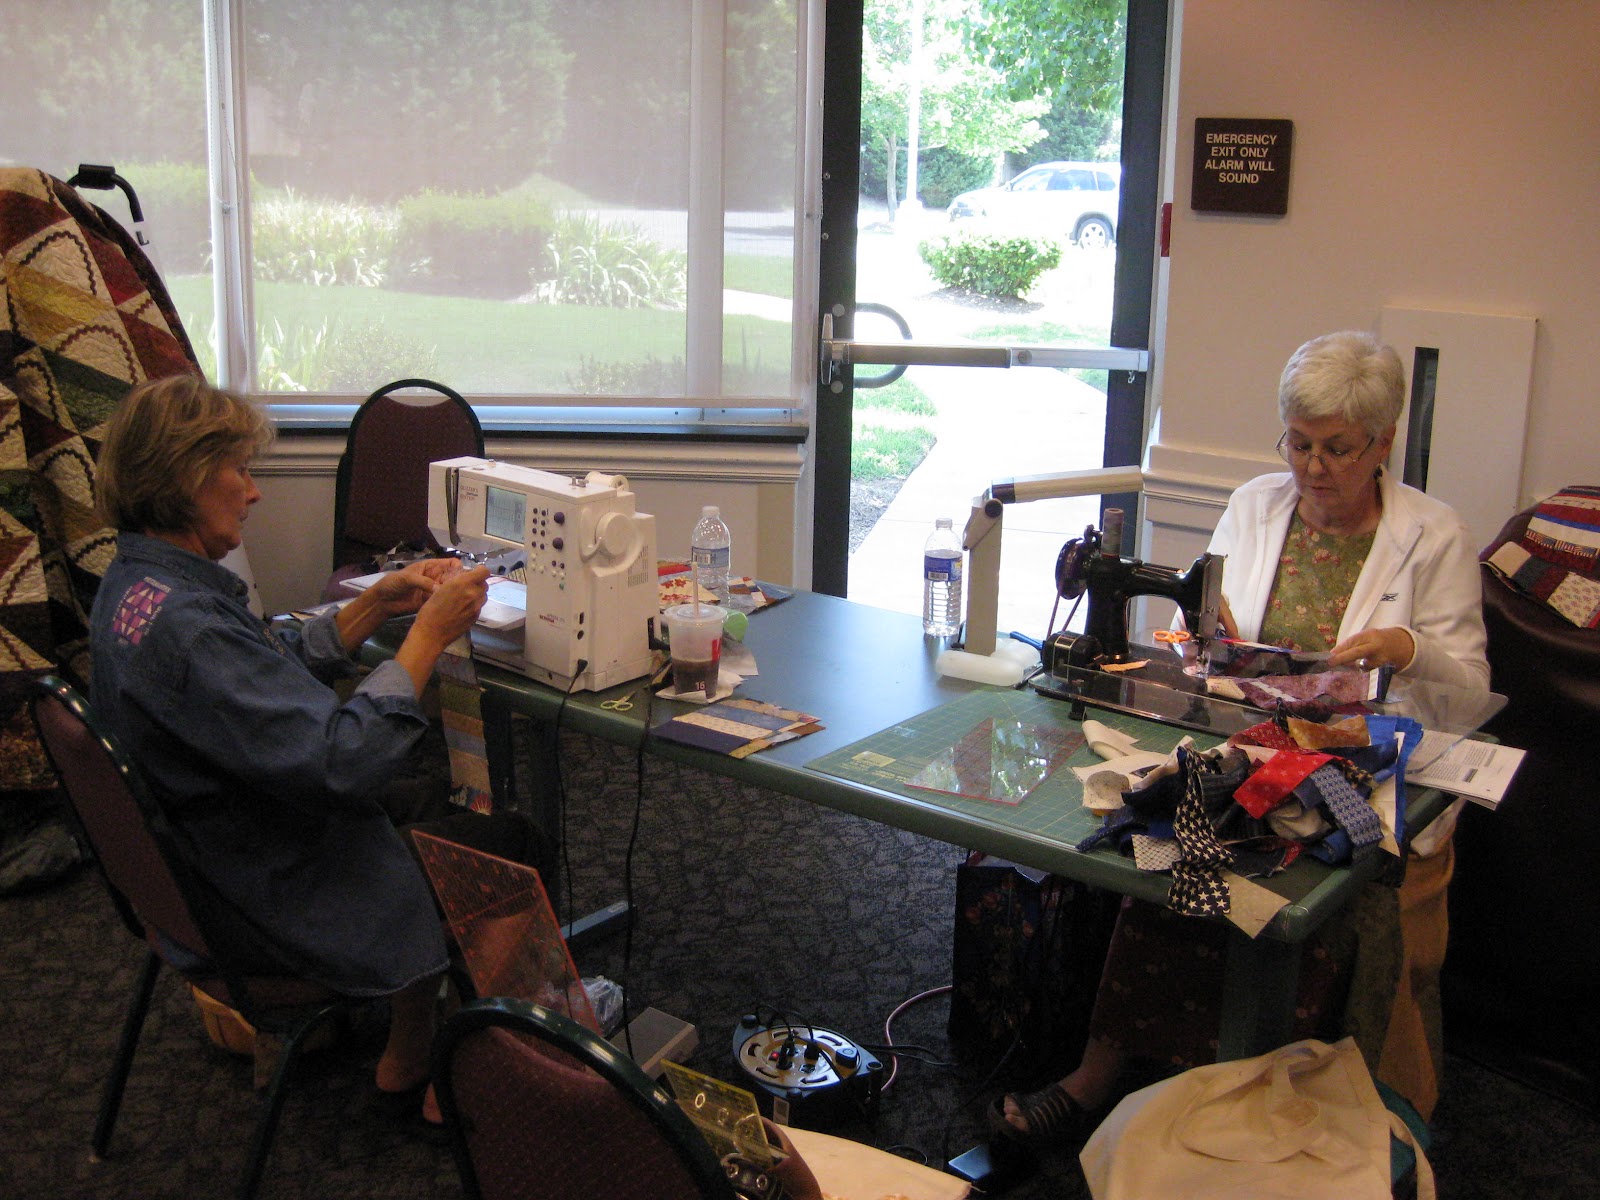
The quilter on the left is working on a Grammy’s Thread Box quilt with her 1930’s Reproduction fabrics. The quilter on the right is making a Spare Change quilt with completely random fabrics.
My favorite part about the All Scrapped Out! method is the smiles I see from the quilters. They are free to enjoy the pleasure of sewing and the pleasure of each other’s company with laughter and chatter. There is no stress that they need to concentrate to not make a mistake. You really can’t make one. Well … you could… but you are less likely to make a mistake when the method is easy. And so many of the quilters (even the slow sewers) made tremendous progress on their quilts with much less effort.
Here are some of the results.
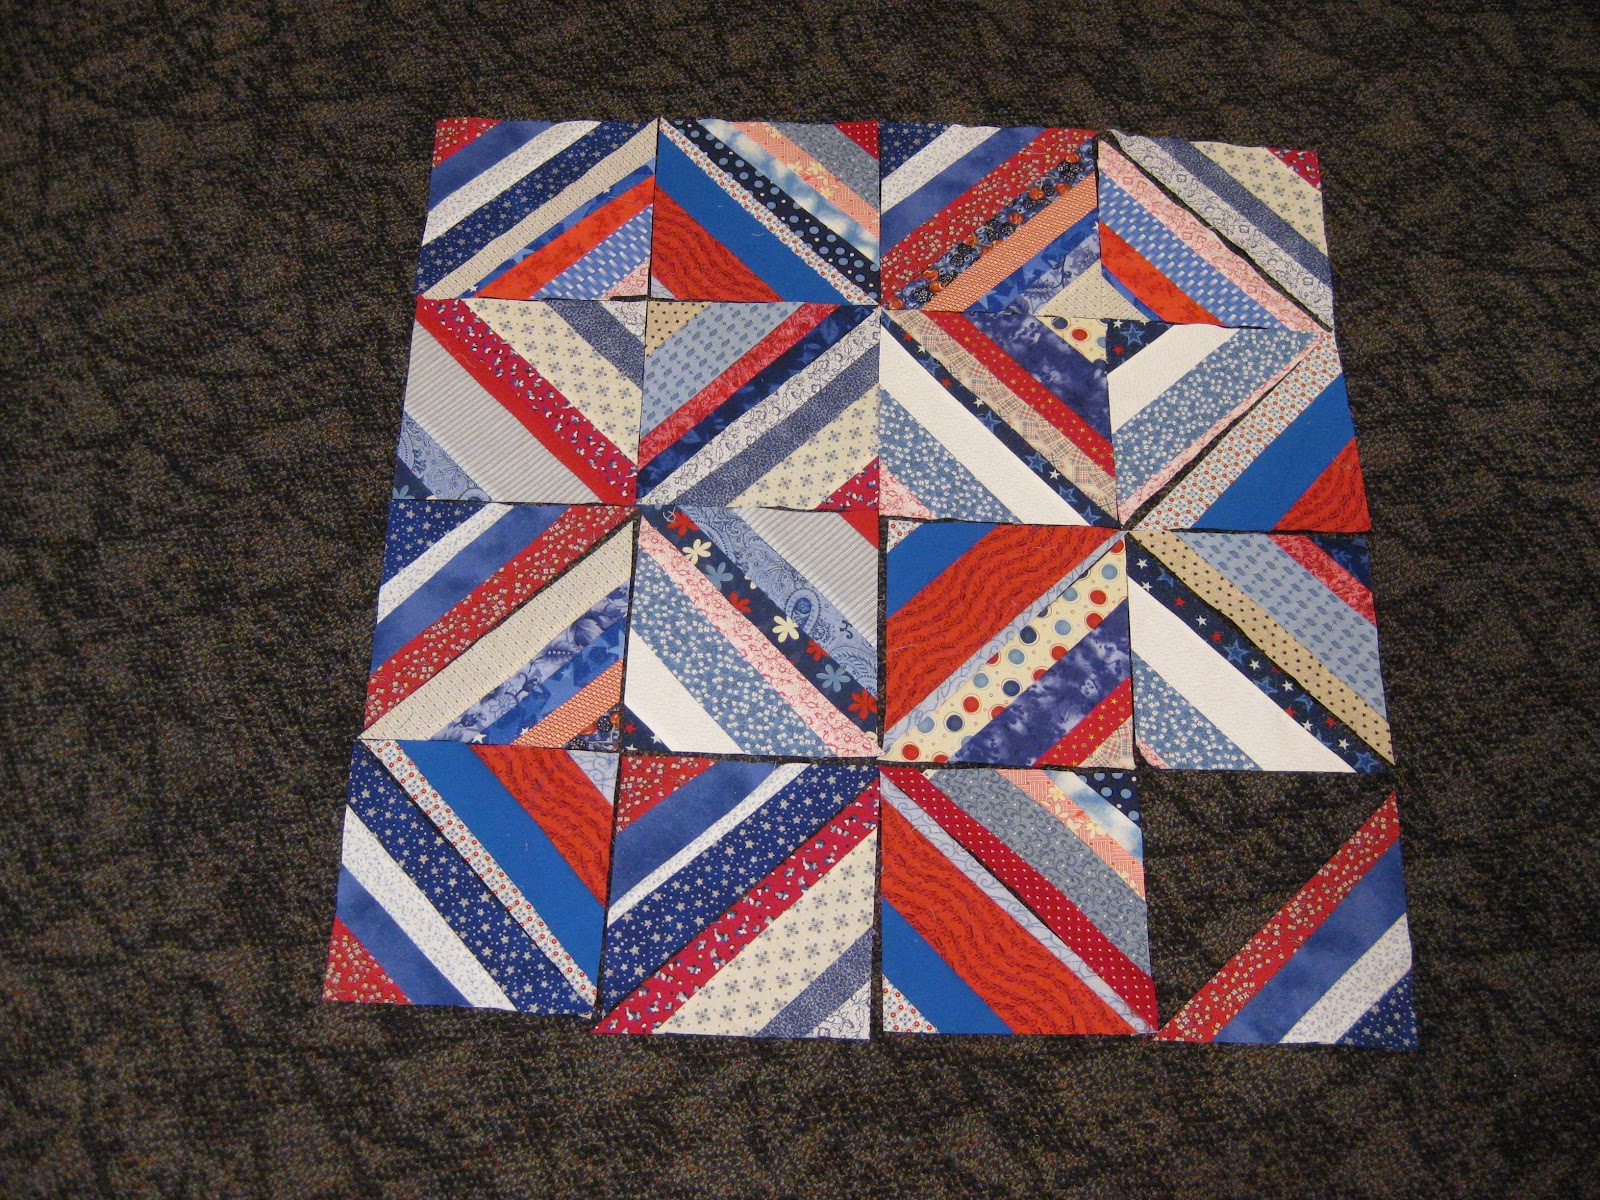
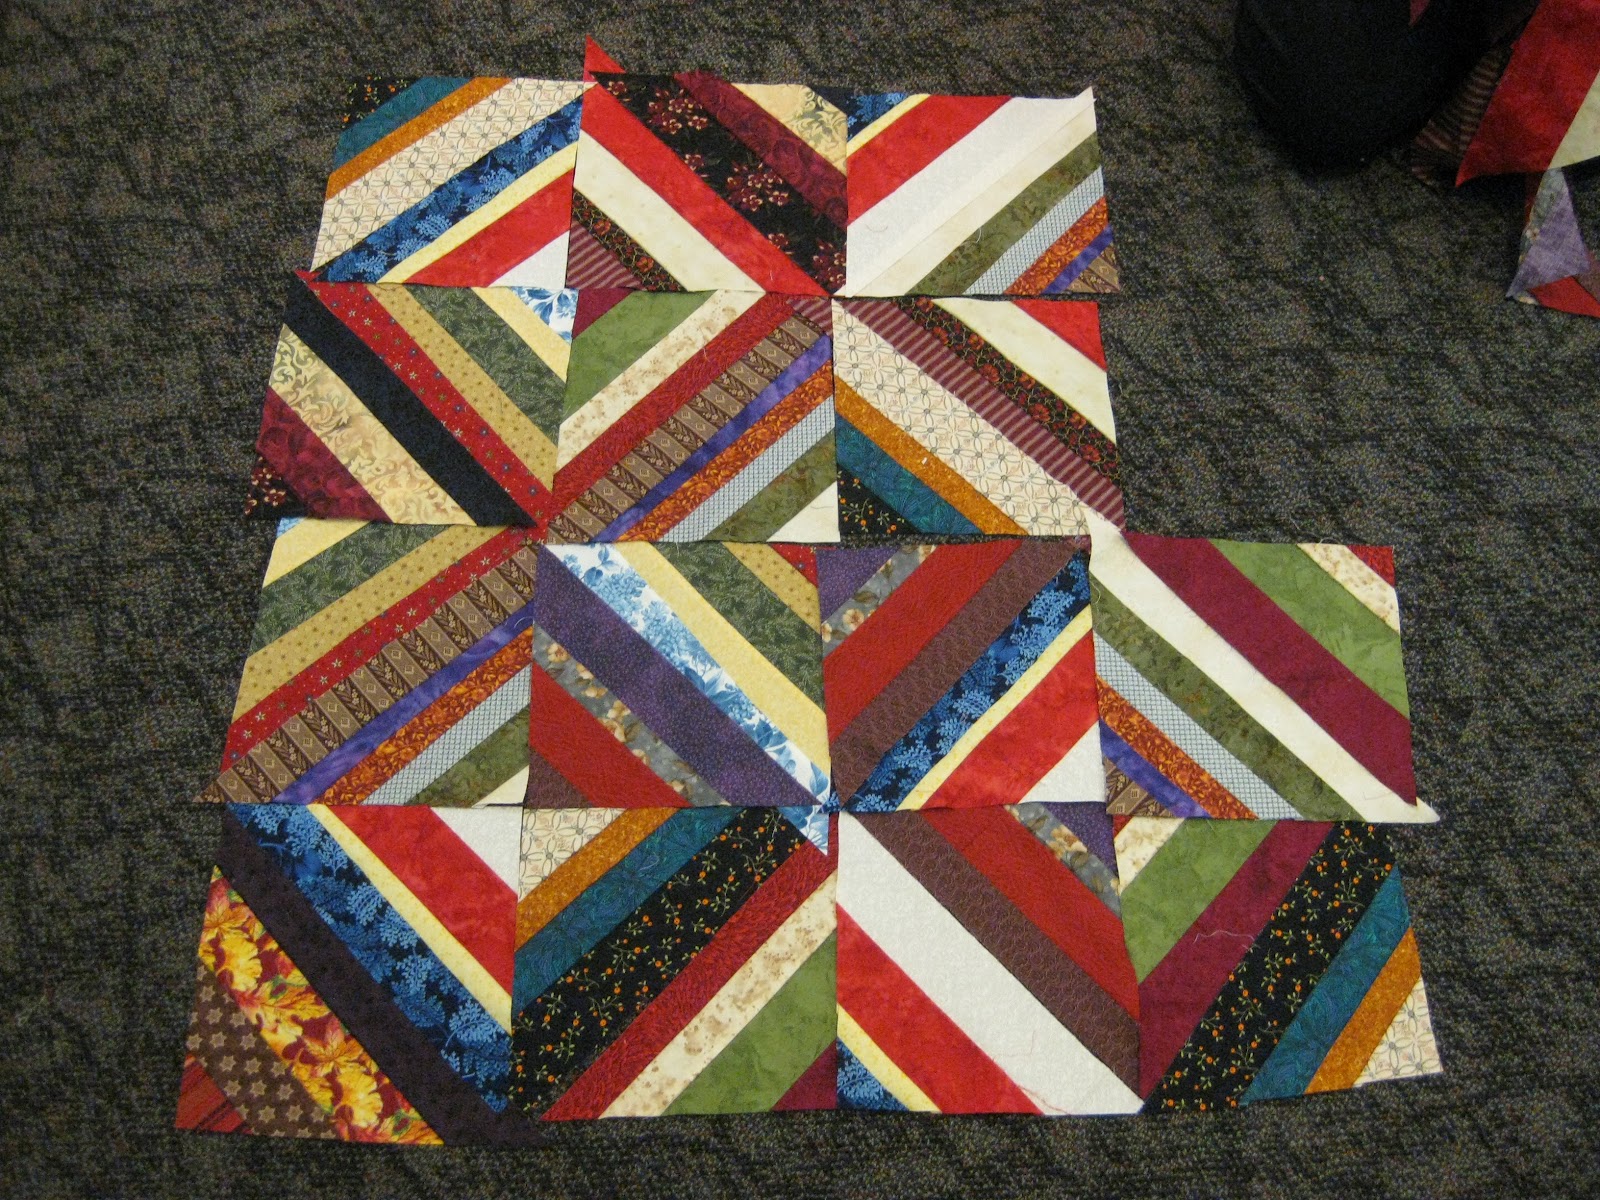
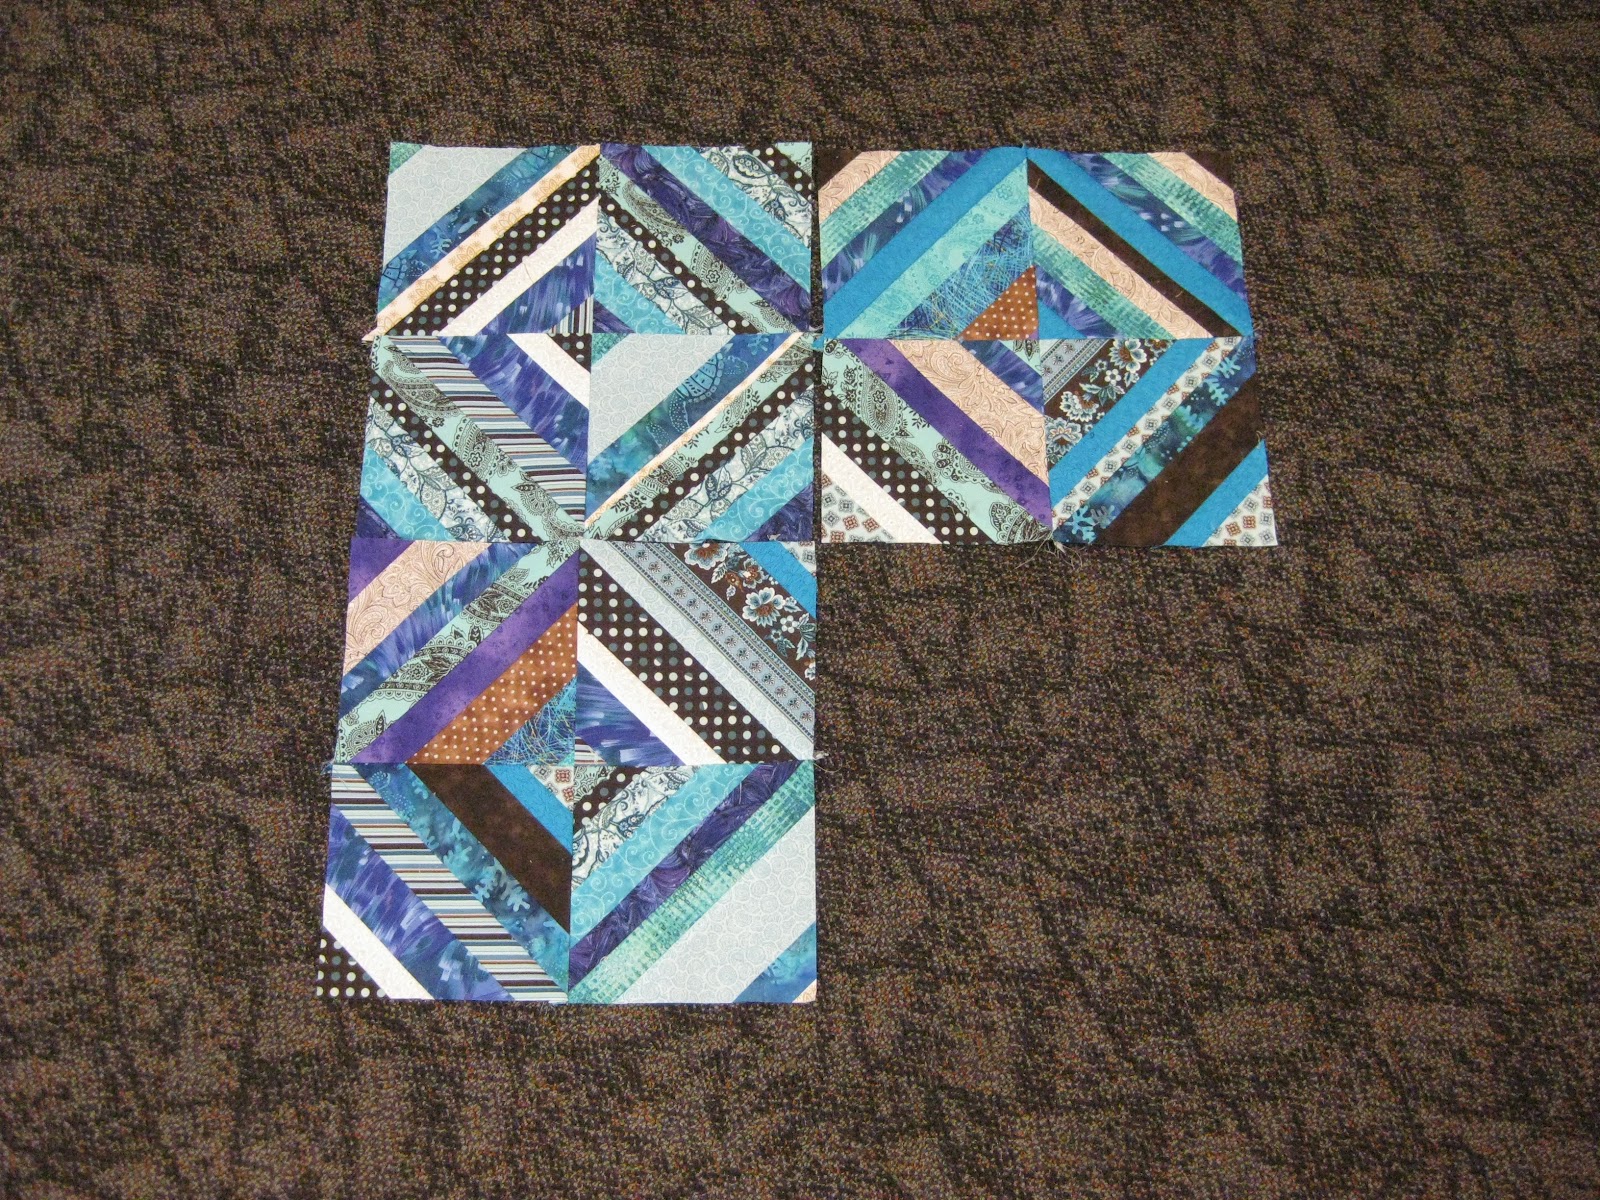
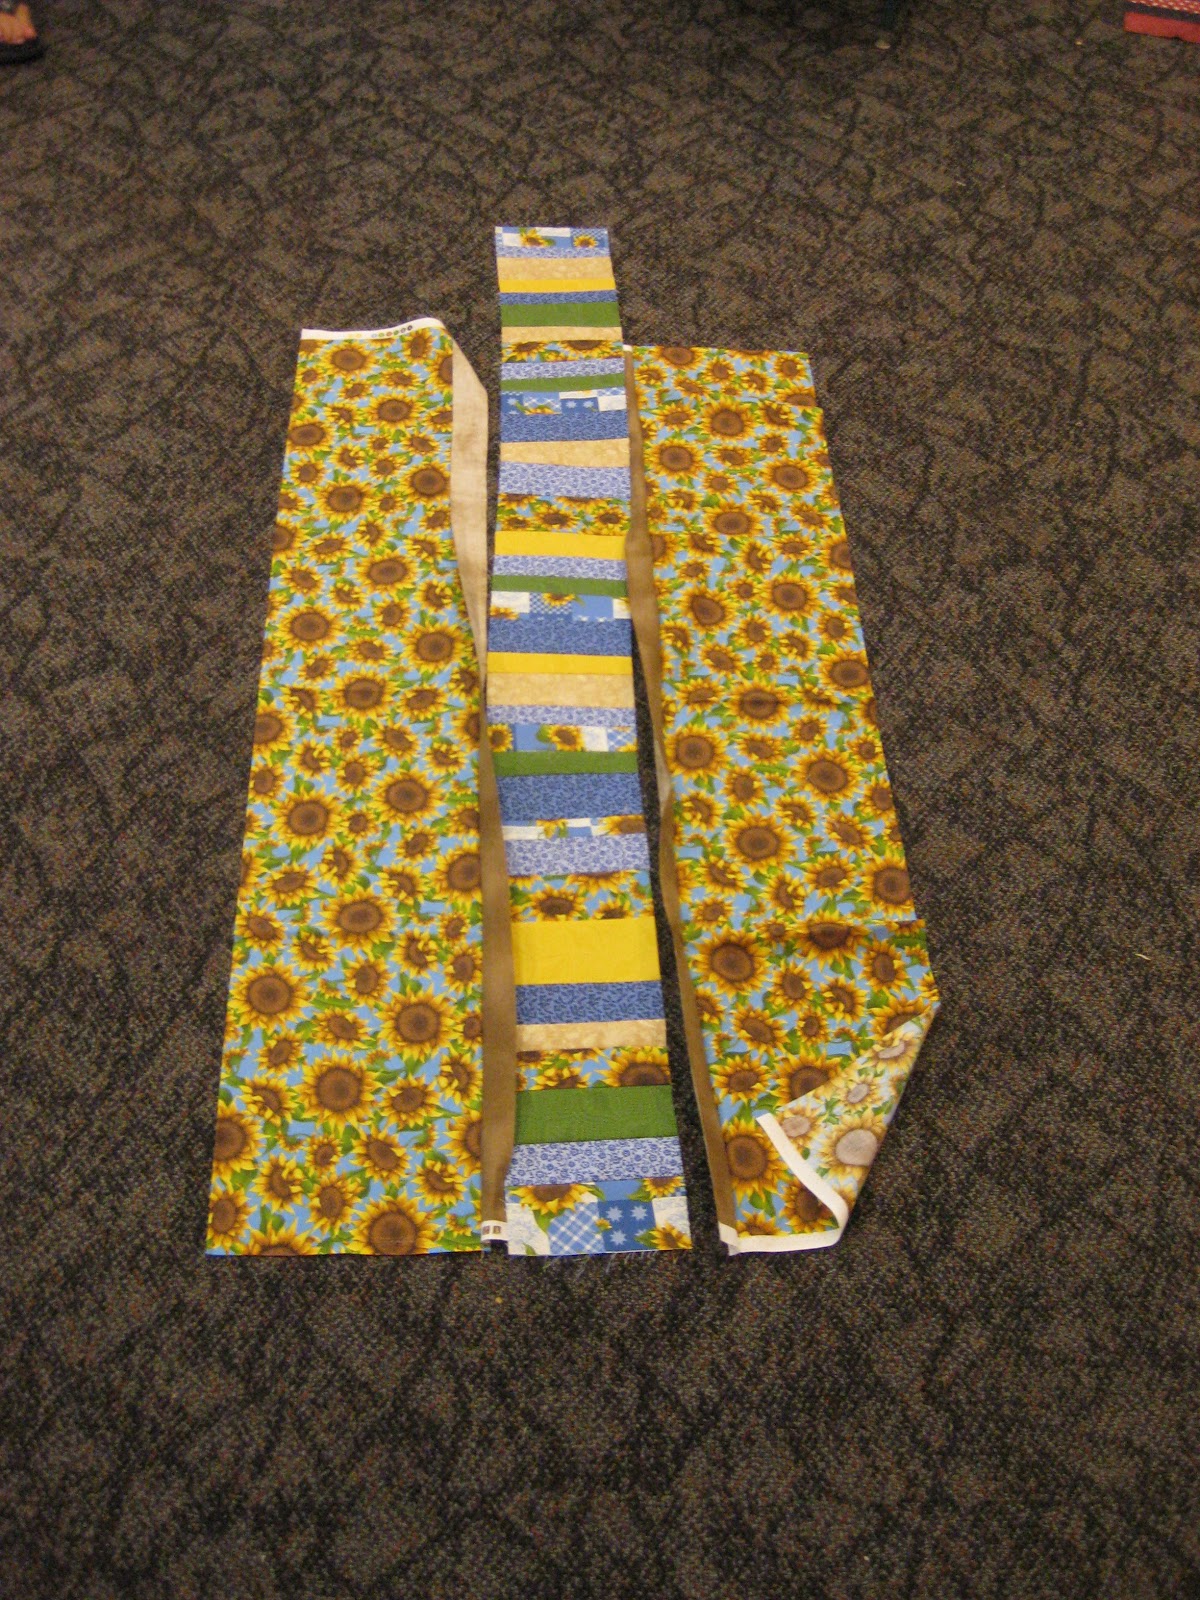
The above and below are both version of Scrappy Strings and Crazy Things… the above done with red, white and blue fabrics and the below done with random scraps.
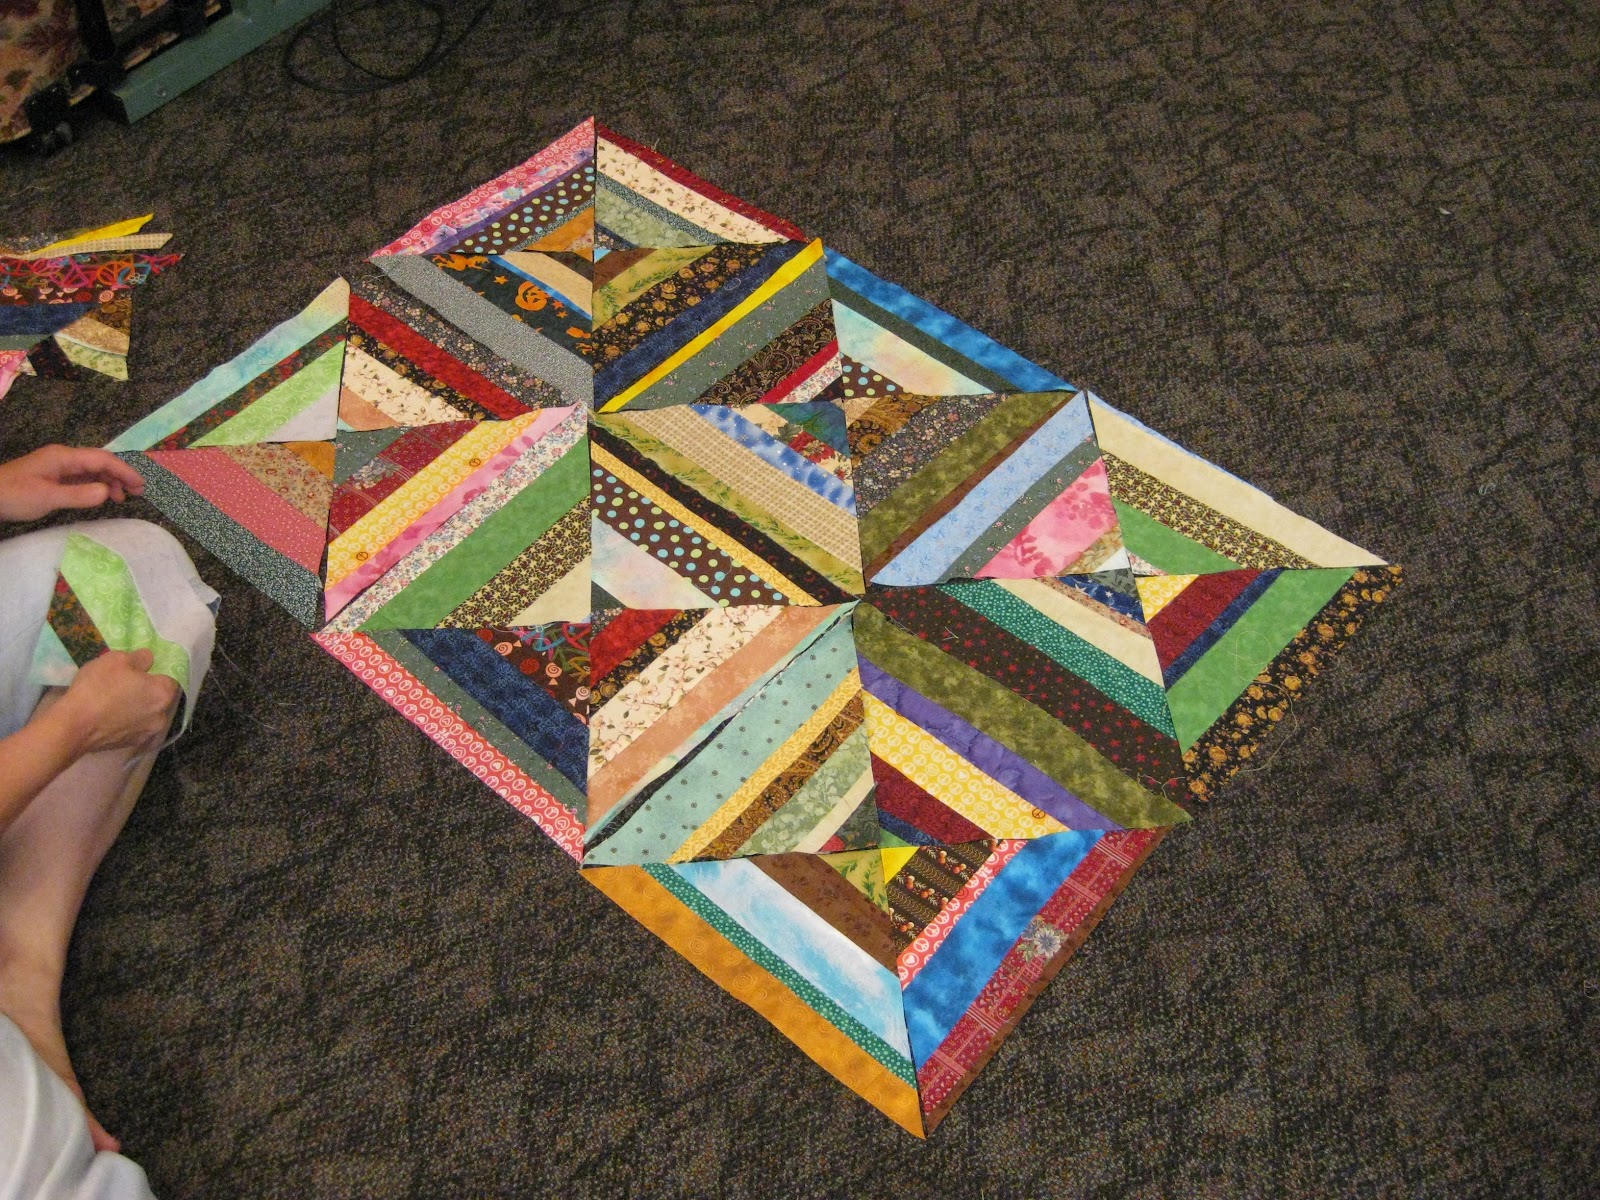
Here one student is laying out blocks and deciding what could be done. As you can see on the left… she has begun the layout for From Strips to Squares quilt… but not the right… she’s looking at more of a “barber pole” look. We were discussing how the quilt on the right could be pieced. I suggested perhaps making striped columns and dividing them with sashing or border strips to make them really stand out. I love both looks. These triangles are all so versatile. Laying them out really helps you to see what you can do.

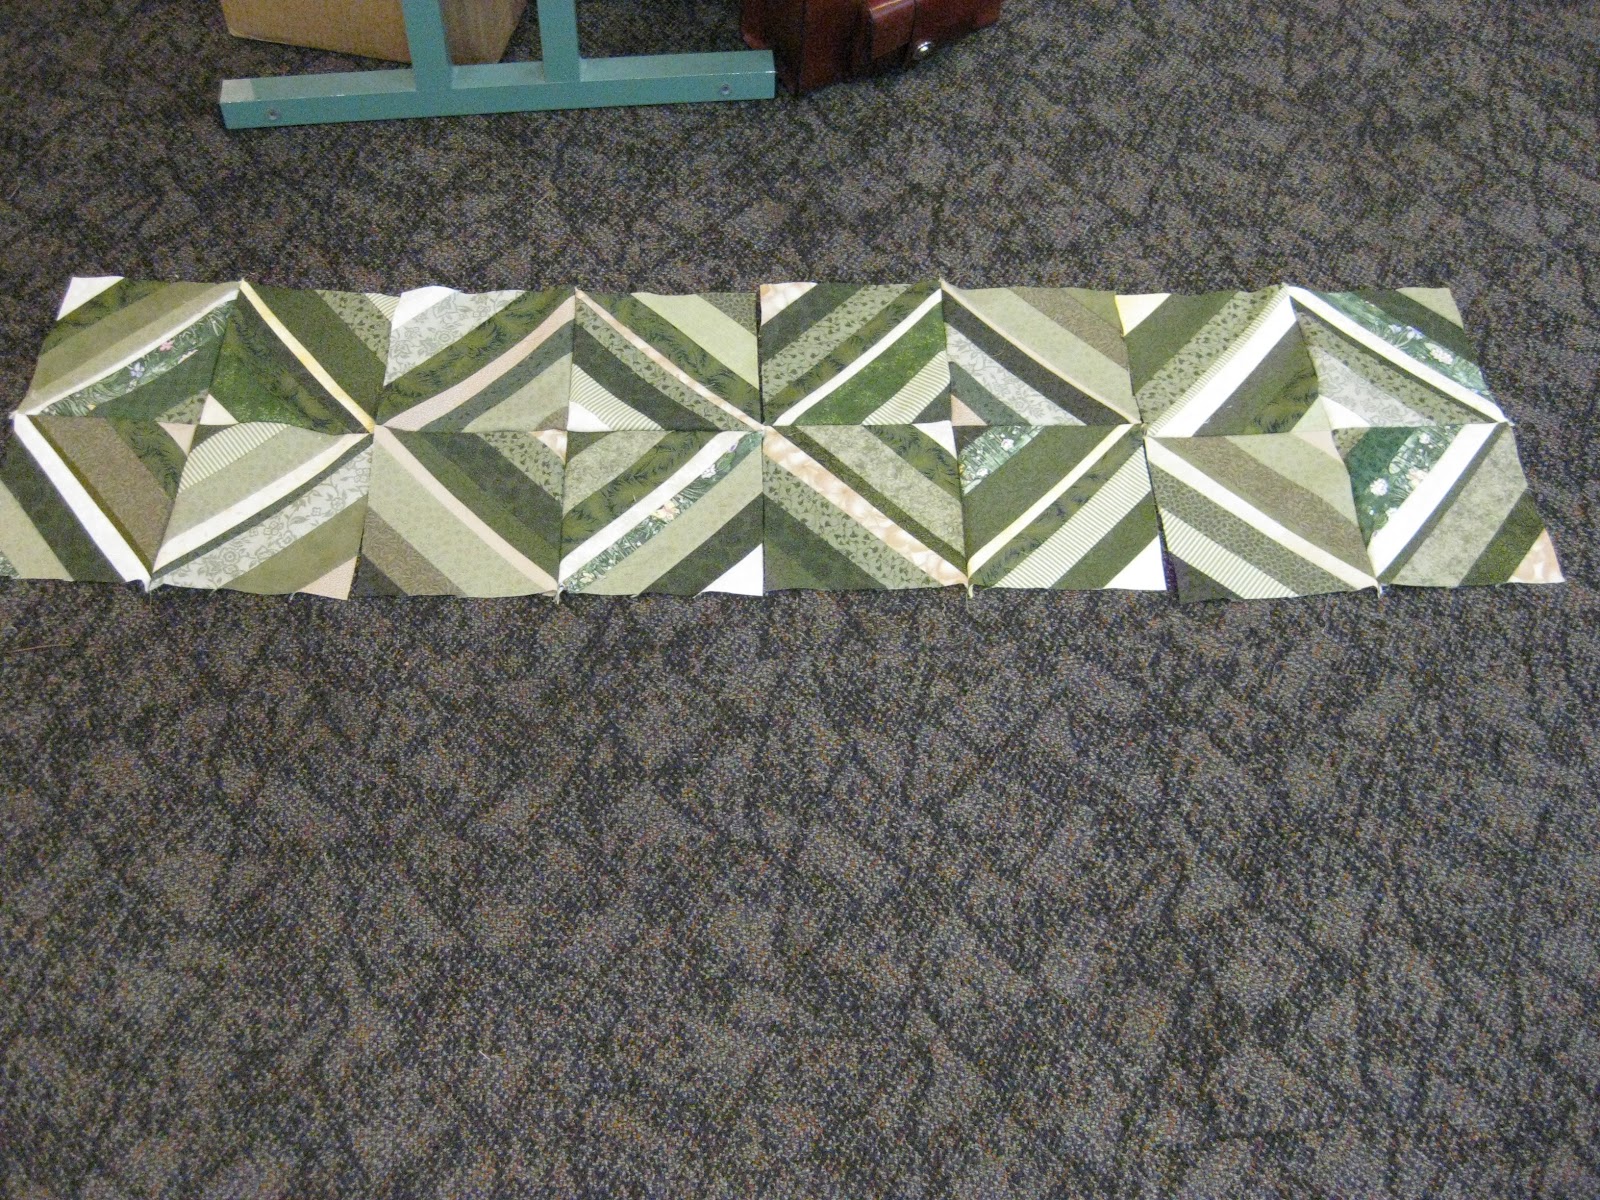
This quilter chose to bring only green and cream scraps with her on this day. She was stepping way out of her box and wanted to play it a little safe. I think the result is pretty fantastic. She slows a little slower than most and was very pleased with her progress on this day.
These two quilters are laying out their blocks. The above quilter pulled her strips from a paper bag. The quilter below used leftovers from a recent project.
Above and below are quilters laying out their random strip quilts. Their quilt layouts are actually completely different. The quilts look quite similar though. You have to look twice to see the difference in the layouts. Was one of them making a mistake… ???? Of course not. There are no mistakes in this method … only design choices.
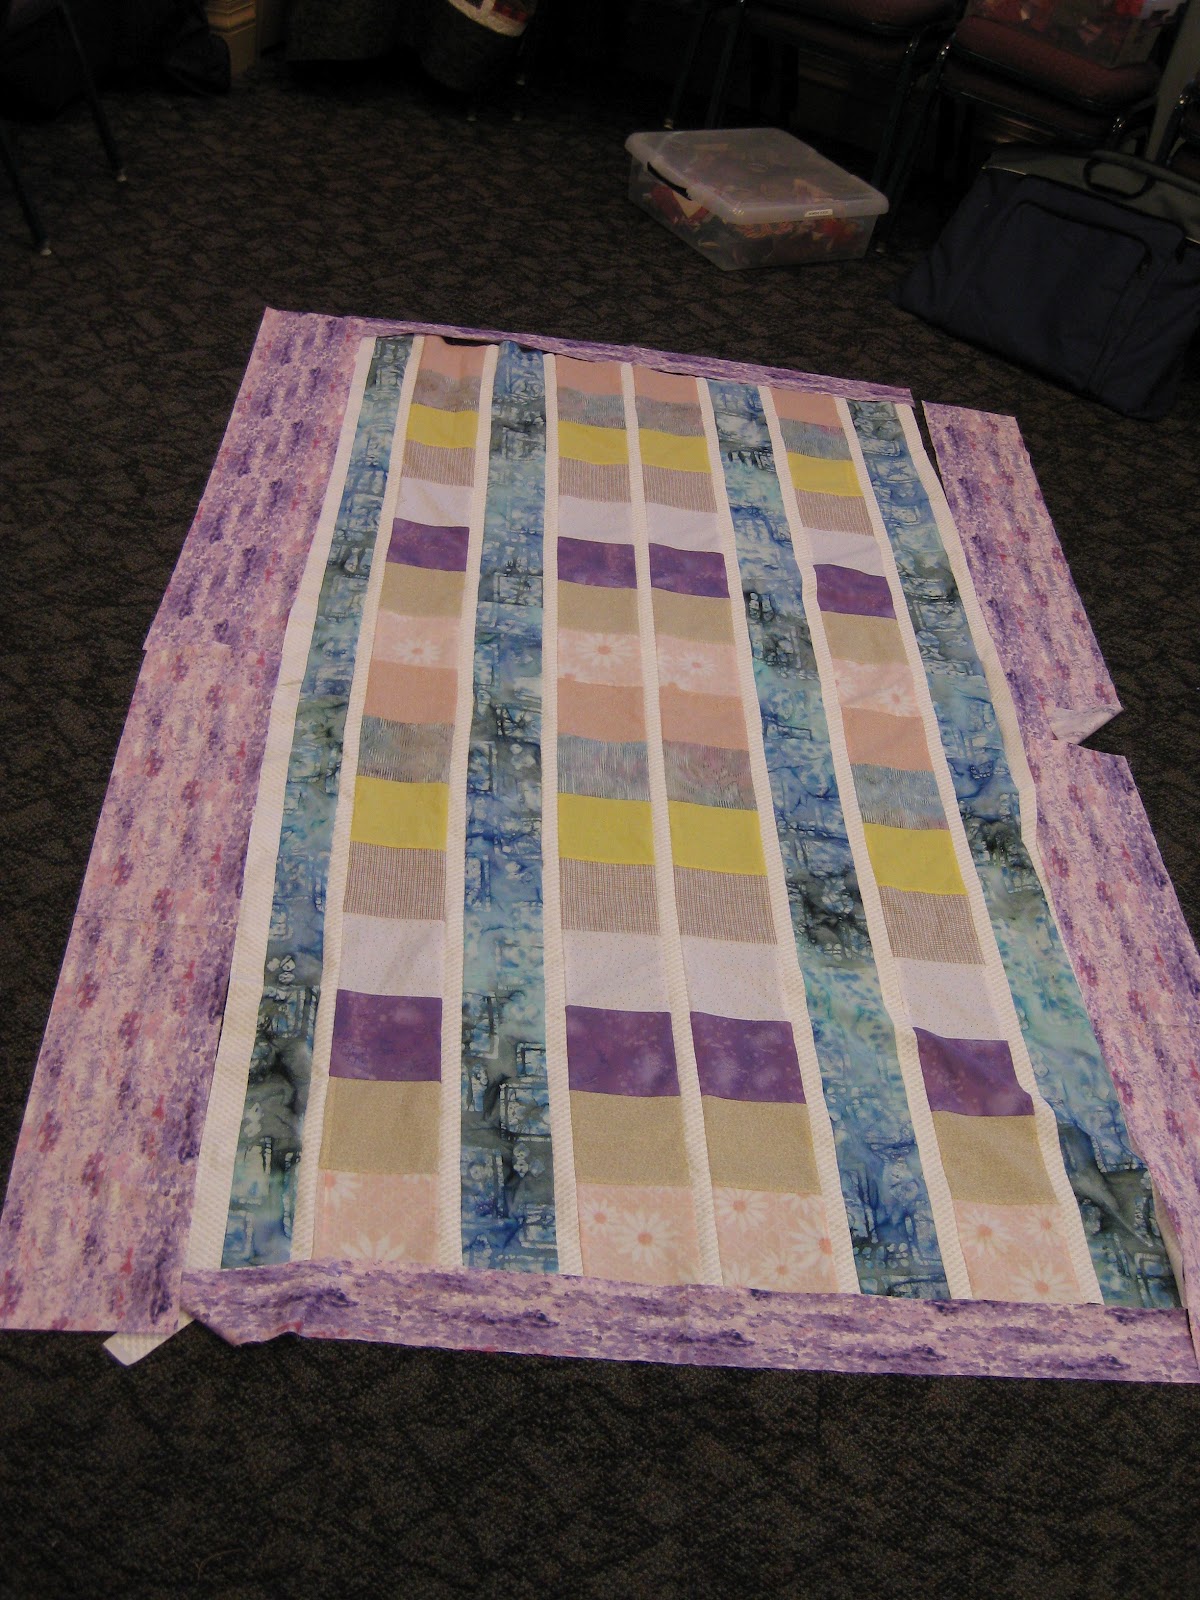
The above and below quilts are versions of Spare Change. Each quilter used what she had in her stash. One used strips and one used charm squares. Just because I tell you in the book to use strips doesn’t mean you can’t use charms… and there was no math in this quilt really. Is the design the same as mine… no. This quilter thought she made a mistake… but it ended up being a design choice as well.

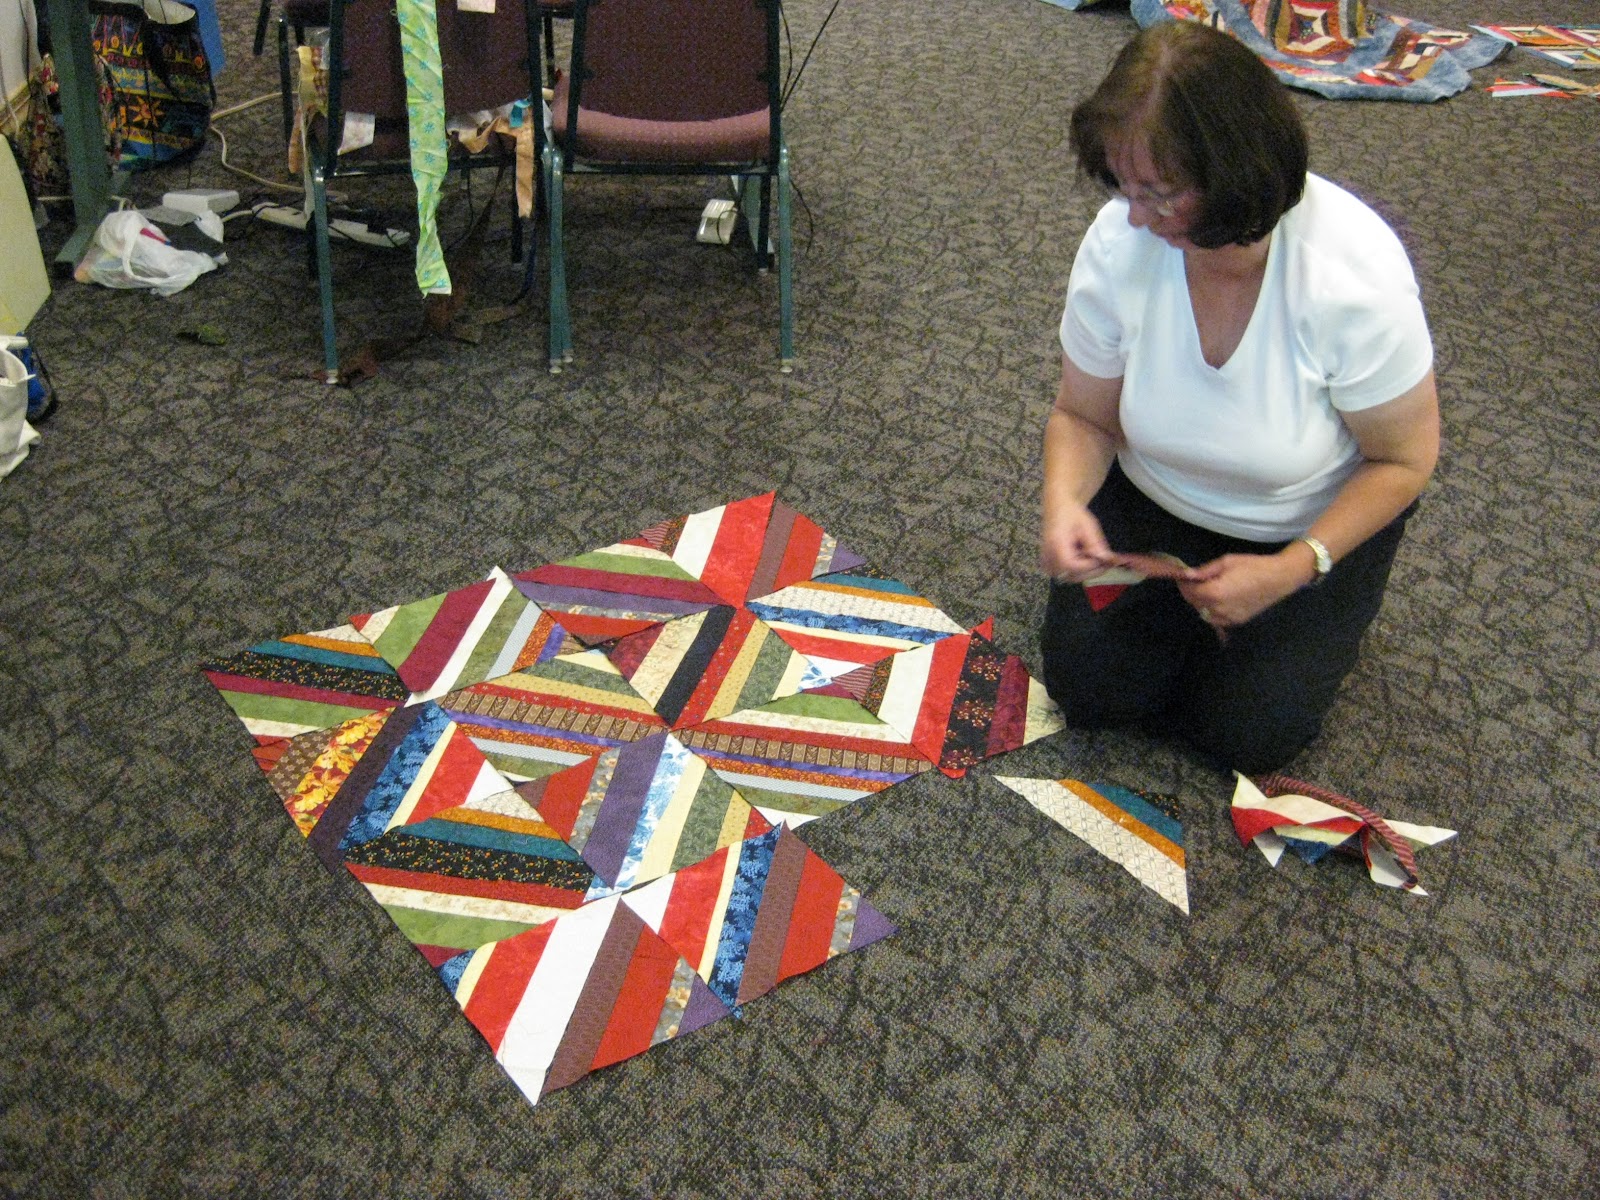
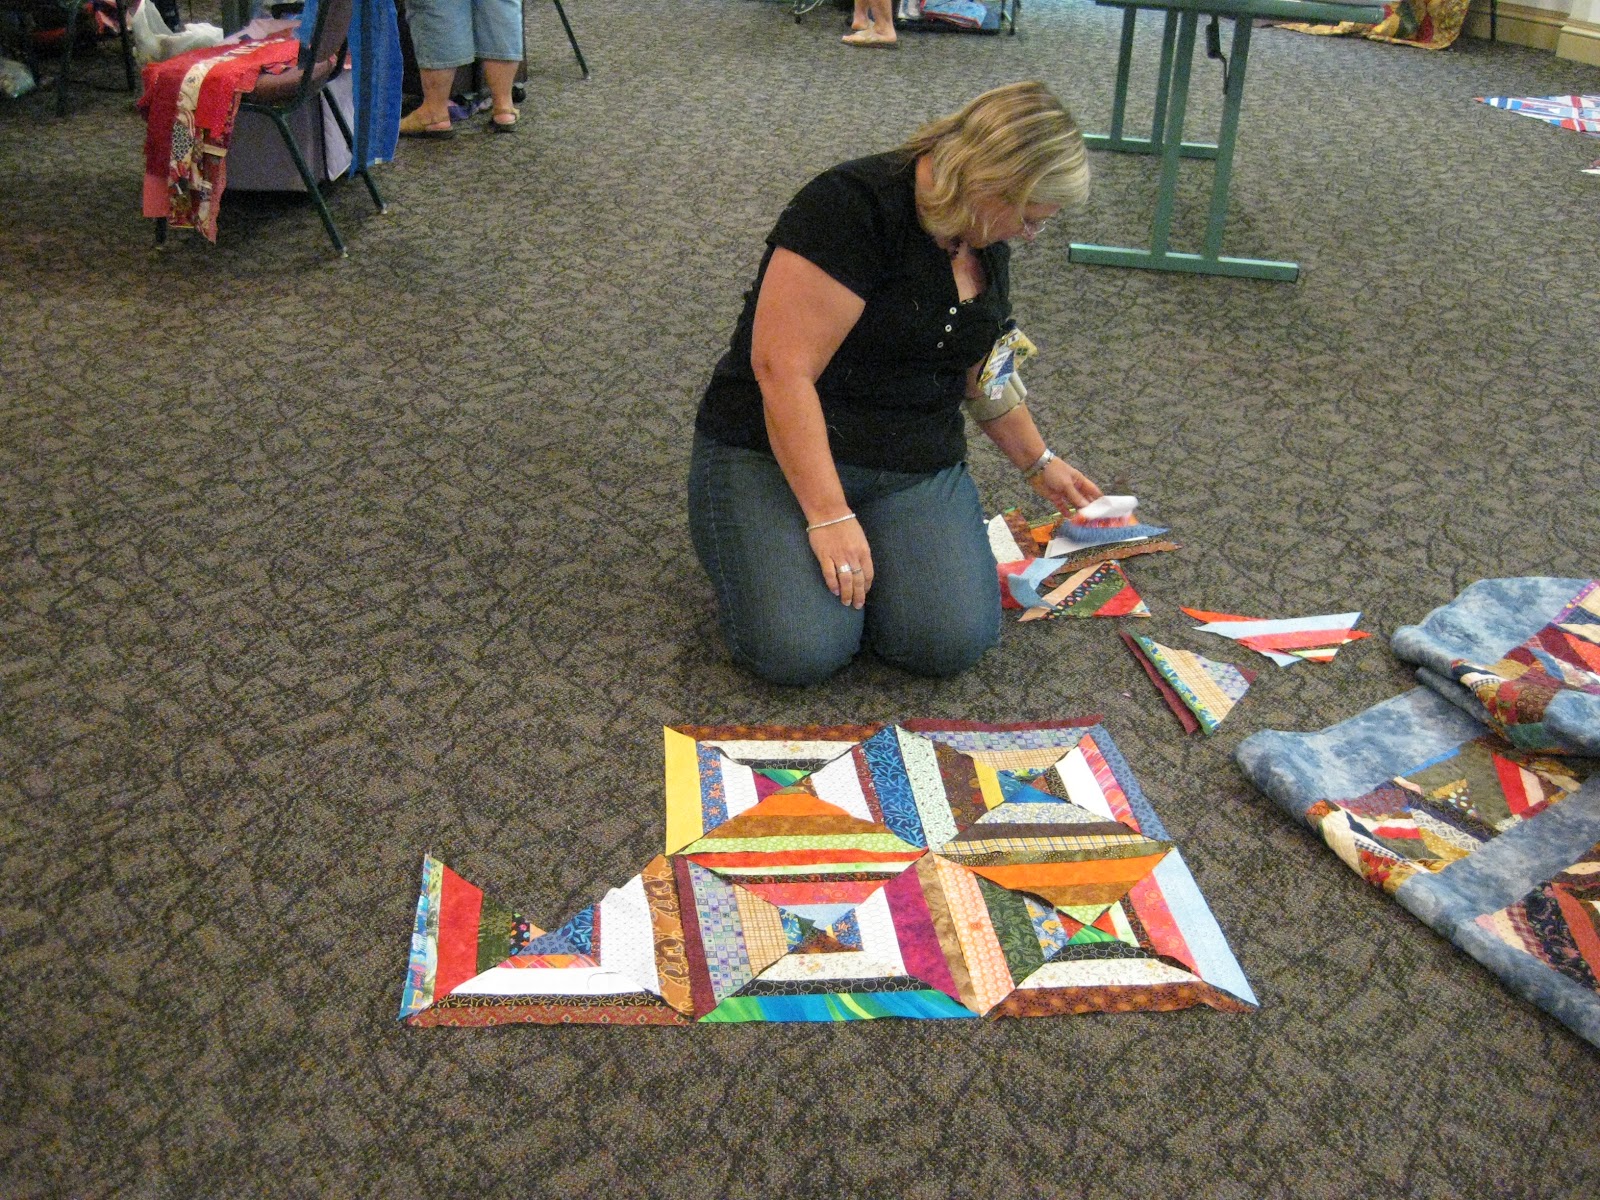
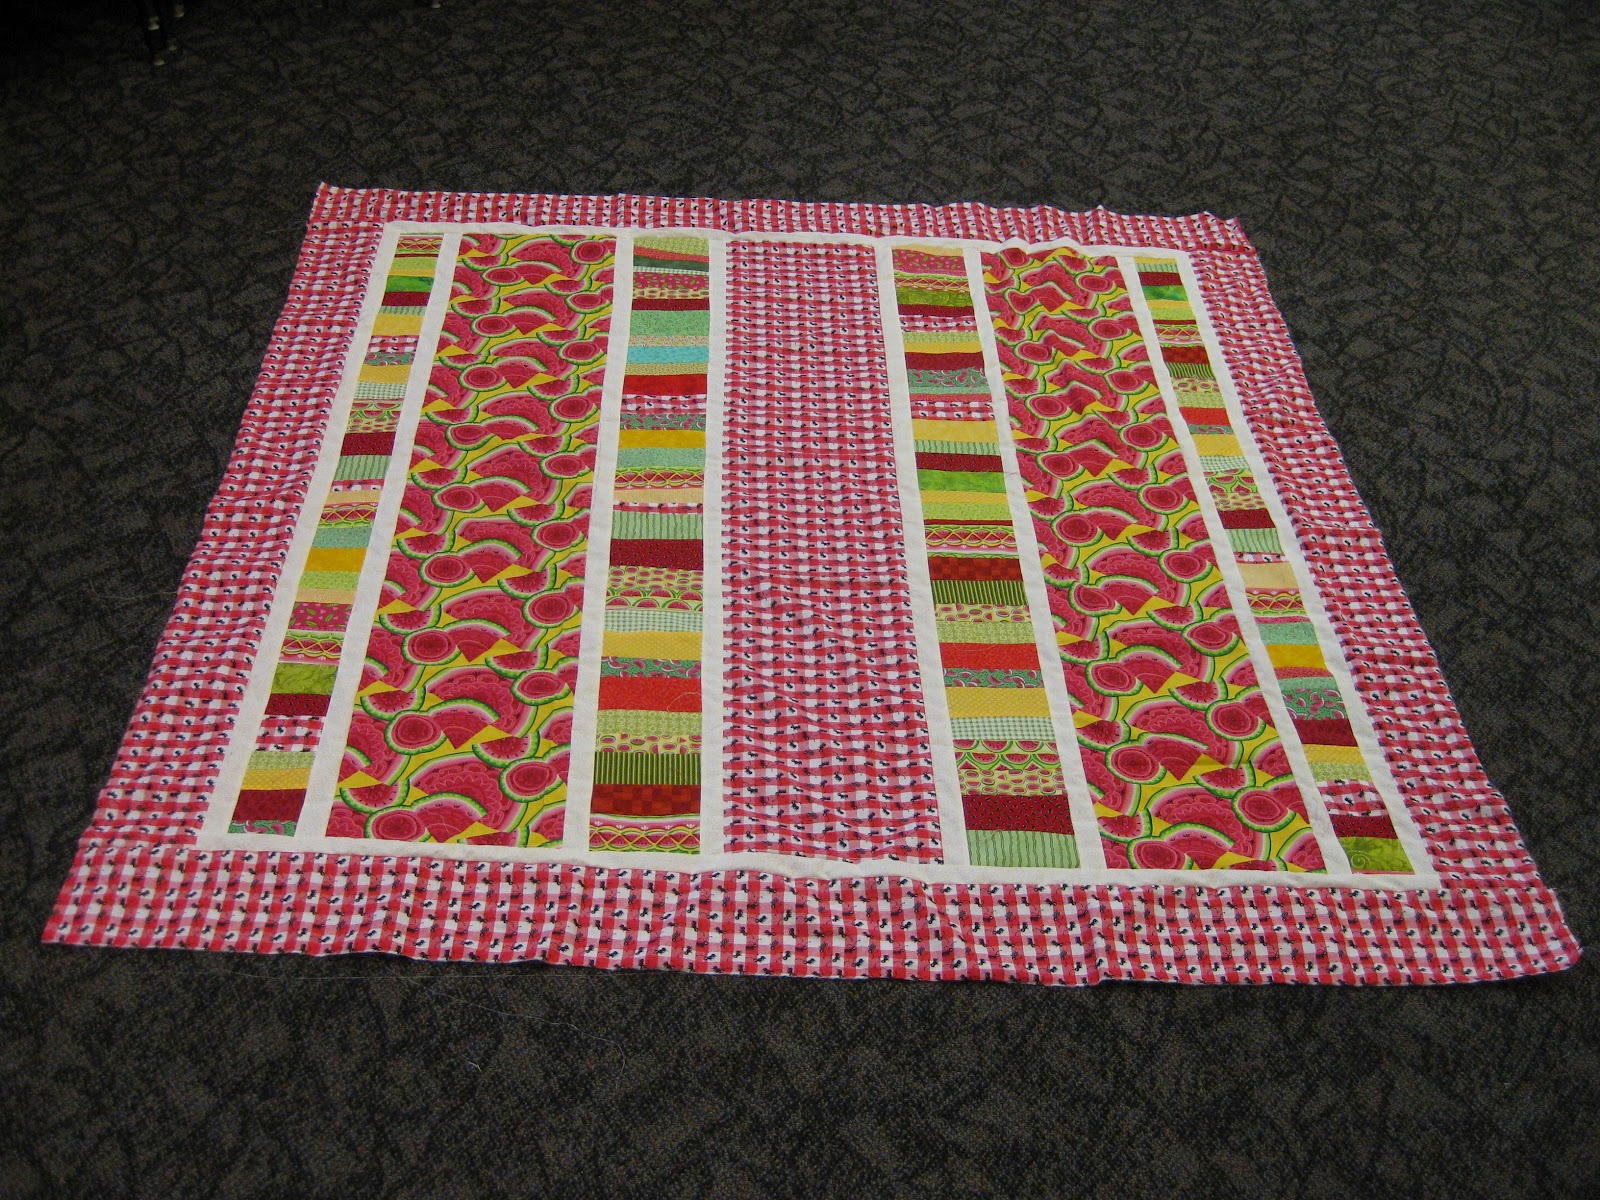
These two quilters were sewing like lightening in this workshop. The above quilter got her random strip quilt top completed with the borders to be added later. The quilter below used some leftovers from another project and finished her quilt top completely, with borders and square up, before she left the class. Pretty impressive and a really cute design. The quilt top had little ants all over it… and I think it was destined to be a picnic quilt.
Anything is possible with this method. Give it a try and see what you can come up with.