
Greetings gang and welcome to Episode 003 of Penni’s Pointers. Today I am talking all about design walls. Why should we have them, where should we have them and how to have them if you don’t have a lot of space.
Why do you need a design wall?
I find a design wall is my best friend when I am quilting even for the most basic reason… it helps me keep my layout just right. When quilting a basic block pattern like my Marble Cake, the blocks and rows have to be alternated the correct way or the quilt won’t turn out as intended. A design wall is a great way to layout your blocks and is able to help you correct those mistakes before you sew them together. The wall helps keep your projects off of the floor or keeps them from cluttering up a large table. Let’s face it… you may need to use the table before the project is done and we don’t like to have to move a project in the middle of construction.
Planning the unplanned.
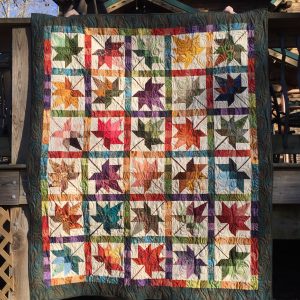
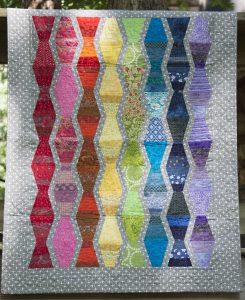
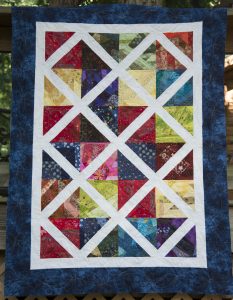
But how about the need to plan an improv quilt. In the case of my Scrap Petal Garden quilt, a design wall gives you the space and freedom you need to create your very own masterpiece. I use my design wall as a building block for creating all of my scrap quilts. I can see where color is too abundant or where it is missing from my project. For most of us, a wall is essential for creating masterpieces with movement and shading. Below are a few examples of quilts that wouldn’t be the same without the design wall.


How do I make one?
There are lots of products on the market here…
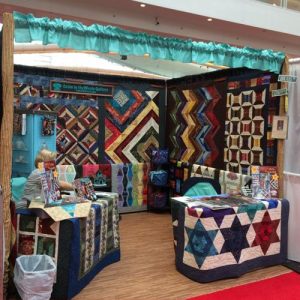
- Cheryl Ann’s Design Wall – I have one of these and it has made many a trek to All Scrapped Out! classes while I am teaching to demonstrate the importance of a design wall.
- Fons and Porter
- Classy American Retractable Design Wall
But, let’s face it, most of us are creative DIYers and can make our own. In my old studio, I used a piece of insulation foam board on the wall. We bought two 4′ x 8′ sheets, taped them together and I covered them with white flannel yardage that I got on sale. That wall worked like a dream. Most small blocks stuck right to the wall with static but when that didn’t work I just stuck a couple of pins in the wall. It was the best. But, when I moved my studio to a beautiful bright area on the top floor I no longer had the wall space for that gorgeous design wall. I told myself initially that I didn’t need it. I was SO WRONG. So I have to come up with a creative solution and found something that I can’t live without.
The retractable roll-up, homemade, dreamy design wall DIY
My roll-up design wall (credited to my friend Ginger who had one of these installed in her basement sewing studio) is made up of an outdoor shade that one might find at the local hardware store. I don’t remember the brand name of mine. It doesn’t have a crank handle… just a little pull cord. It is mechanical and doesn’t get cockeyed or have trouble rolling up. I took my leftover piece of flannel from my old design wall and pinned it to the shade. Blocks have to be pinned on the wall because it is moveable and swings freely at the bottom.
The best part is… if someone were to stop by or I wanted to work on something else for a day and enjoy the sunshine through the windows, I just roll the project right up in the design wall. It is the absolute best idea for someone with serious space issues. Nothing to trip over or move around. I do have to use a step ladder when I am pinning up the blocks for a super large quilt… but 75% of the time I am working on a smaller sample and can easily work while standing on the floor. I have very tall ceilings in the loft area so my shade is up quite high. Your ceiling may be quilt a bit lower.
Wanna see how it works? Check out the video below.
So when I am working on a sneak peek in the studio or even while filming a fun new video for you to see, I use my design wall all the time. Here is what I have pinned to it right now. A hot new project for Spring using the Nested Petal Template.

I’m so grateful that you stopped by the studio for another Penni’s Pointer. If you have a great tip that you would like us to try out… send it over to us at cabinwquilters@gmail.com
Until next time… Happy Quilting!