
Today’s title reads like an Agatha Christie novel and may even solve a mystery for you. Have you ever looked at someone’s project and wondered how they hide their stitches? Today I will show you one of the magical disappearing stitches that I use for both English Paper Piecing and for closing up the seam on a stuffed project without showing my thread. It is one of PENNI’S POINTERS but today I am putting this one directly into my QUILTER’S TOOLBOX in case I ever need it. For you… this video will remain on the video page so you can find it anytime.
English Paper Piecing Stitches… why do I need to know more than one?
There are three stitches that I teach in my English Paper Piecing class: the classic whipstitch, the flat back stitch (a behind-the-scenes version of the whipstitch), and the invisible ladder stitch. Giving my students a choice of stitches to try not only gives them the opportunity to pick the stitch that best fits their ability and style but also gives them knowledge for their Quilter’s Toolbox to use whenever the circumstances arise. I love choices and sometimes my favorite technique just isn’t the right choice for the job at hand. It is important to have these little nuggets of knowledge in your back pocket for future use. You never know when you might need it.
The Invisible Ladder Stitch
The ladder stitch is designed to hide the stitches on the backside (or inside) of the project and completely hid the traveling thread. Unlike the whipstitch, who’s traveling thread you can see at an angle across the back of the project, the ladder stitch traveling thread appears straight across like the rungs of a ladder. The actual traveling thread is hidden under the fabric folds. Here are a few photos of what the stitches look like. Don’t worry if you don’t understand. I have provided a hands-on video below.
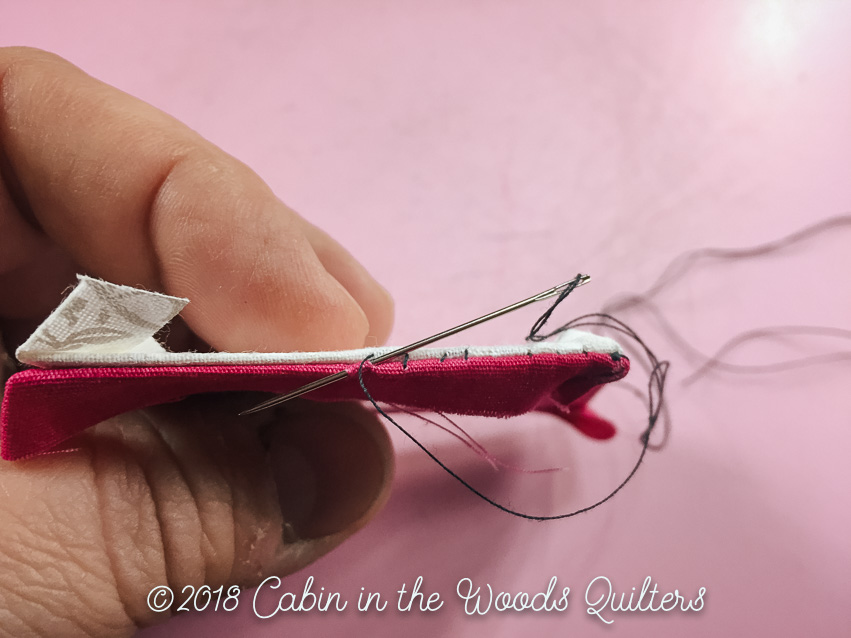
In this stitch, the thread travels in the fold on one side of this project only. The needle goes back into the fabric directly across from the thread on the other side of the project and another stitch is taken in the fold on that side of the project. I have used two different colors of fabric here (and some black thread) so that you can see both sides of the project and each stitch.

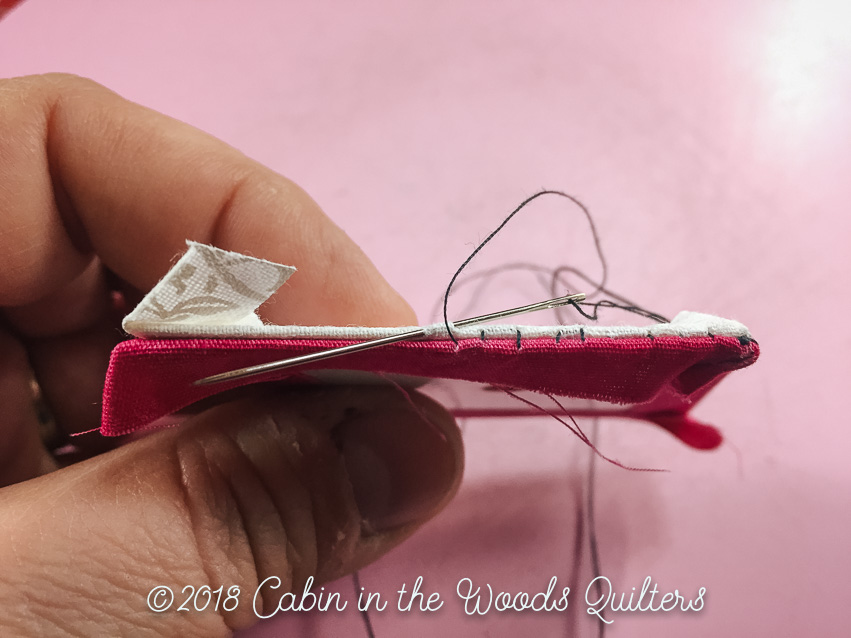
As you can see below, stitches will begin to look like the rungs of a ladder. The stitch will appear loose until a slight tug is taken on the thread.
Just keep moving back and forth between the pieces on each side until you get to the end of the project side then gently tug on the thread before tying off. Don’t tug too much because the fabric will pucker.
As you can see this creates a completely invisible stitch in English Paper Piecing. I used an embroidery needle and 50wt Aurifil in black for this project so you can see the stitches and how well the stitch works for invisible sewing. I love it when a plan comes together.

Using the Ladder Stitch in your regular sewing to close a project with complete invisibility.
You don’t have to sew by hand to find use with the Ladder stitch. Have you ever had to close the seam on a stuffed project? Have you ever just whipped the project closed with a general whip stitch? The results aren’t usually pretty.

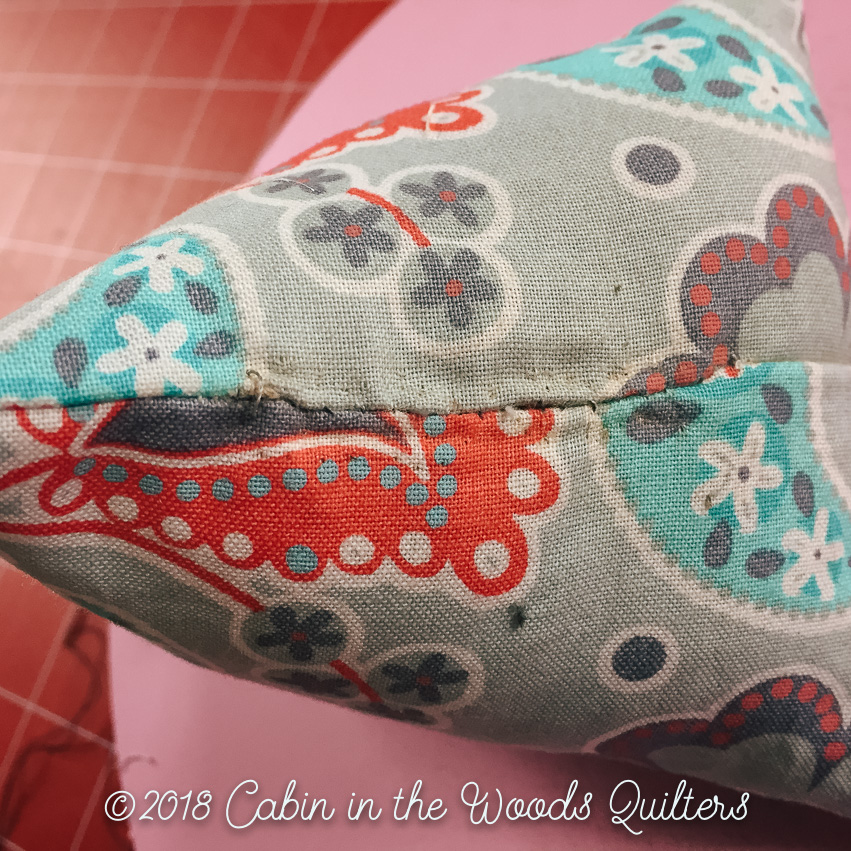
But if you use the invisible Ladder Stitch to close the project… you will be surprised how lovely the project closes. Here is a sample of the same project after I cut open the stitches and reclosed with the Ladder Stitch.

You can see a few leftover holes from the whipstitch but using the same needle and thread as above you can see that this stitch closes pretty perfectly. This stitch works exactly the same way as with the English Paper Piecing sample but here is a sample of what it looks like with a stuffed toy closure. You can really see how loose the stitches are.

The stitch can be very loose while you are traveling back and forth and tightens just as soon as you tug on the thread. Once the opening is closed you can create and knot and then bury it in the toy.
Just like that it is closed and looks so much better than it did when we started. Those wrinkles will loosen up and it will be very hard to find out where the opening was closed. Need more instruction? Watch the video below where I demonstrate the sewing stitches.
The Ladder Stitch in real time…
Thanks again for joining me. Let me know how much you like the Ladder Stitch and come back next week to see what I have in store. Who knows… maybe we will talk about another stitch.
Until then… Happy Quilting.
Penni