I found myself overwhelmed this week when I was working on a project for the new book by the ever increasing pile of scrap scraps. What are scrap scraps? Well… while strip piecing a bunch of uneven pieces for the blocks for new patterns… I wind up with piles of leftover cutoff ends and angles and eventually it just gets overwhelming.
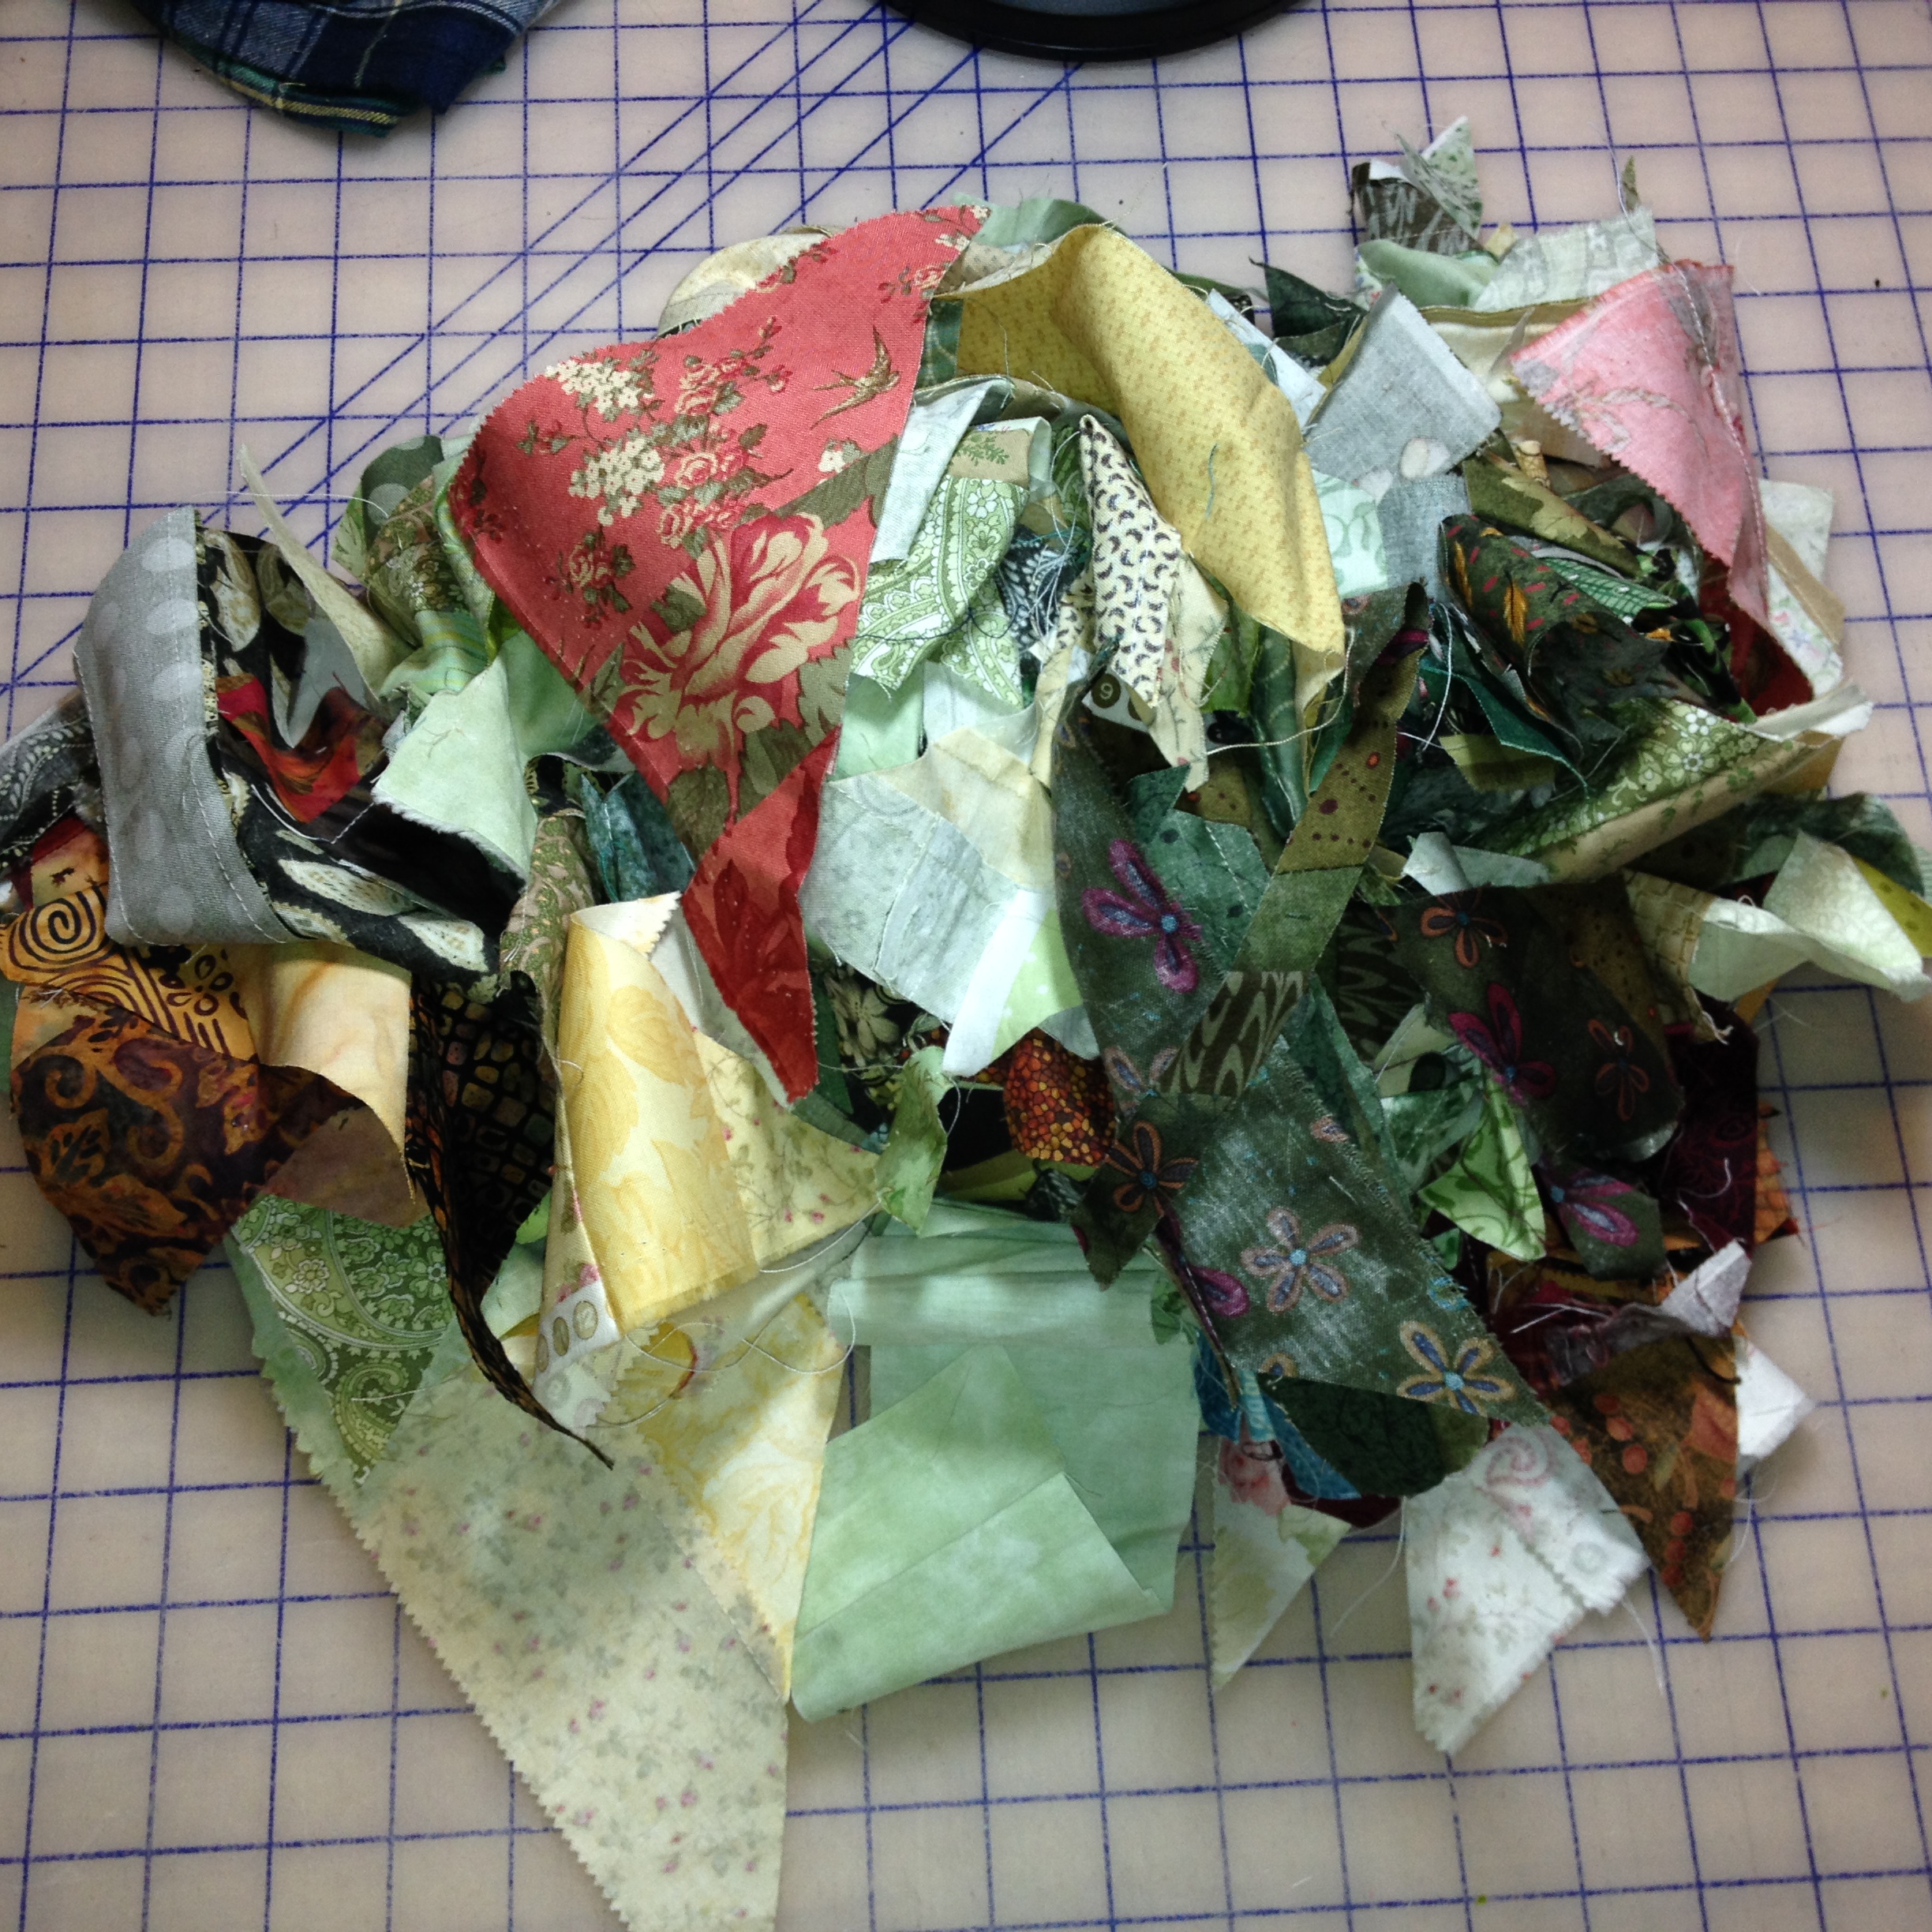
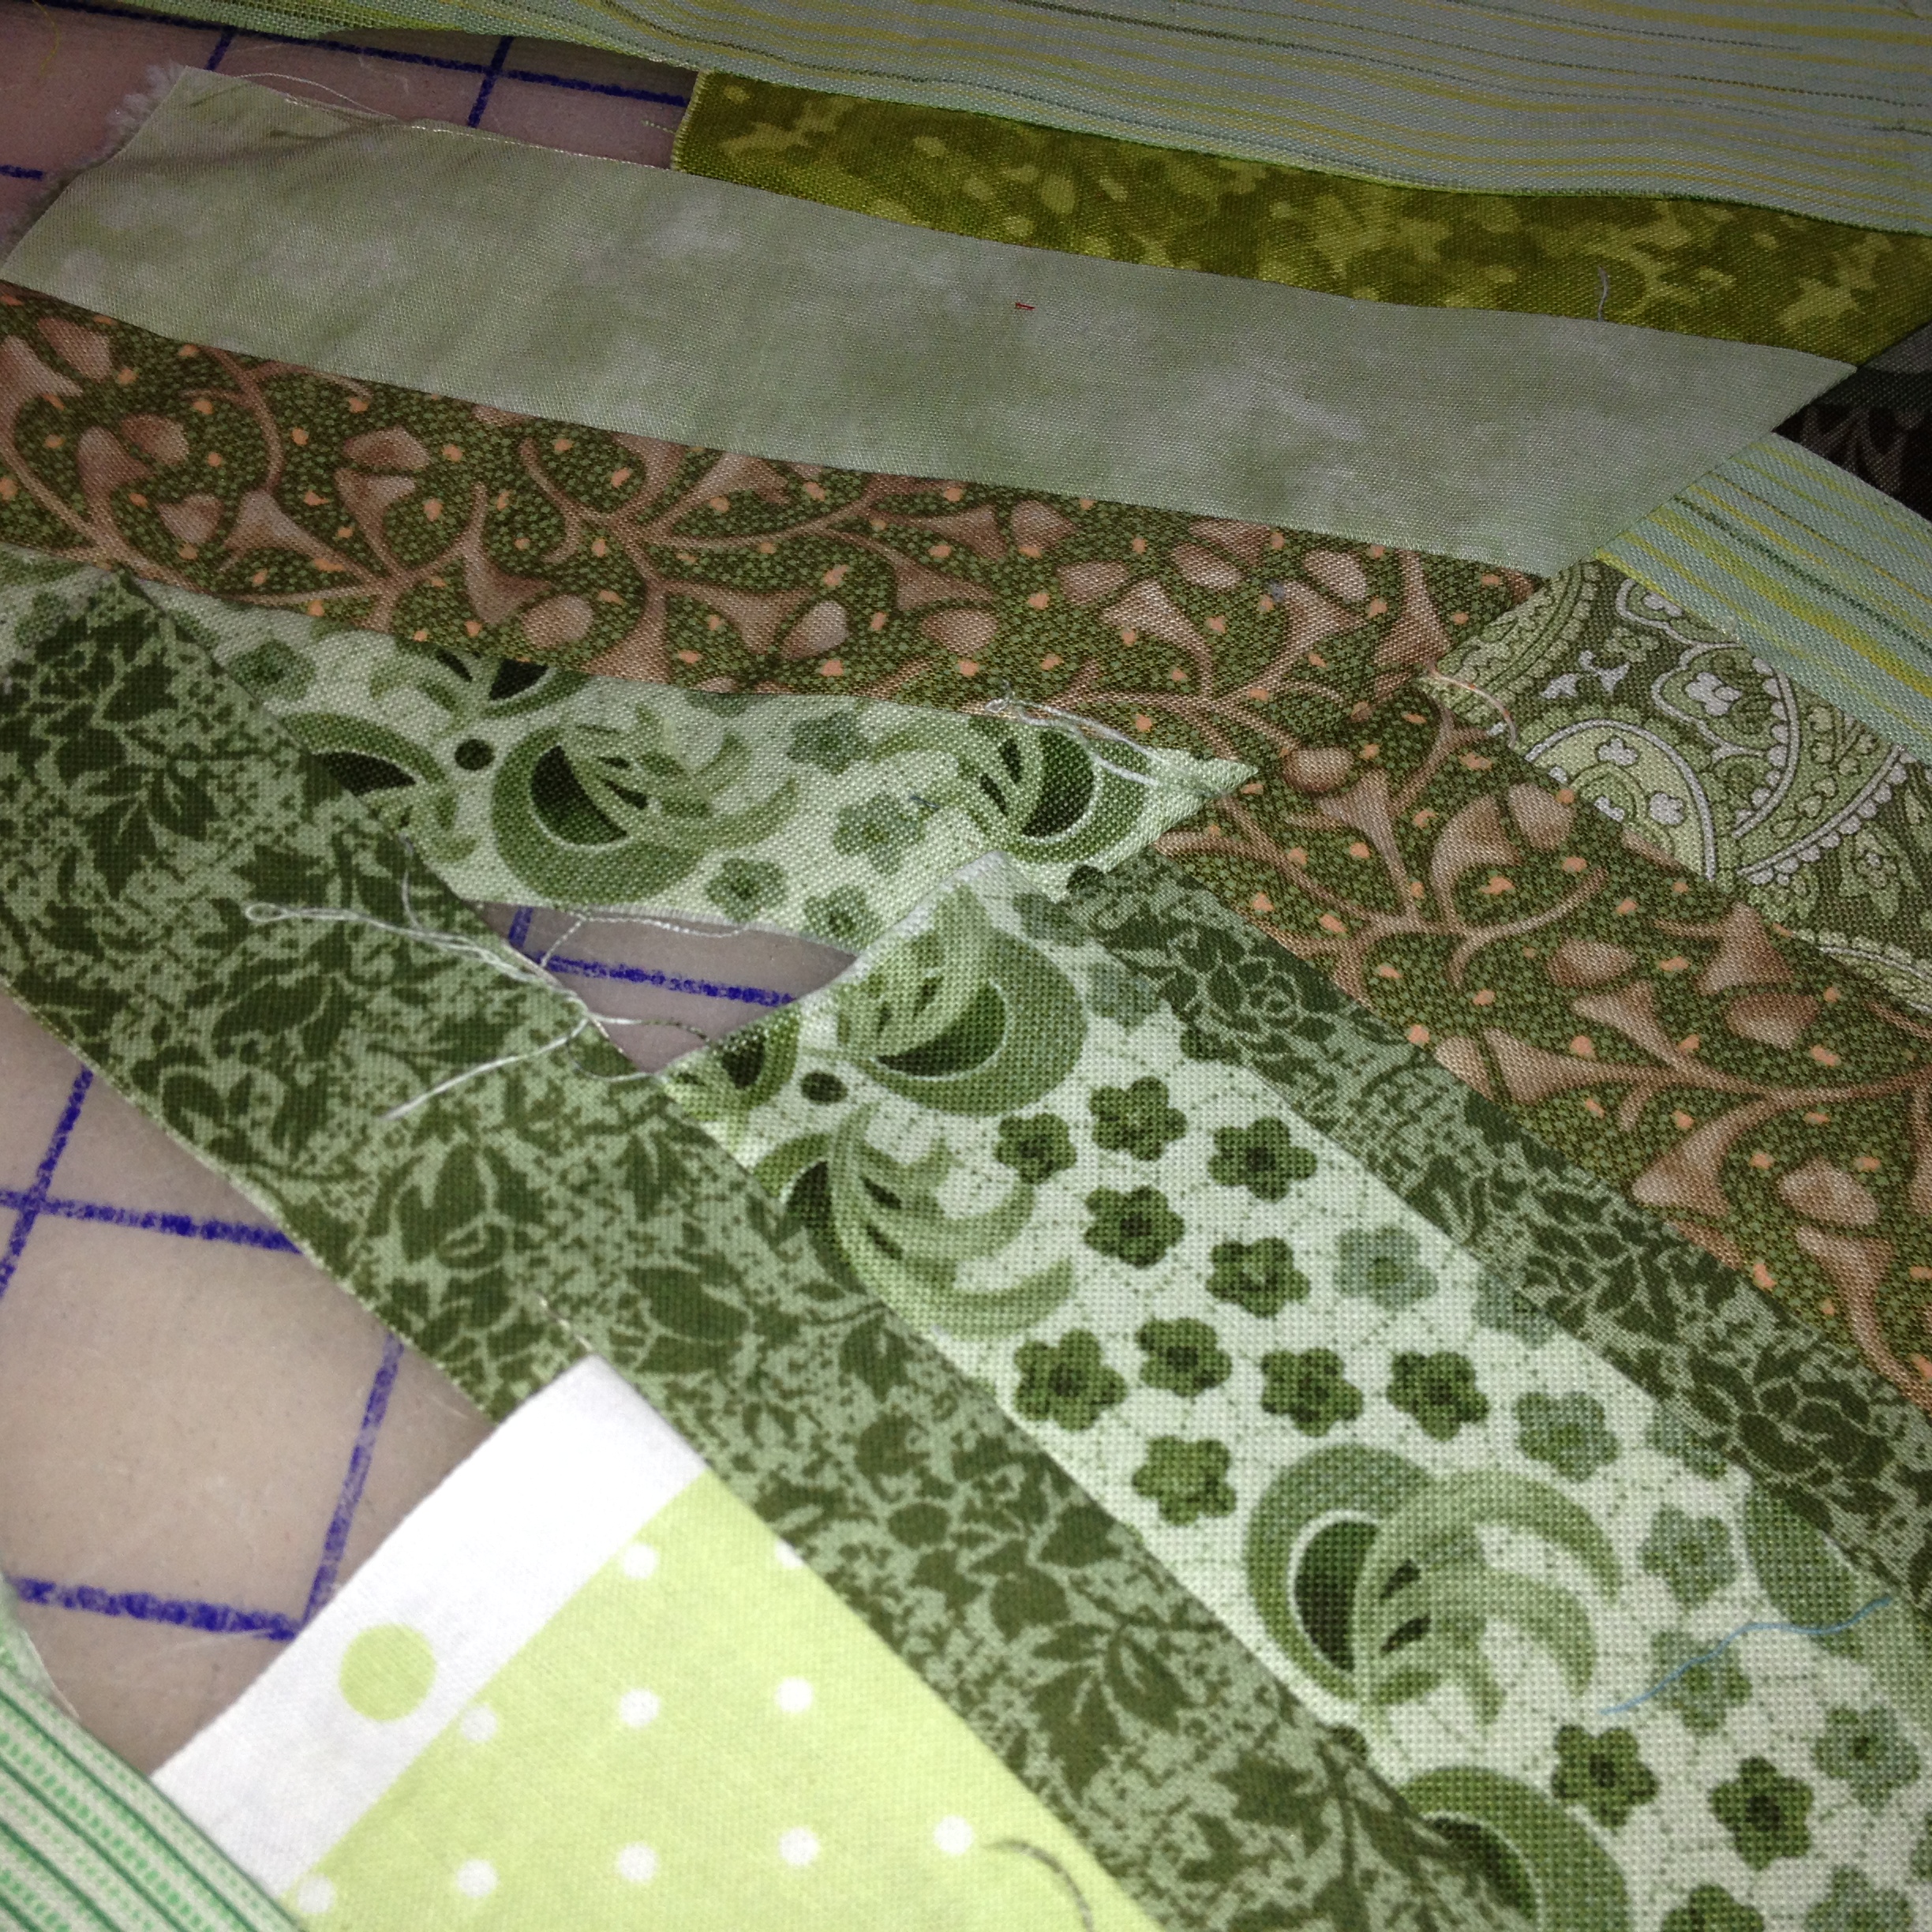
When the pile just gets too big I take a minute and use these pieces to make scrap quilt blocks. Sometimes I make both the new quilt and the crazy quilt at the same time… because it gives me a mental break. Plus… it’s just fun. Here is a demo of my method of creating a crazy block from my leftover pieces. This will also use up all your small scraps that you have been saving as well. Here are some leftover pieces that I think work well together.

The first step is to layer some straight edges together and sew. There is no foundation to this method you just put two pieces together and stitch. Here are the two pieces I have chosen to start with… and as you can see… they are not the same size… that’s ok. Just stitch.

Once they are stitched and pressed… I trimmed off one of the little corners on a straight edge and stitched another piece to that straight side. You can see below where the piece I am stitching on is larger than the center… that’s OK. You can stop stitching when you get to the edge.

After this piece was attached and pressed I took it over to the cutting table and looked for another straight edge.
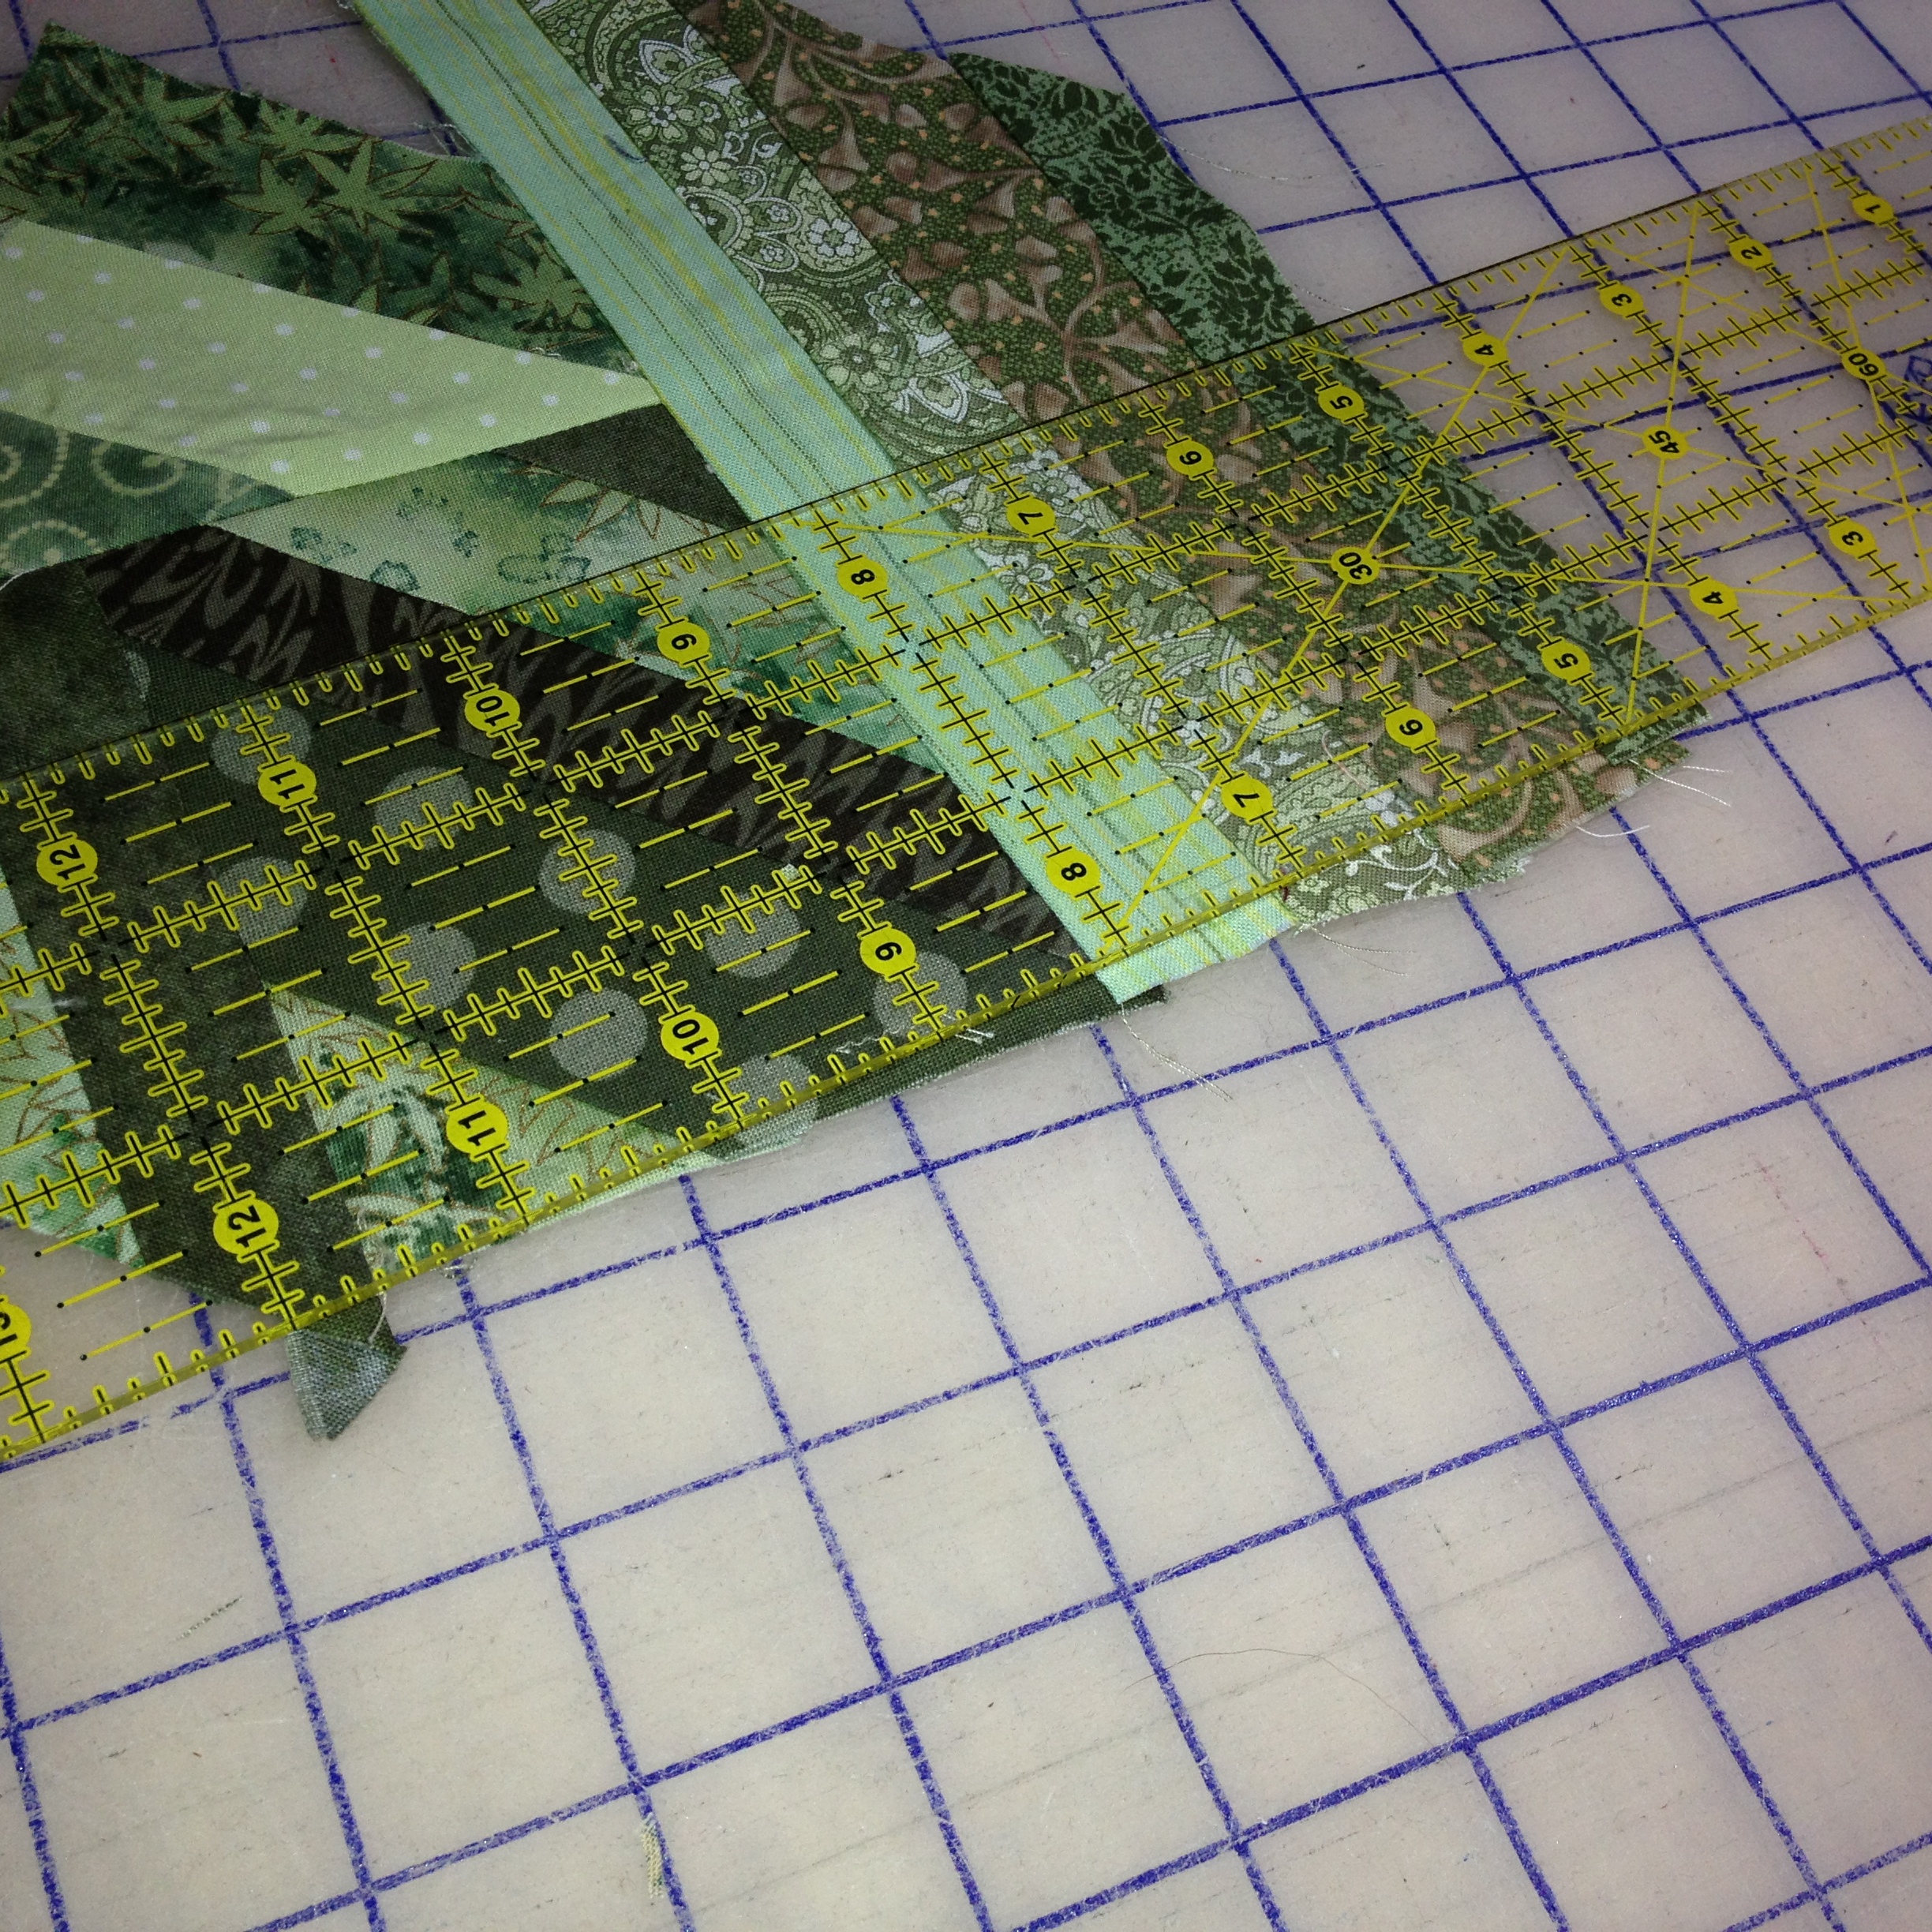
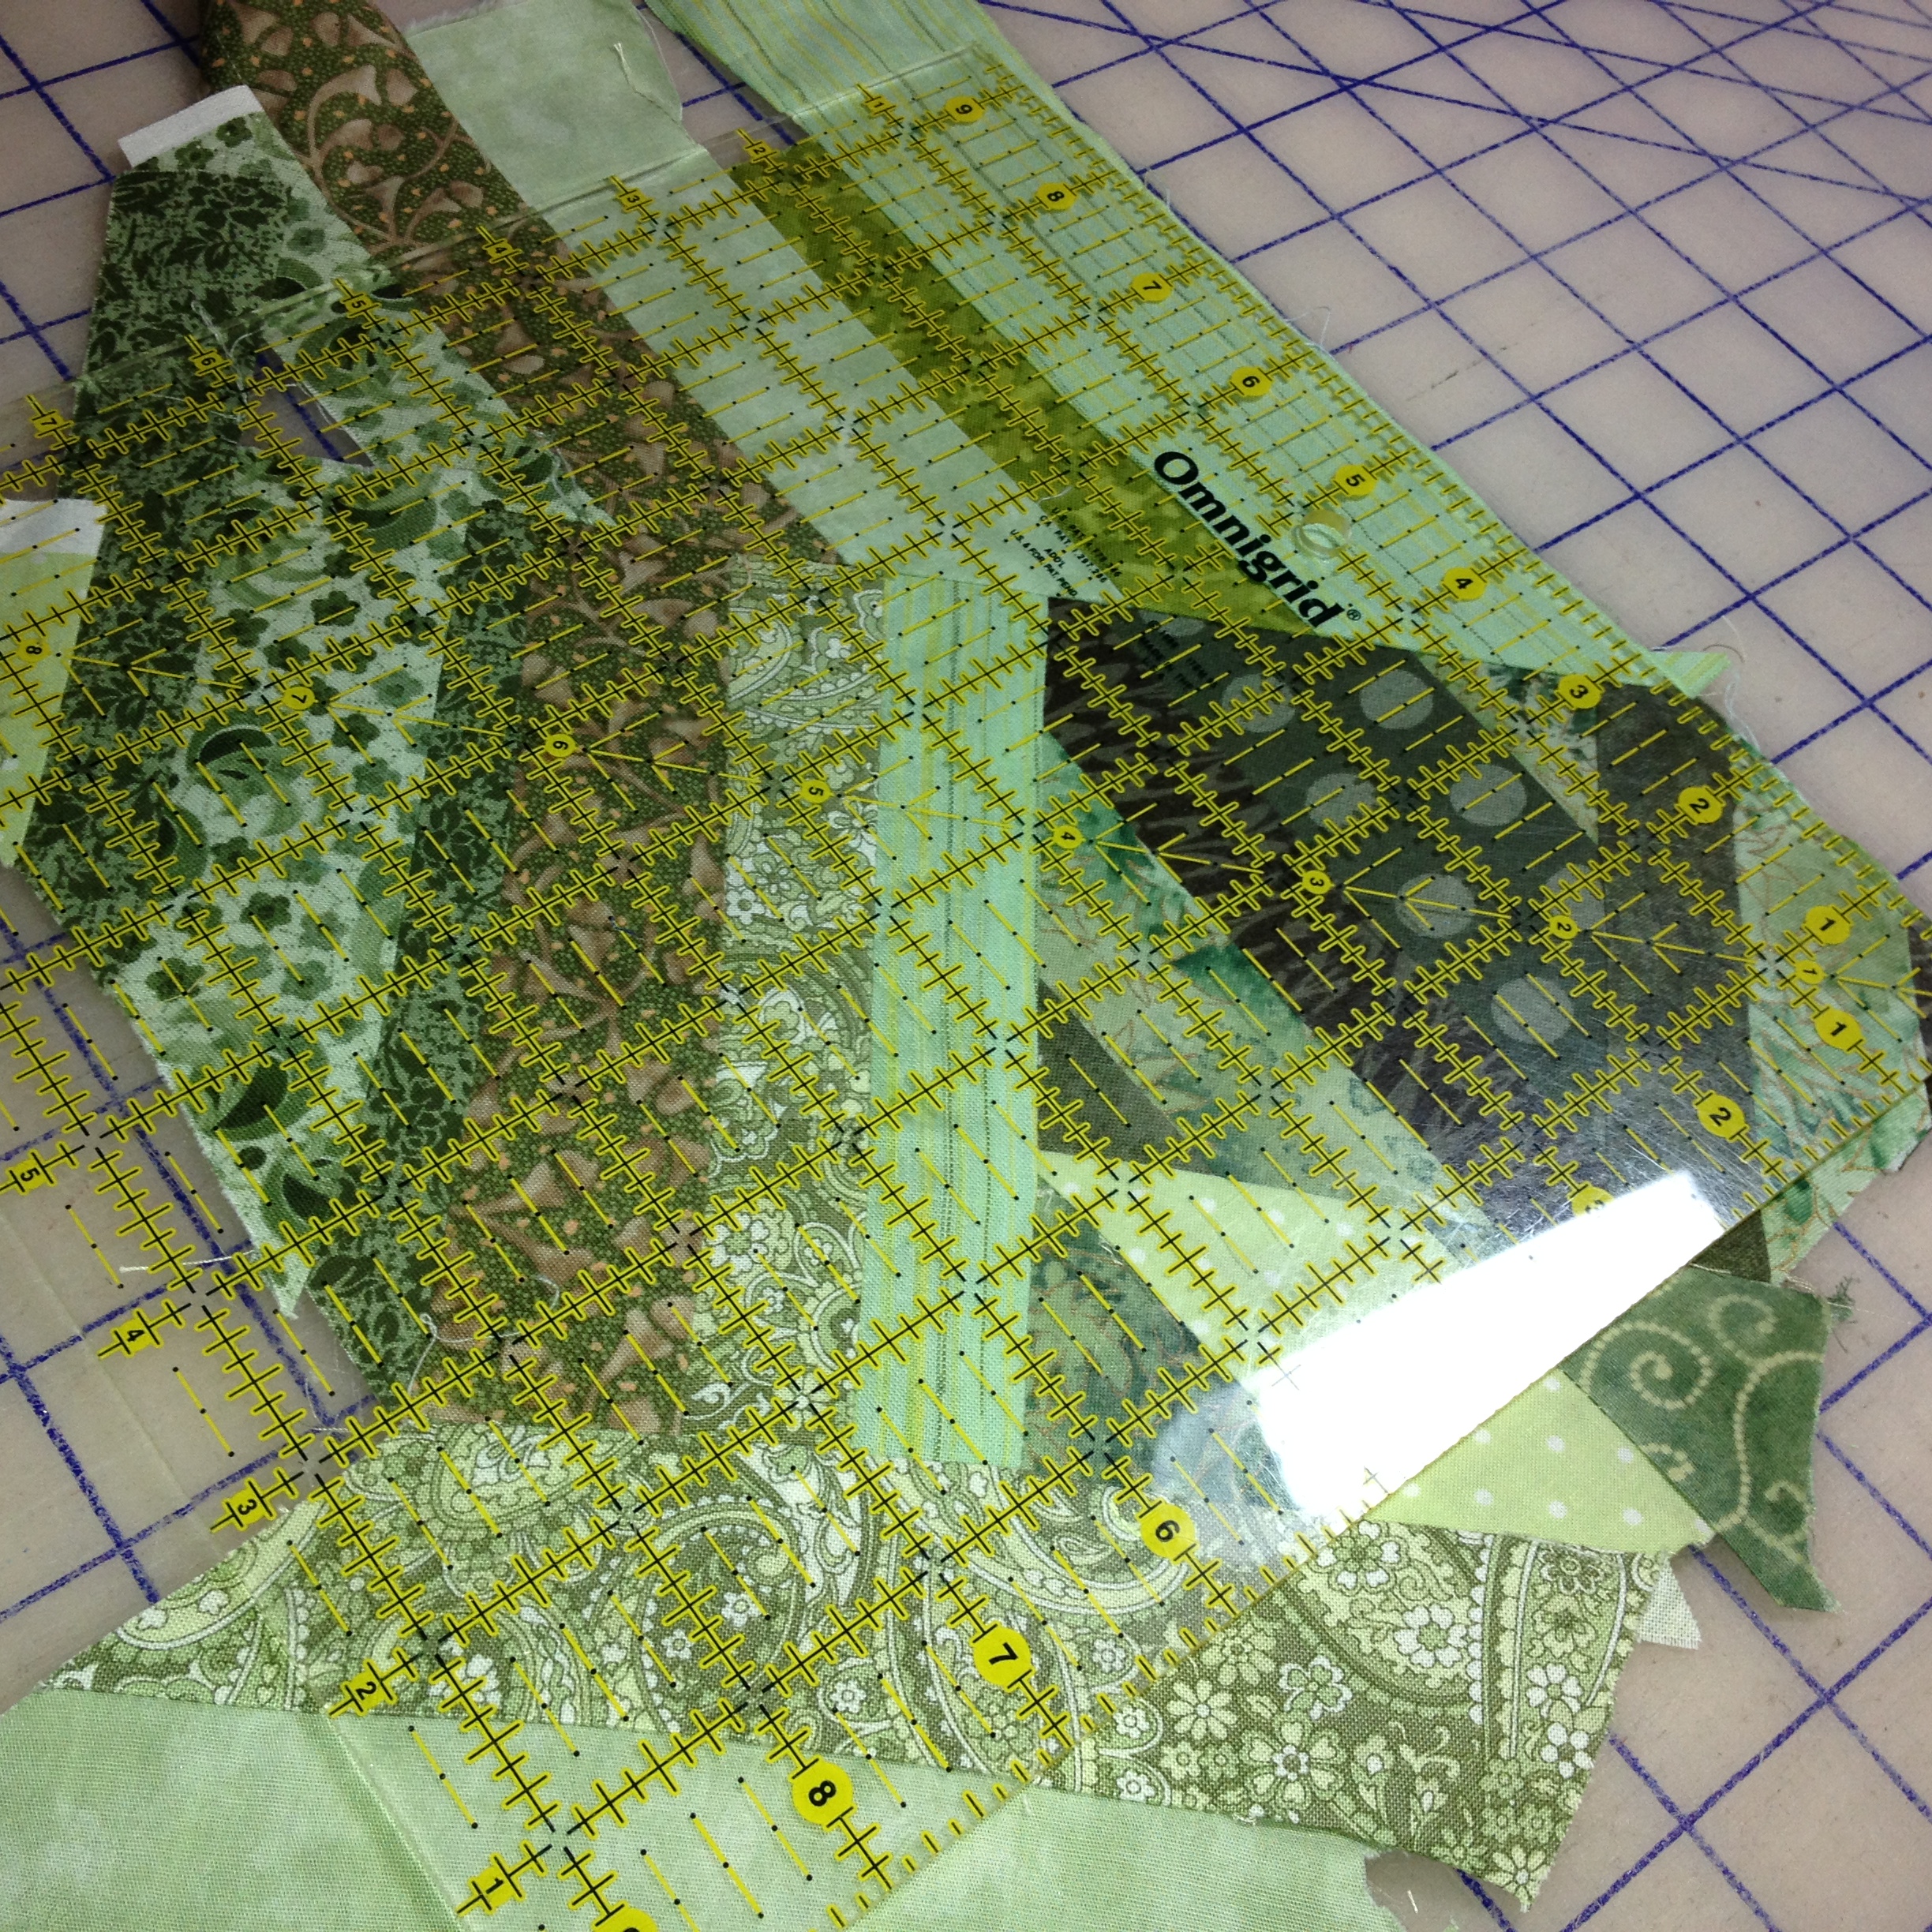
I found a straight line and used my ruler as a guide to trim the rest of the piece off. Now as you can see below… I have a nice long straight edge to add another piece. It’s like a puzzle… you just keep adding around until you get a large piece that a square block can be trimmed from.
I found another piece that was long and fit the straight edge I just made. So this will be the next piece I will sew on.

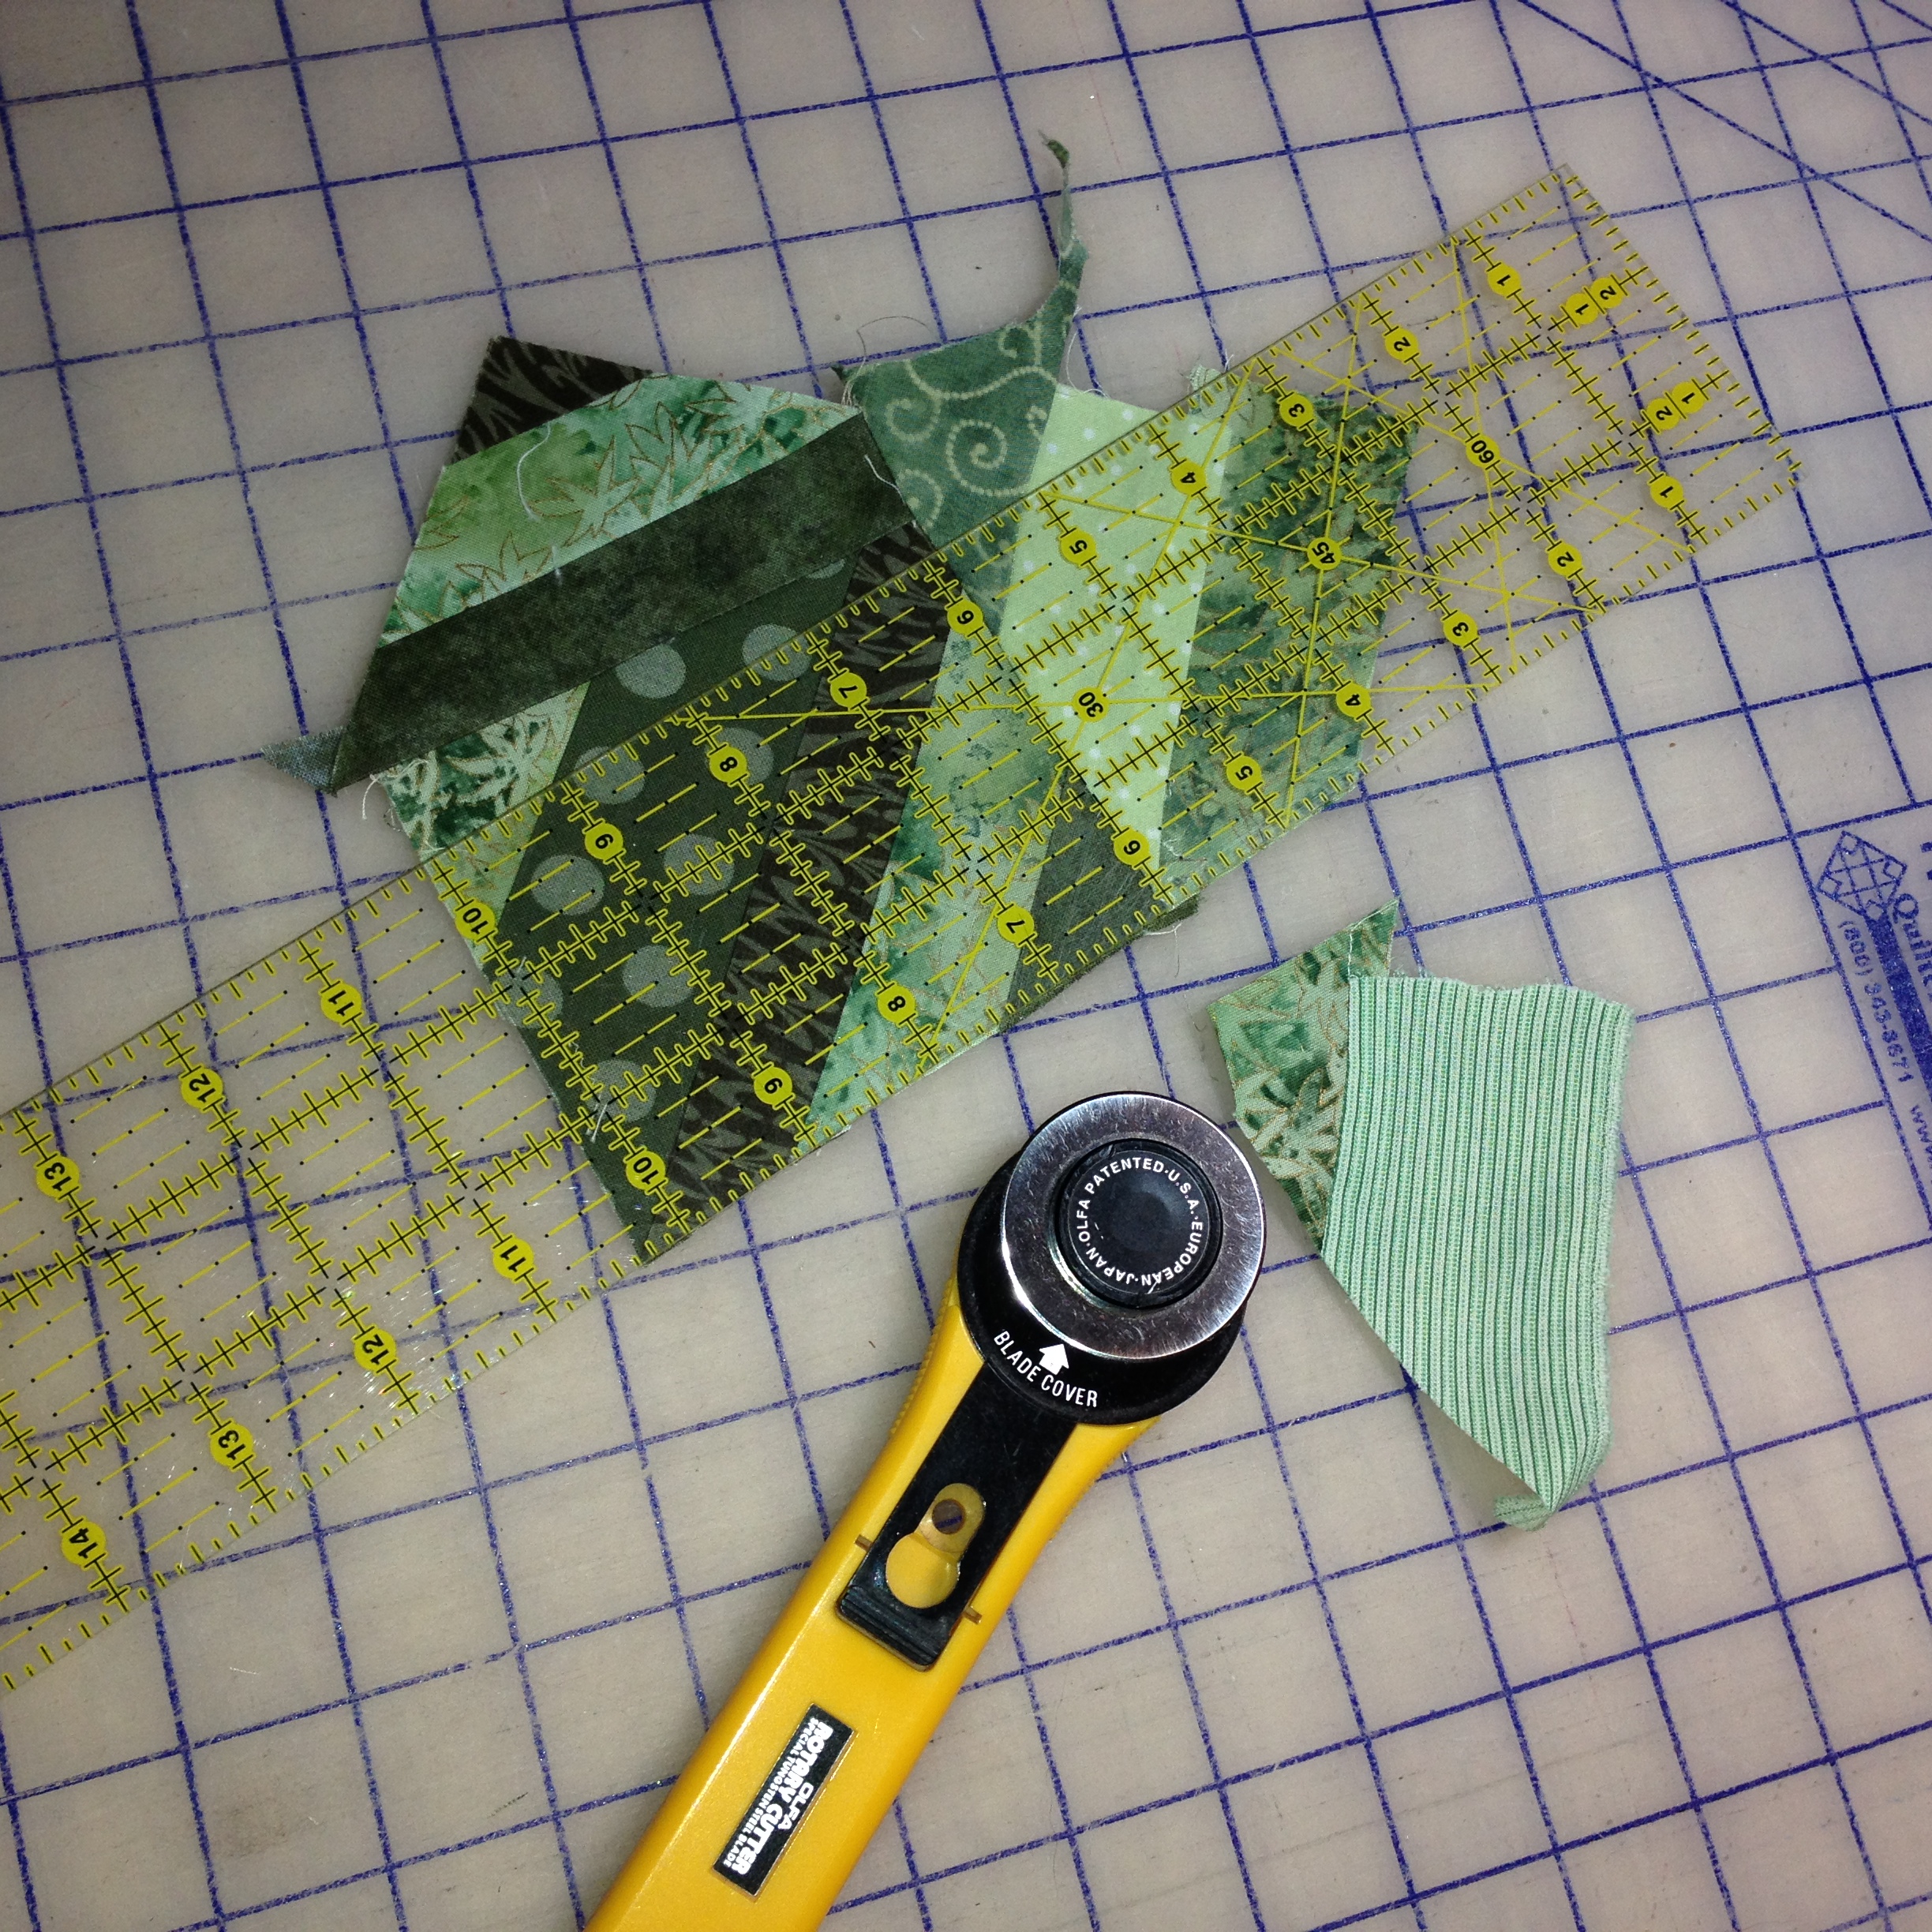
Sometimes when you trim an edge you will cut off a large piece and sometimes it will be much smaller. Again here I am using my ruler as a guide to find the straight line. This cuts as little off your fabric as possible. You can see it’s a little wide at the top and at the bottom I have a tiny piece that needs to be trimmed.
Sometimes when you stitch you will run into a spot where everything converges and the seam is hidden. Be careful of spots like the one pictured below… it looks like these two seams are together but they aren’t… so when you are looking for your straight line… don’t be fooled by sneaky pieces. I trim these right off.
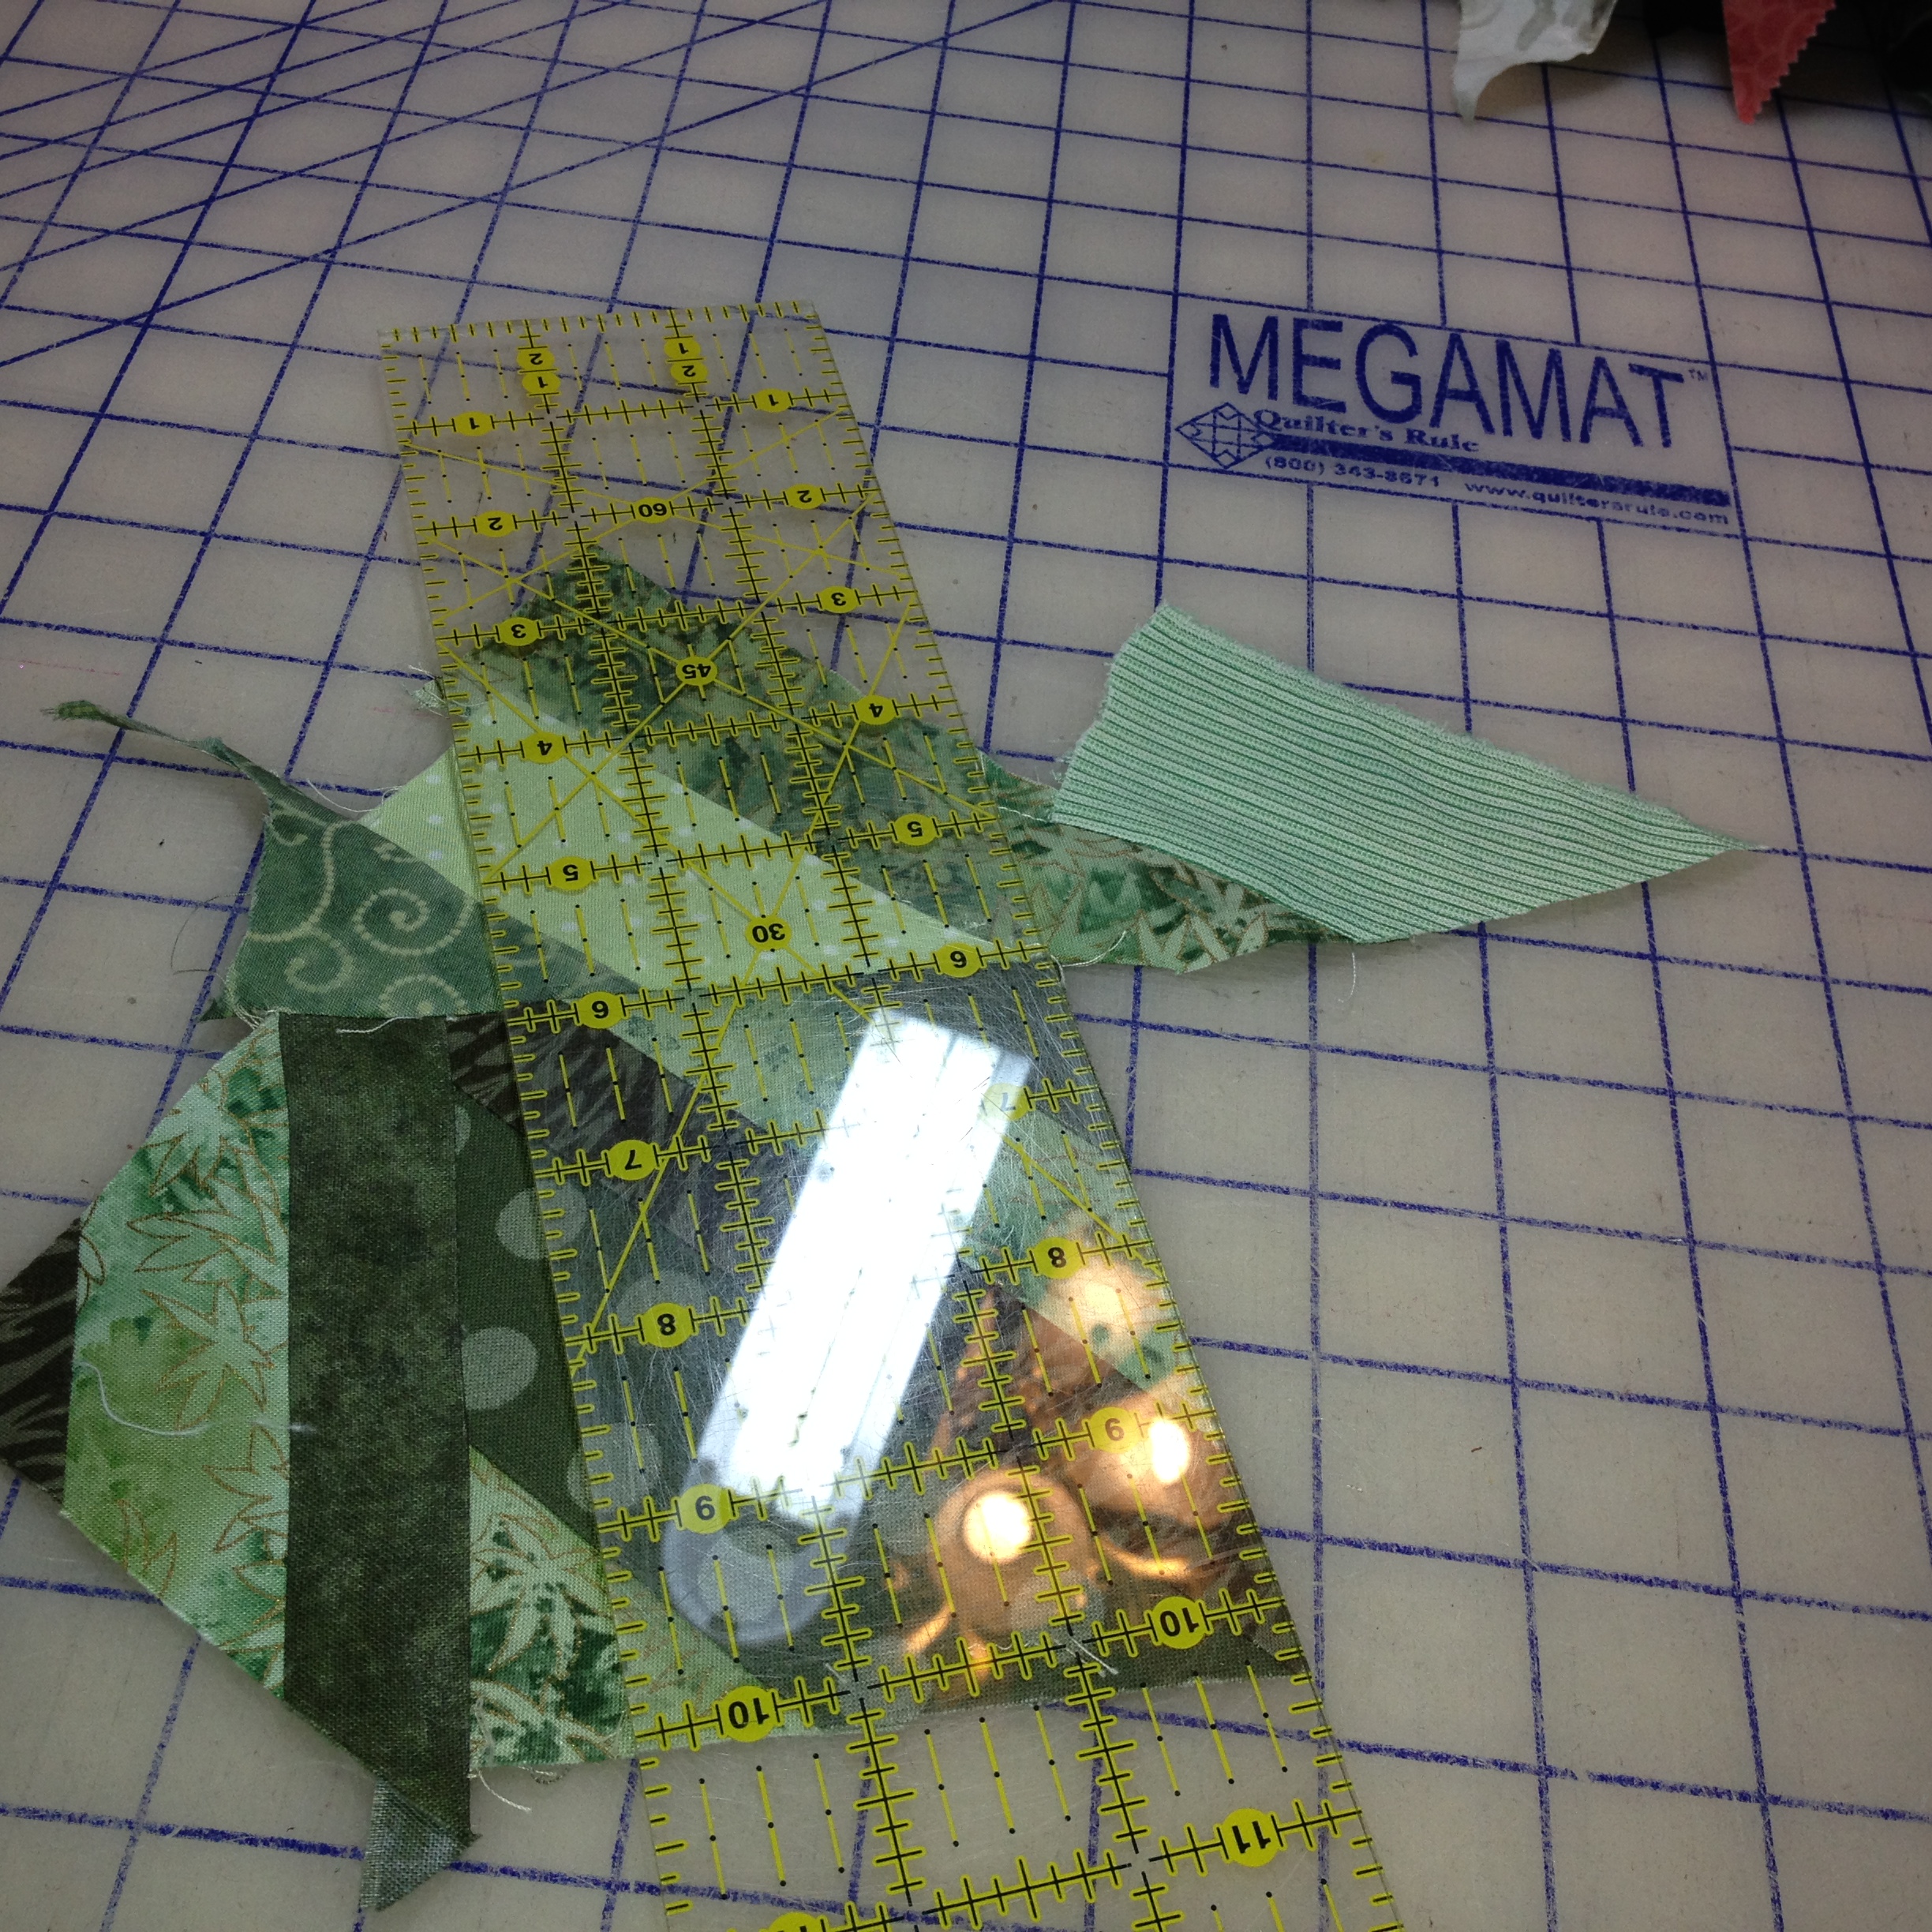
When my piece of fabric that I have created gets large enough (usually I get bored or run out of pieces at about 7 1/2″) I trim the piece into a crazy quilt block. Here is me checking that the block is big enough.
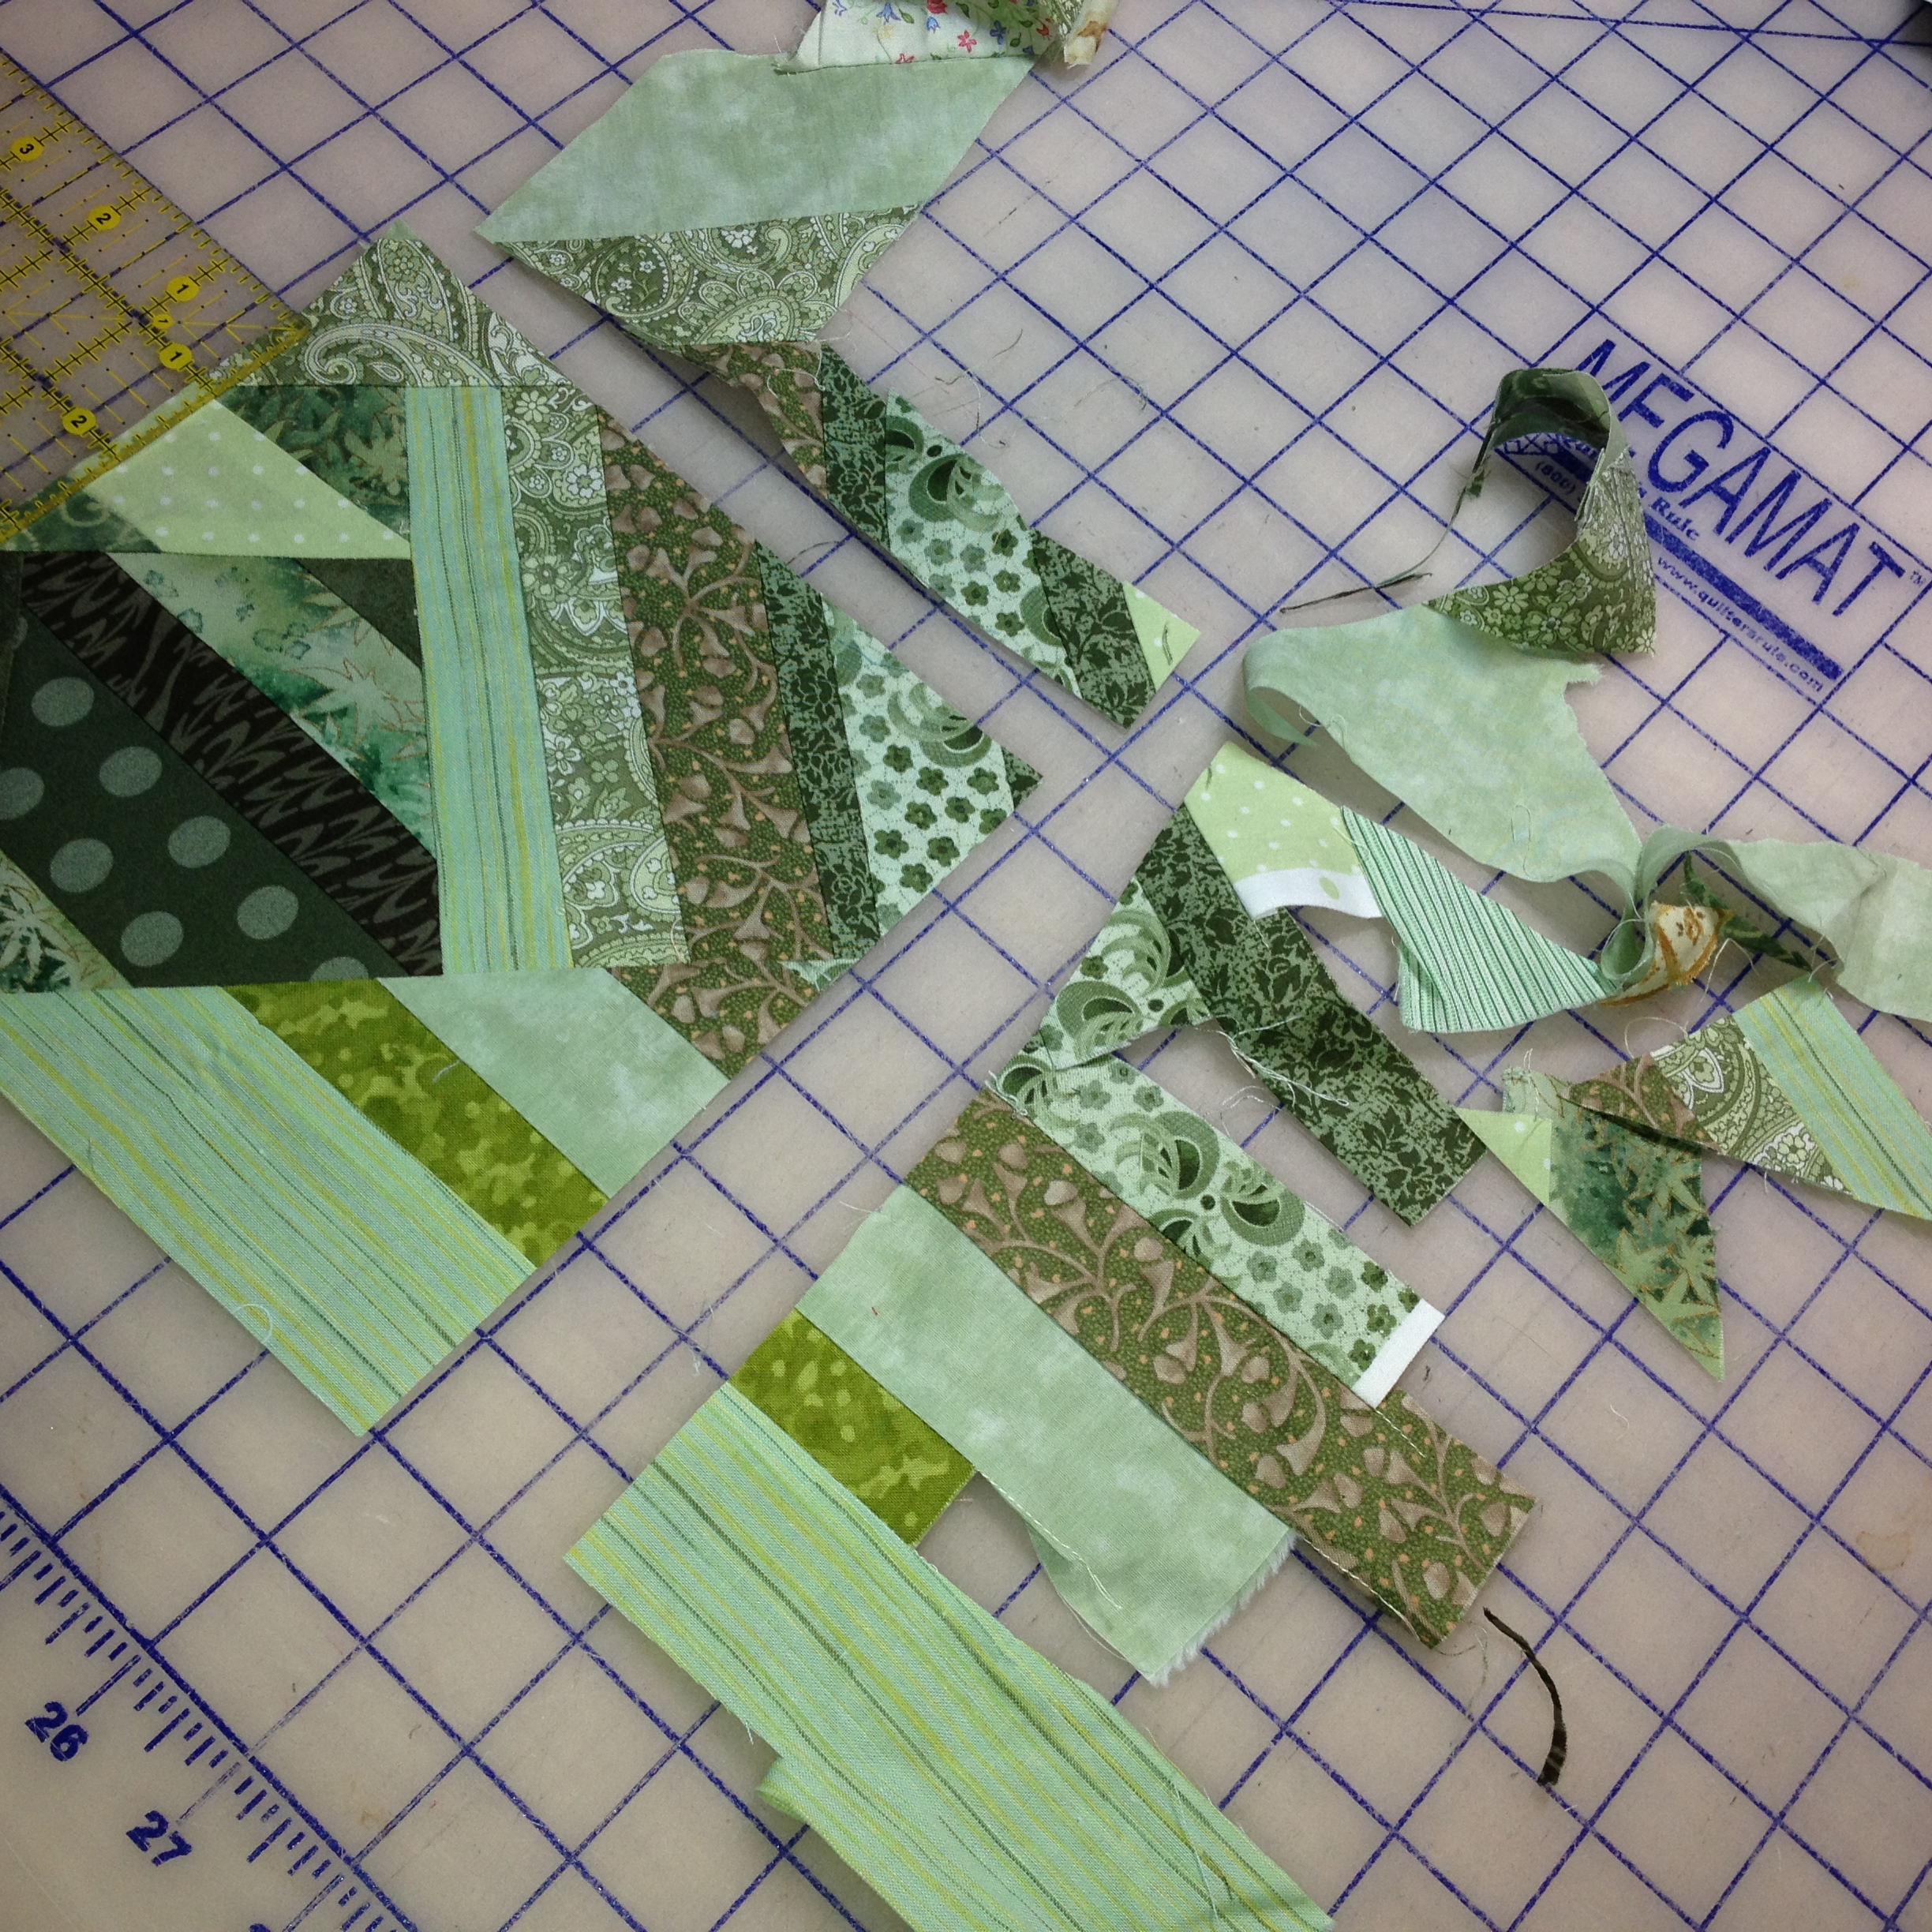
Then you have to decide whether the pieces you have trimmed off are large enough to keep and throw into another block… or if you can throw them away. I think of them this way… I made a quilt (#1) and then made a scrap quilt from the leftovers (#2) and then used the “scrap scraps” to make a crazy quilt (#3) and now I am done. I can feel quite good about throwing these away now because they have gone into 3 different projects. But … who knows… you may be the ultimate up-cycler and choose to use them again… and now that I am looking at them… I might do that too.
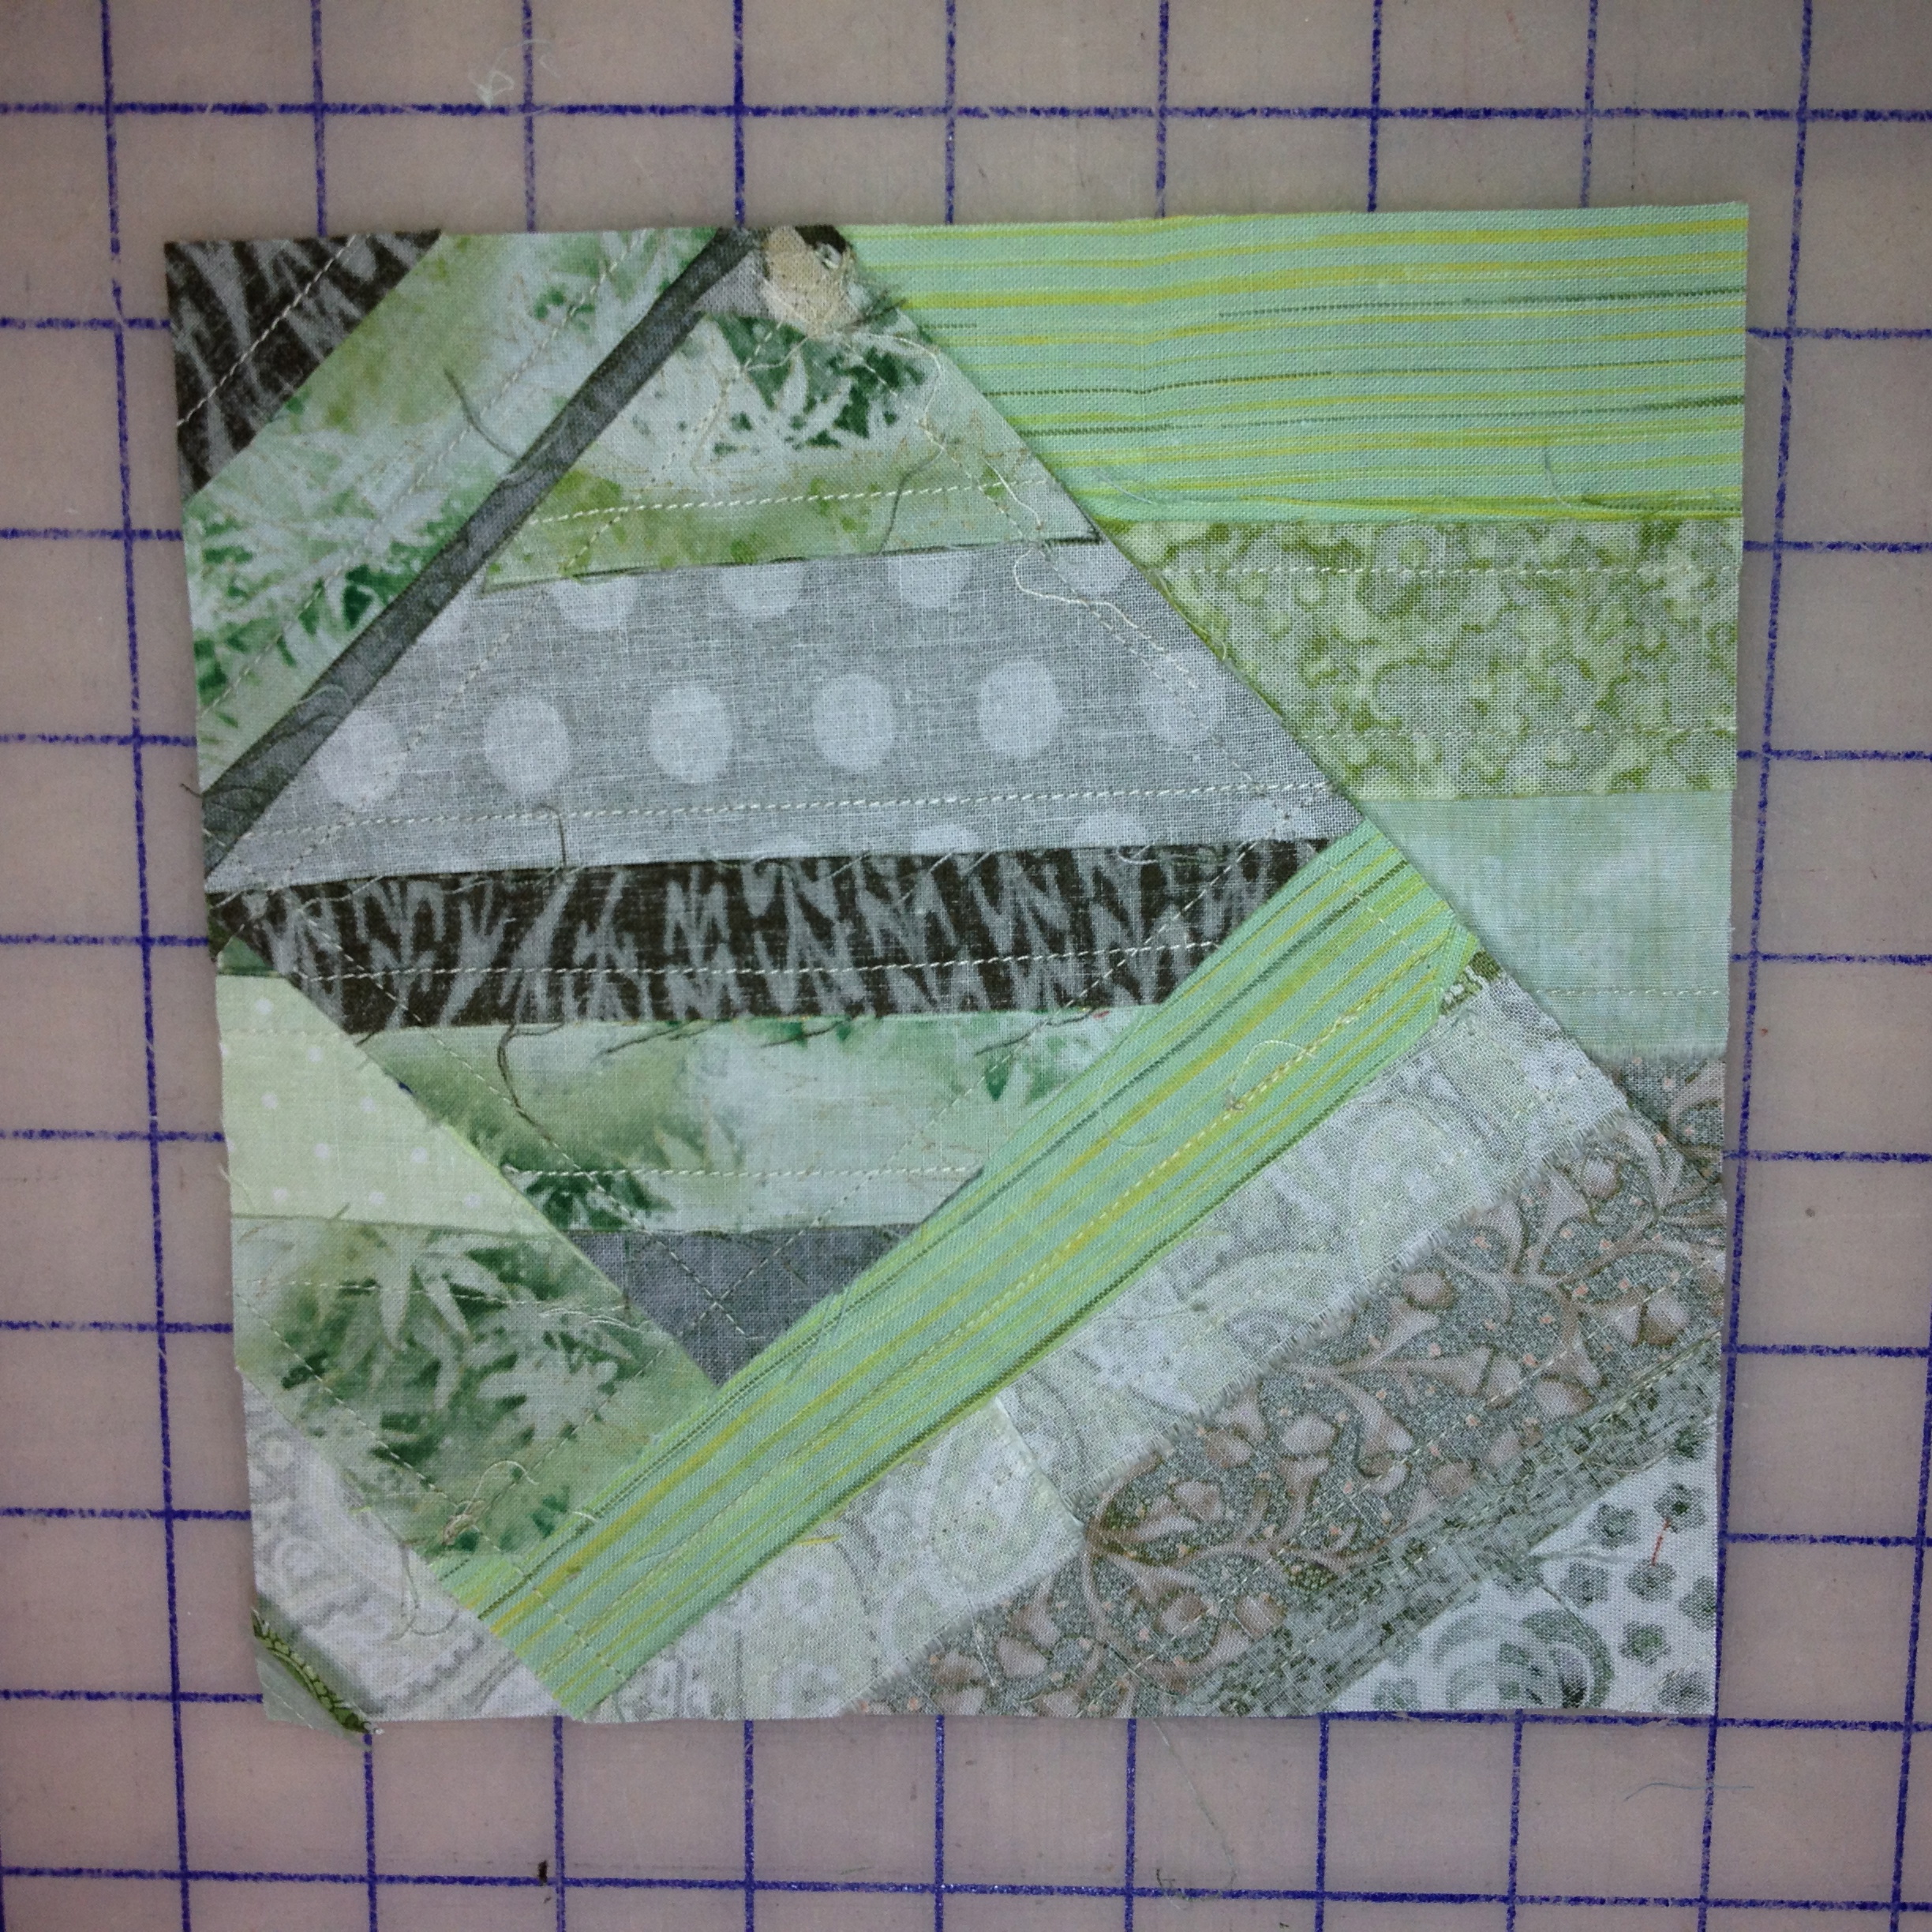
The finished crazy block is below. You can add stabilizer and put some really fancy stitches from your sewing machine (or by hand) if you choose. That’s a little too much work for me but I love the way these look. Simple utility quilt blocks to be used in another quilt. You can make alternating blocks with them if you choose. I like putting them together by themselves or with a sashing and admiring how thrifty I am.

The seams on the back look pretty good too… in some cases slightly large than a 1/4″ depending on the strips… but that’s not a problem with the All Scrapped Out! method.
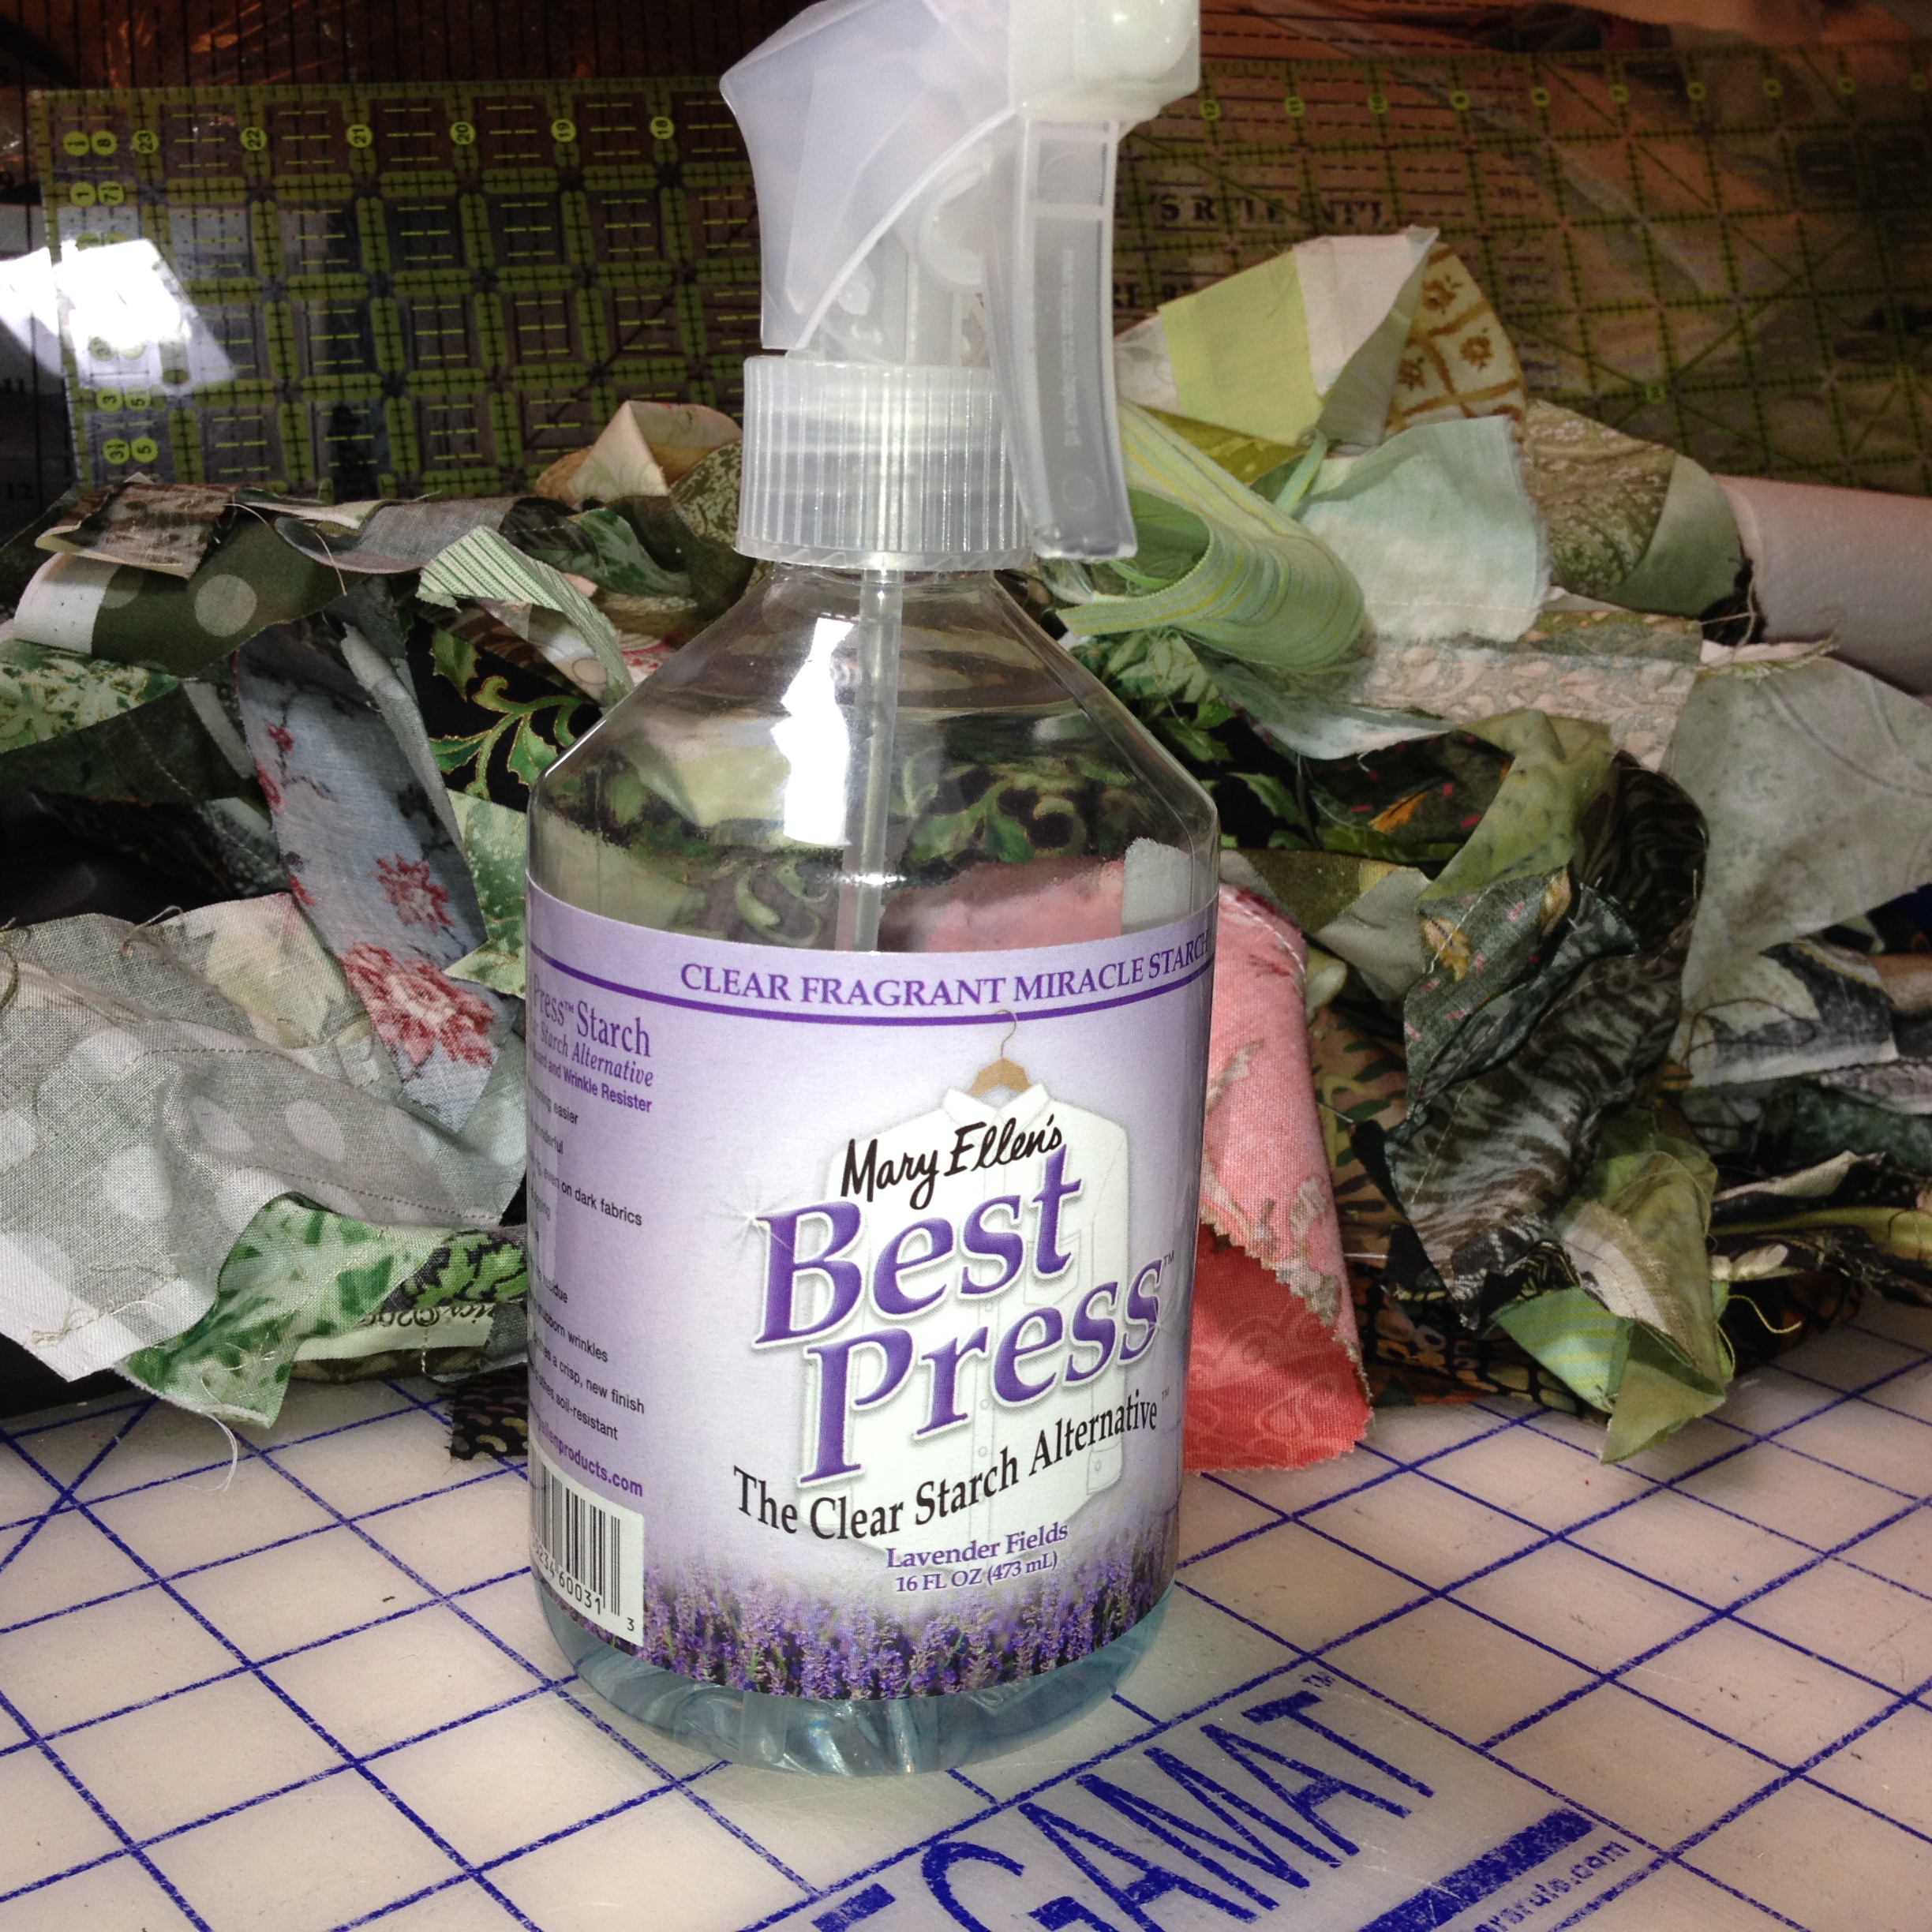
Another little tip… This product is my best friend while working on my scrap quilts. Because I do no pre-cutting or pre-pressing of my pieces… I love pressing them nice and flat when working on the blocks and strip sets. Mary Ellen’s is how I do it. If you must press… it should smell good while your doing it… and this product doesn’t leave a flaky mess all over my quilts.
Here is a stack of my crazy quilt blocks that I made this week while working on the new book. Lots of color. It get’s me very excited. I love all the vibrant colors that I get from my scrap blocks. Not to mention… it’s really fun. There are no rules and no perfect piecing and seams. I can work on them while catching up on my favorite shows or chatting with friends… because there really is no concentration needed.

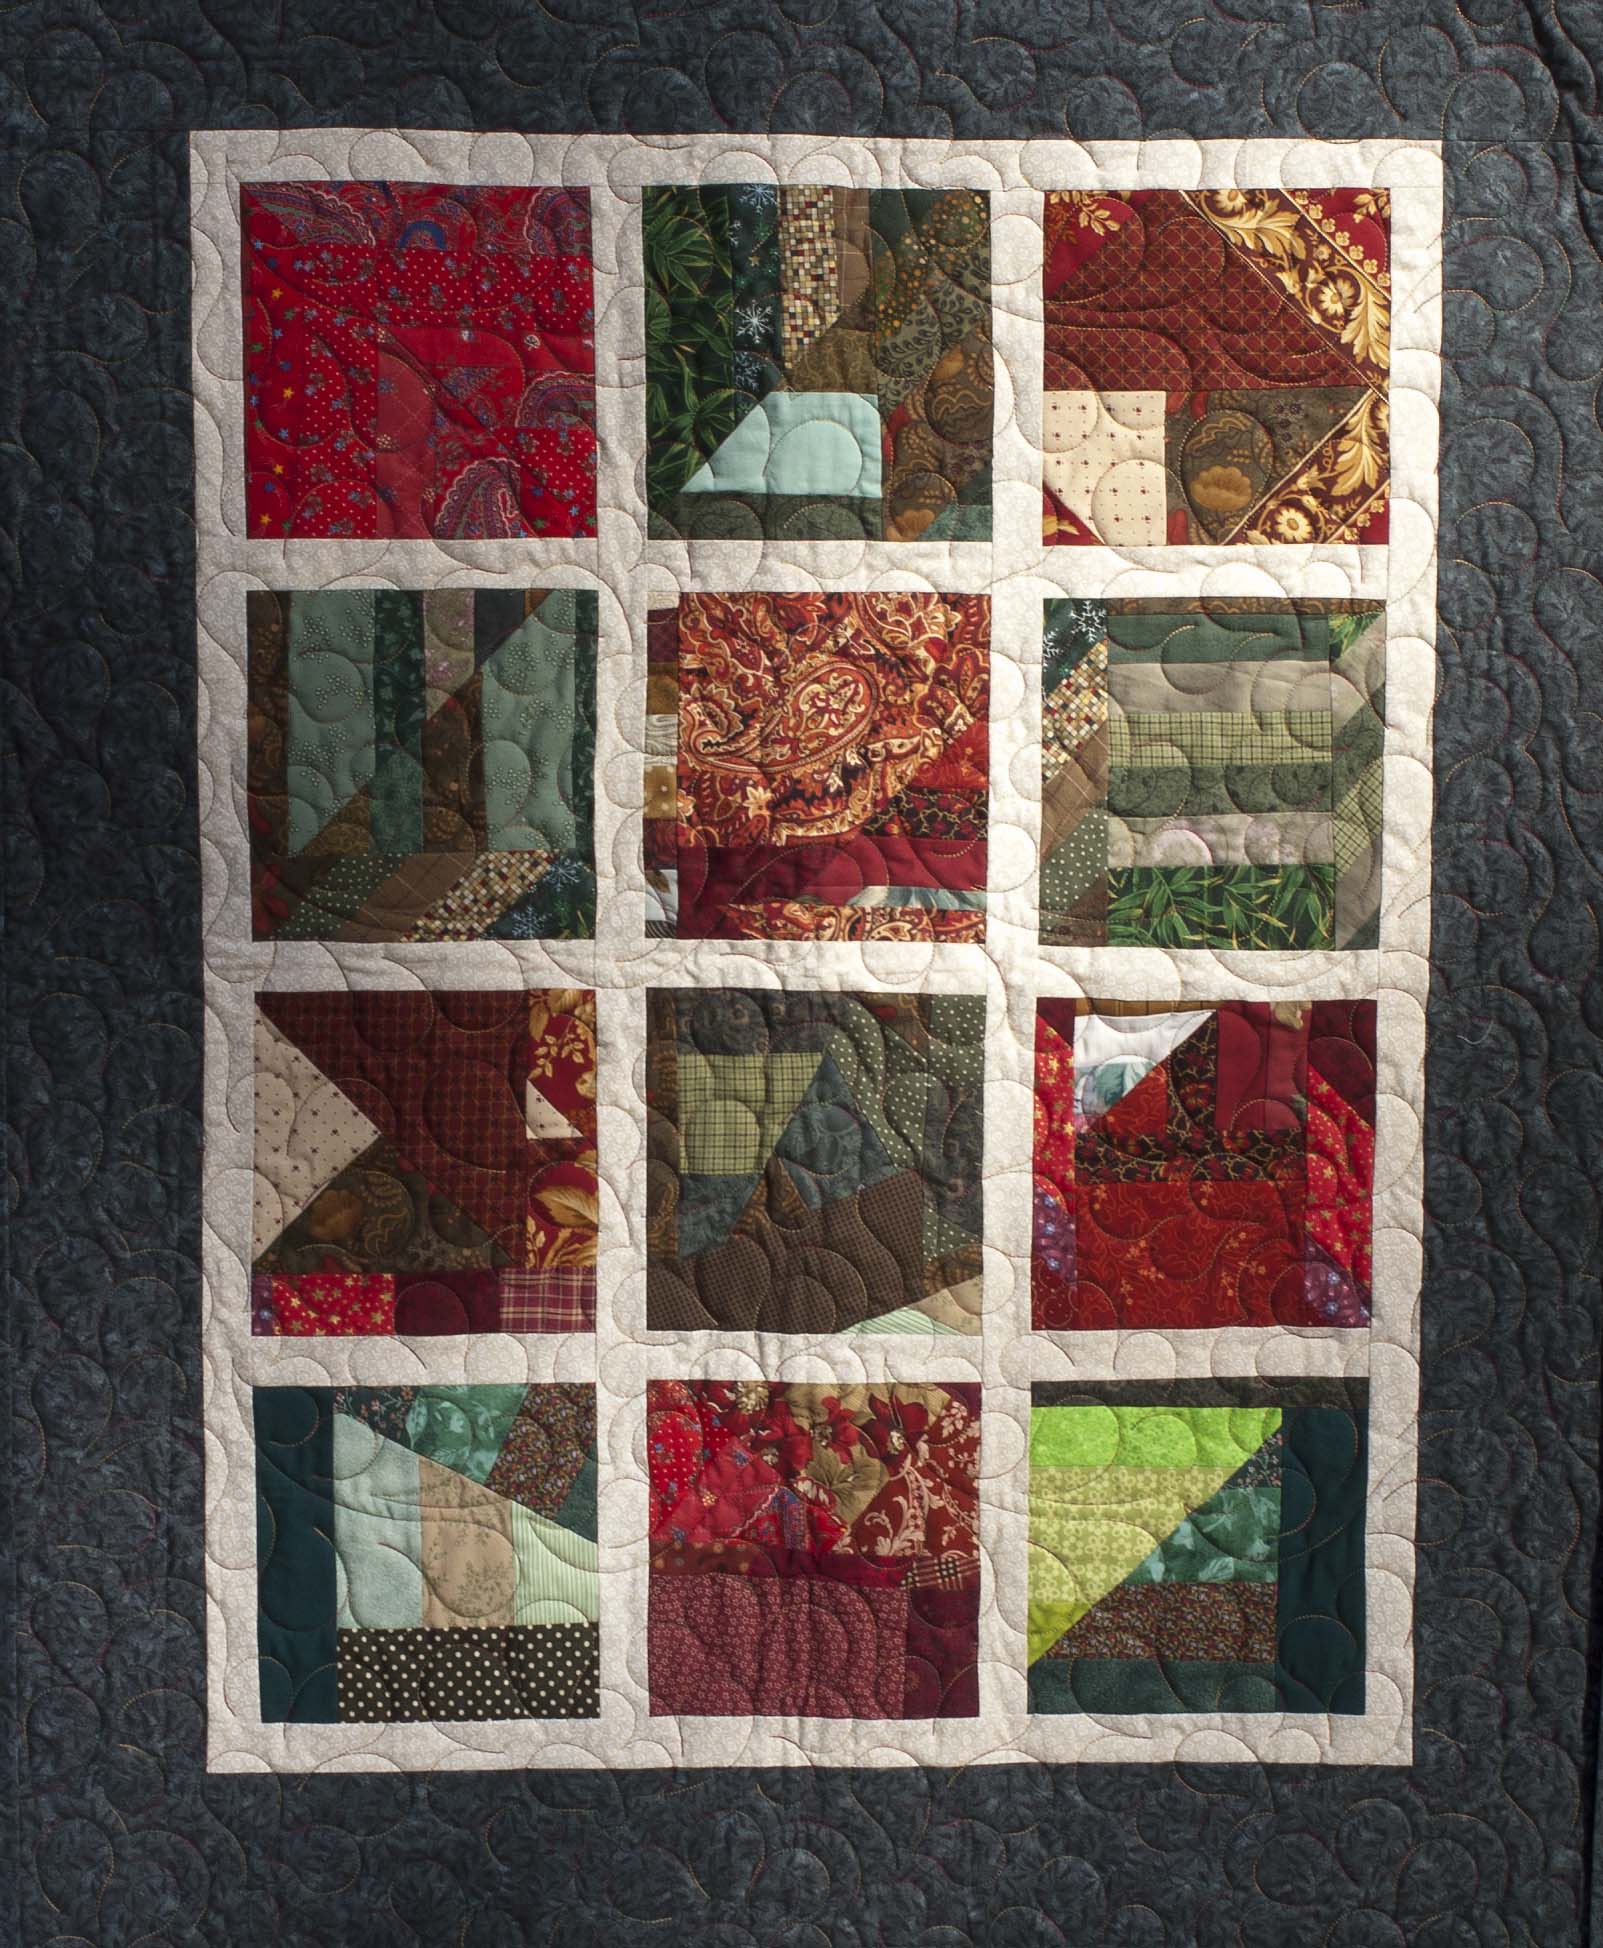
So how many of you have taken my direction and made a crazy quilt from your leftovers? I am dying to see some of your crazy blocks. Remember if you are working on a completely scrappy quilt you can still use this method to make more blocks. If your blocks get too crazy you can add a sashing to rest your eye like I did below with the Scrap Crazy quilt.
How do you make a crazy quilt? Do you even like them… or like making them? What do you do with your little scrappy pieces?
~Happy Quilting